Tag Archives: Soups

Freezing Soups and Stews A Good Wintertime Activity

It is still chilly and winter in most locations. Even here in Georgia we are still swinging between chilly and warm. Today would have been my mother’s birthday and that reminds me of how she loved to use her freezer for convenience in meal preparation.

There is nothing like a hot bowl of homemade soup or chili on a chilly winter’s day. But not everyone has time or ingredients to make it when the mood strikes or it’s time to eat. Just imagine having a freezer full of delicious, homemade meals ready to be heated and served when you get home from work. Freezing prepared foods in advance allows you the satisfaction of homemade meals with the convenience of store-bought ones. A lot of people have gone the route of instant cookers and fast preparation, but for some, making ahead and just reheating is even a quicker answer.  (Believe me, I also have my favorite stovetop soups that cook up quickly, even with lots of flavor, but that does require I have the ingredients on hand when the mood strikes.)

There are just a few things to keep in mind when freezing prepared foods. Freezing will not improve the texture, flavor, or quality of most food. It simply acts to preserve the quality of the food. Therefore, you should only freeze high quality ingredients. Some ingredients may not hold up well in the freezer, especially if you don’t plan to use it quickly this season only. You can look up some cautions and effects of freezing on spices ahead of time (http://www.uga.edu/nchfp/how/freeze/dont_freeze_foods.html).  Other tips for freezing prepared foods can be found from the University of Georgia also (http://www.uga.edu/nchfp/publications/uga/FreezingPreparedFoods.pdf).

After cooking the food you plan to freeze, be sure it is cooled quickly to maintain the safety of the food. You can quick-cool your hot soups or stews by stirring in a bowl or pan that is set down into an ice bath.  Never leave perishable food at room temperature more than two hours; if you do not quick-cool it until cold enough to put in the freezer, put the food in the refrigerator to finish cooling.

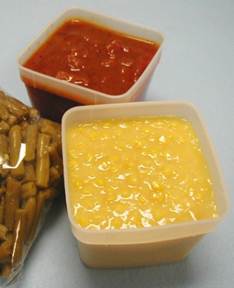
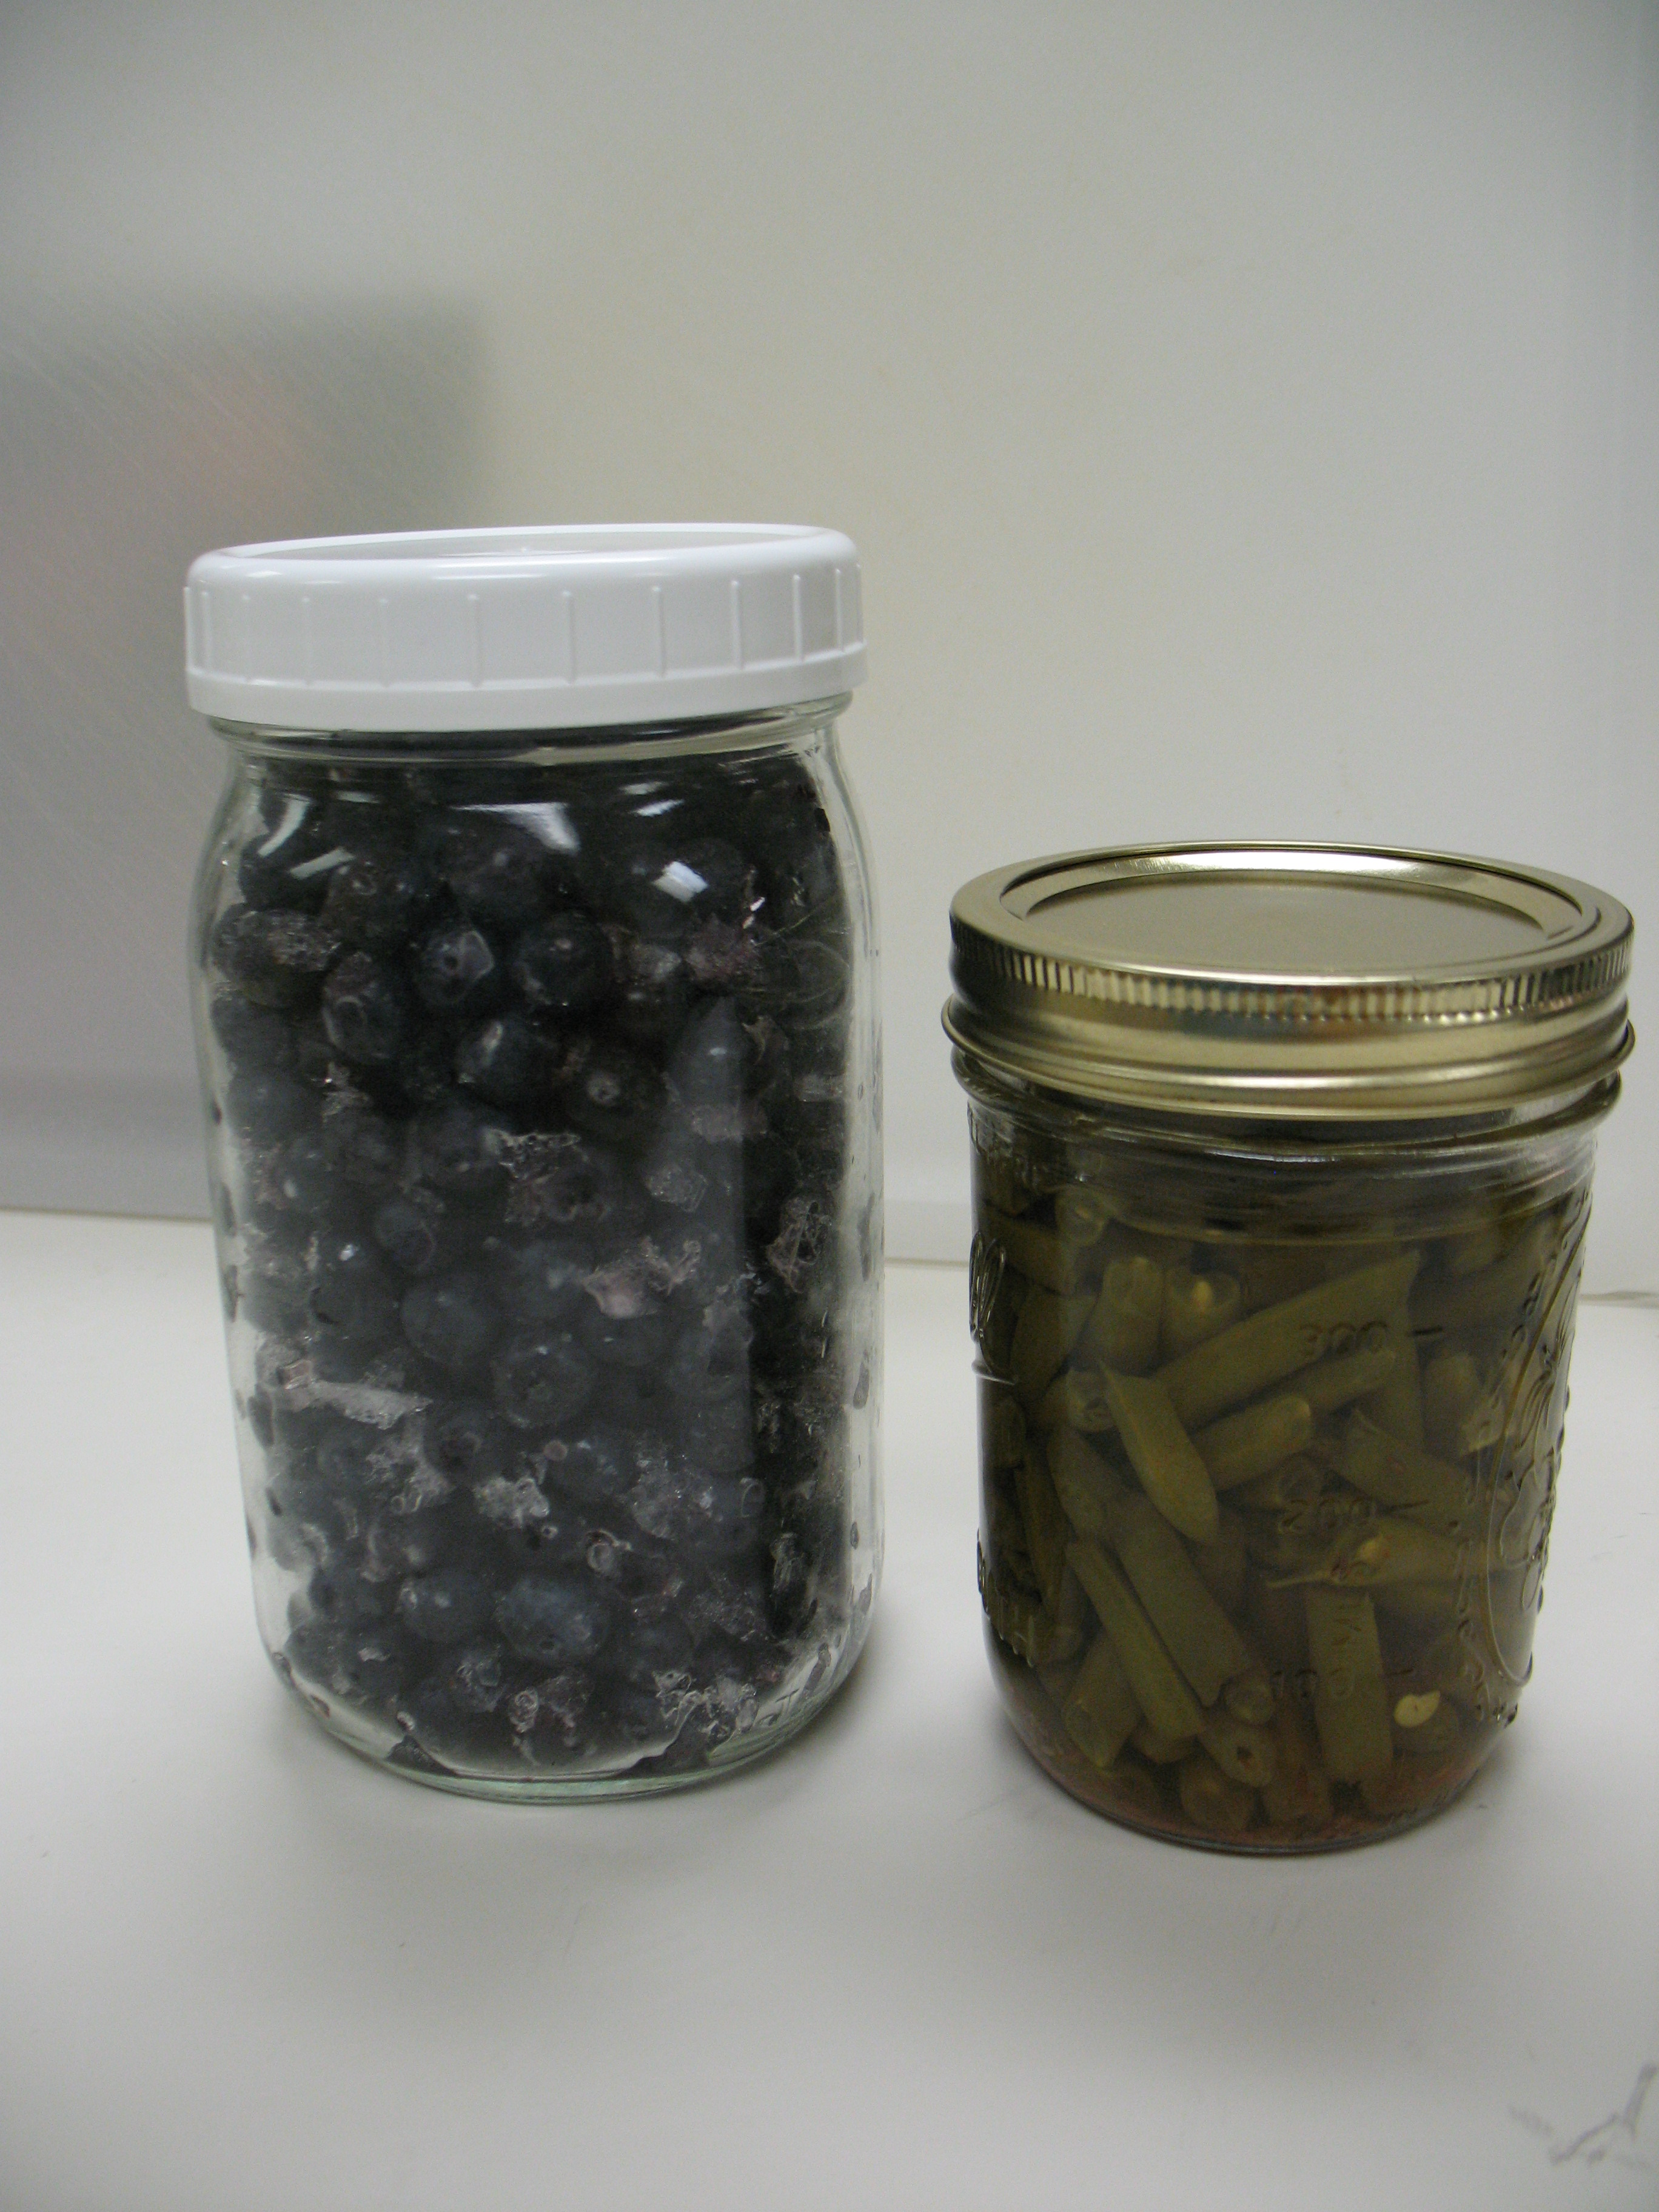
Be sure to put your soup in moisture-vapor resistant packaging to prevent freezer burn.  Now what does that mean?  We see it all the time. You want packaging that doesn’t allow for moisture from the food to be drawn out into dry air through it.  And you want packaging materials that keep odors inside the pack. Not all plastics and foils are the same in these characteristics, for example. For soups and stews, rigid containers like freezer quality plastic boxes or jars are a good choice; freezer-weight plastic bags can be used, just a little more awkward to fill and seal with runny food.

To make the most of the convenience factor, package your soup or stew in amounts that you will be able to eat at one time.  Be sure to clearly label each package with the name of the food, and date you put it in the freezer. If you have a variety of foods that will look alike and have short names on that label, consider including some ingredients on that label.  Be sure all sealing areas are clean and dry and to leave recommended headspace for expansion inside the package (https://nchfp.uga.edu/how/freeze/headspace.html). Once packaged and sealed, and place in the coldest part of the freezer.

Quick, it’s time to eat! You can put your soup or stew in a pan for stovetop or bowl for microwave and cook right from the frozen stage. If you heat in your freezer container, make sure it is intended to be used for the hot temperatures the cooked food will reach. Be sure to stir to prevent burning on the stovetop and to evenly distribute heat with either method of cooking. Thawing in the refrigerator is safe, but takes some planning ahead. You can also thaw in the microwave even if you finish cooking on a stovetop or oven.  And reheat your food to at least 165°F everywhere quickly, within 2 hours of starting.  (If I have a broth-based soup that can be brought to a visible boil, I always do that myself to ensure adequate reheating.) If you want to quick-thaw under cold running water, be sure the package is leak-proof and keep running water moving slowly over the package or place it in a clean pan or bowl and submerge under cold tap water that is changed every 30 minutes. Be sure to reheat as above as soon as the food is thawed enough.  To ensure the safety of your food, do not allow these potentially hazardous foods to stay in the temperature danger zone (40°F-140°F) for more than 2 hours at any time.

Planning ahead and freezing that favorite soup, stew or chili is a great way to keep homemade food on your dinner table without all of the stress and hassle of last minute cooking from scratch.

###


Freezing soup

Who doesn’t enjoy freezing cold soup in the wintertime? …after it’s reheated, of course! Another option for soup lovers who don’t want to pull out the pressure canner this season is to freeze soups. Here you’ll find how-to tips and recommendations for freezing soups successfully.

24 hours before putting soup into your freezer, drop the freezer temperature to -10°F. Once soup has frozen, hold at 0°F. If you already have a freezer that’s set to the 0°F and there’s space open in it, then freezing is more likely to be an economical choice for food preservation. If you also have airtight containers to use instead of buying new ones, then the cost is even less.

Frozen corn and tomato productIMG_1159

Which kinds of containers work best? Rigid containers like plastic cartons or glass jars designed for canning and freezing. Keep in mind thought that many common household containers are not suitable because you’re looking for moisture- and vapor-resistant materials that produce an airtight seal (i.e. not your average yogurt or milk container). Hint: wide-mouth jars make it easier to remove the contents before complete thawing. One other option is to pour the soup into ice cube trays!

An advantage of freezing soup is that you can portion individual servings (or servings for 2, 3, 4…), making it easy to reheat just one portion at a time in order to produce your desired quantity. No container should be so big that the soup will take a long time to become frozen; that leads to poor quality. Another benefit of freezing is that certain ingredients intensify in flavor after freezing, such as pepper, cloves, garlic, green pepper, celery seasonings and some herbs…but beware; they could also become bitter overtime. Other cautions: onion and paprika change flavor, curry develops and off-flavor and salt loses flavor. Simple solution: season lightly before freezing then add more seasonings after reheating.

Just like some fruits and vegetables freeze better than others, some soup recipes will maintain a higher quality than others. It’s generally suggested that you leave out potatoes from soups that you plan to freeze. Another tip for best quality is to concentrate the product by using less liquid. You can always add more liquid (broth, tomato juice, cream, water) when you reheat it.

After preparing your delicious soup, it’s important to cool it quickly, so that large ice crystals don’t form- that would lead to a mushy consistency. To do this, put the pot of soup in a pan or sink of ice water. When cool, package and freeze immediately, placing containers against the surfaces of the freezer for the fastest freeze. For highest quality, enjoy frozen soup within 4-6 months.

IMG_0193

Do not put hot glass in the freezer (or in ice water); it may break. It’s also important to leave headspace so that the soup doesn’t break the container as liquids expand in the freezing process. The exact amount of headspace needed depends on the contents of your soup, but leave at least ½-inch for mostly solid soups and 1½-inches for mostly liquid soups.

Unlike other frozen foods, it is recommended that you do not thaw your soup, but rather reheat it immediately after removal from the freezer. Heat it to a rolling boil, or at least 165°F. If it’s a cream soup, then heat over boiling water, double-boiler style. Soups with dairy may curdle and separate, so stir while reheating to keep smooth. Here’s another tip: add a waxy rice or corn flour as a thickener.

Information in the entry comes from ‘Freezing Prepared Foods’ and So Easy to Preserve.

If you haven’t stored your pressure canner for the season…

Cans of Tomato Veggie Soup

…then it’s a great time to can soups! (And of course, even if you thought you were done for the season and have put it nicely away in storage, then you can still pull it back out.)

To warm up these wintry days, prepare and preserve your favorite mix of vegetables, beans or peas, meat, poultry or seafood into a hearty soup. In order to produce a safe preserved product with these low-acid foods, you’ll need to use a pressure canner. You’ll also want to follow these recommendations from USDA:

If this is your first time canning or you admit that you could benefit from a refresher of the basics, please first read Using Pressure Canners and Principles of Home Canning.

Jars of soup in pressure canner

It is important that you DO NOT add noodles or other pasta, rice, flour, cream, milk, or other thickening agents to your home canned soup. These ingredients effect the heat penetration of the jars during processing and USDA does not offer recommendations for their use. Also, if you do choose to use dried beans or peas, you MUST fully rehydrate them first so as not to alter the measurement of water in the final products.

The procedure is fairly simple: select, wash, and prepare vegetables, meat, and/or seafood as you would for a hot pack. For more information about preparing for hot packs, refer to So Easy to Preserve or the National Center for Home Food Preservation website. If you are including meat, then cover meat with water and cook until tender. Cool the meat and remove any bones. If you are using dried beans or peas, then add 3 cups water for each 1 cup of beans or peas, boil 2 minutes, and then remove from heat. Soak for 1 hour, then again heat to a boil, and drain.

Soup filled jars half and half

In a large stock pot, combine solid ingredients with enough broth, tomato juice, or water to cover them. Boil 5 minutes. Add salt (or other dried spices) to taste, if you like. Fill jars halfway with solid mixture, and then add the remaining liquid, leaving 1-inch headspace. Adjust lids and process using the tables below.

Original sources for this entry come from the National Center for Home Food Preservation website and So Easy to Preserve .

Recommended process time for Soups in a dial-gauge pressure canner.

Canner   Pressure (PSI) at Altitudes

Style   of Pack

Jar   Size

Process   Time

0-2,000ft

2,001-4,000ft

4,001-6,000ft

6,001-8,000ft

Hot

Pints

60* min

11   lb

12 lb

13 lb

14 lb

Quarts

75* min

11   lb

12 lb

13 lb

14 lb

* Caution: Process 100 minutes if soup contains seafoods.
Recommended process time for Soups in a weighted-gauge pressure canner

Canner   Pressure (PSI) at Altitudes

Style   of Pack

Jar   Size

Process   Time

0-1,000ft

Above   1,000ft

Hot

Pints

60* min

10   lb

15 lb

Quarts

75* min

10   lb

15 lb

* Caution: Process 100 minutes if soup contains seafoods.