Tag Archives: boiling water canner

Get Ready Now for the Summer Harvest

seeds_ela

If you are thinking about joining the trend in our communities to preserve food this summer, start planning and preparing now! Start by checking your equipment and supplies. Proper equipment in good condition is required for safe, high quality home canned food, for example.

If you’ve not yet purchased your needed equipment, there are two types of canners to consider: boiling water canners and pressure canners. A boiling water canner is used for canning acid or acidified foods like most fruits, most pickles, jams and jellies. Boiling water canners cost about $30-$100, or can be assembled yourself with a large stock pot, secure lid, and rack to keep jars off the bottom of the pot.

A pressure canner is essential for canning low acid foods such as vegetables, meats, fish, and poultry. Temperatures inside pressure canners reach higher than boiling water canners (for example, 240°F and above as compared to about 212°F). This is necessary to follow the tested processes available to be sure and kill the toxin–producing spores of the bacteria Clostridium botulinum.  If not killed, these spores can grow out and produce a deadly toxin (poison) in room-temperature stored jars of the low-acid foods mentioned.

You have two choices for your type of pressure canner: a dial gauge canner or a weighted gauge canner. Most steps in managing the pressure canning process are the same, but the two styles have different types of gauges to indicate the pressure inside the canner. Expect to spend $100-$150 or more on a pressure canner.  USDA and National Center for Home Food Preservation processes have only been developed in traditional stovetop pressure canners managed as in Using Pressure Canners on our website.

If you use a dial gauge canner, then it’s important to have the gauge tested for accuracy before each canner season or if you drop or damage your gauge. It isn’t as easy as it used to be to get gauges tested. Try a local hardware store or your local Cooperative Extension agent, even though not all still provide this service. For either type of canner, check that the rubber gasket is flexible and soft, and if it is brittle, sticky, or cracked then replace it with a new gasket. Also check that any openings, like vent ports, are completely clean and open.

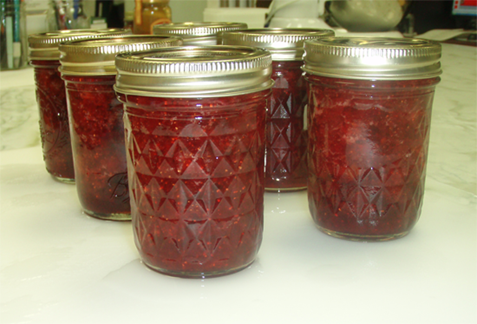
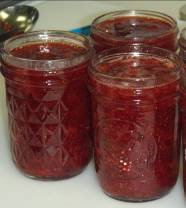
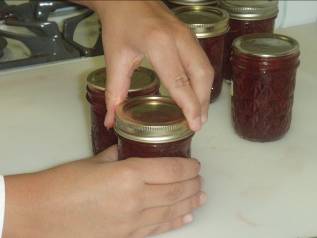
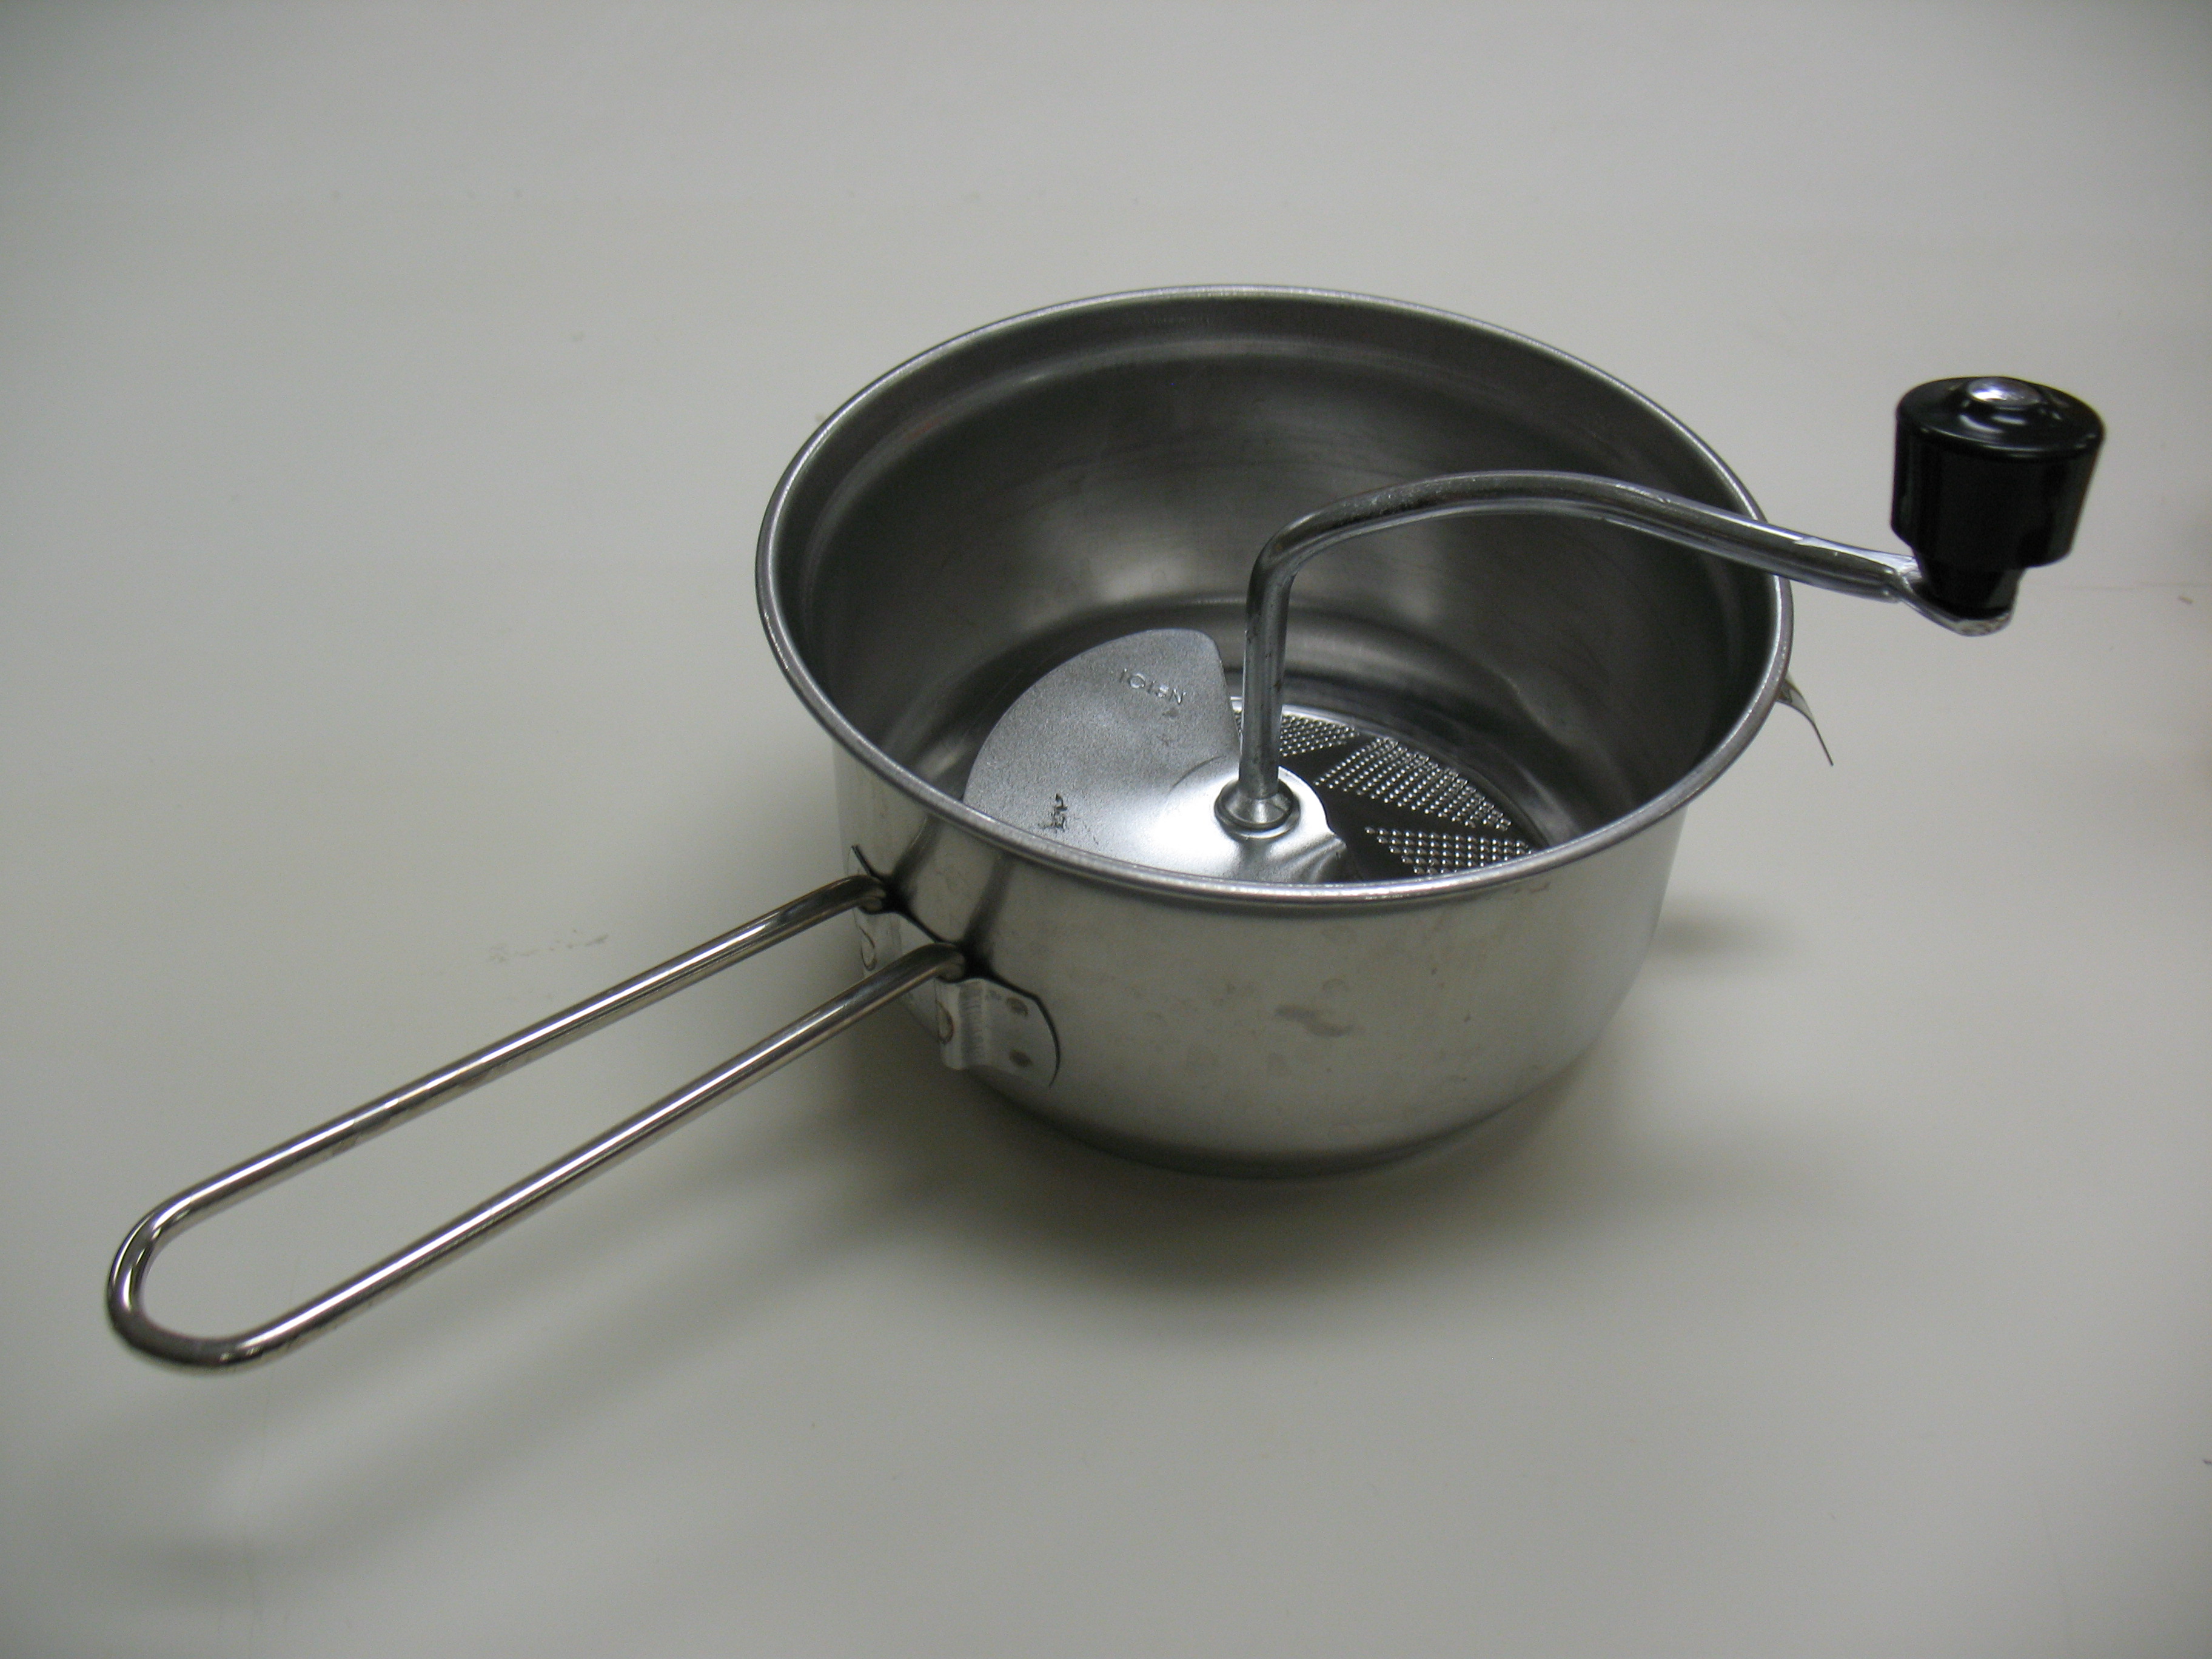
You’ll also need jars, lids, and ring bands manufactured for home canning. When getting started, new jars are a worthwhile investment (versus purchasing used jars from a yard sale or flea market) because very old jars may break under pressure and heat. Mason-type jars of standard sizes (e.g., half-pint, pint, and quart) are recommended for the tested processes available from science-based sources such as USDA and your land-grant university. Make sure those jars are manufactured and sold for canning purposes; not all glass and Mason-style jars are tempered to prevent breakage with the extreme heat and temperature swings during canning. When you actually get to canning your harvest, be sure to follow manufacturers’ advice for preparing your jars and lids. In addition to standard cooking utensils like cutting boards and bowls, a jar funnel, jar lifter, headspace measurement tool, and bubble-freer are items that you will want to have handy for canning.

If you are freezing your harvest, be sure to use packaging such as plastic bags or rigid containers that are intended for freezer storage of foods.  Not all plastics are the same, and you want materials that will hold up to freezer temperatures as well as protect your goodies from damaging air and mixtures of odors.

Growing your own? You may be lucky enough to have previously started keeping garden records so you remember the name of that great tomato or pepper variety you have liked this past year. If not, think about planning to keep records this year. A garden journal might include variety, seed source, date planted, date harvested, notes on how it grew and resisted disease, and your personal evaluation of the crop.

A final must is reliable, up-to-date canning and other food preservation instructsetp5ions. Specific kitchen equipment or ingredients could be needed to follow directions as they are written for food preservation. Look ahead to what you plan on canning so you can obtain or organize the equipment and tools needed before your garden produce is ready to use. And in the case of canning especially, very significant food safety risks are possible by following unsound recommendations. Reliable, up-to-date canning instructions are available at the NCHFP website, or in the USDA Complete Guide to Home Canning, So Easy to Preserve, or the county or local area Extension office in your state.

———–


Quick, Ketchup with all those Tomatoes!

Do you have more tomatoes than you know what to do with? Try making your own ketchup. A classic condiment that can be found in most American households, you might like your homemade ketchup so much that you never buy another bottle at the grocery store again. The flavorful spices in these recipes might also inspire you to try the tomato-based sauce on more than just burgers and fries.

USDA has tested three slightly different recipes for you to choose from: Tomato Ketchup, Blender Ketchup, and Country Western Ketchup. What’s the difference? The steps of making the products are almost identical, but the ingredients, and therefore flavors, vary. Country Western Ketchup has a spicy kick due to chili peppers, cayenne pepper, and whole peppercorns. Blender Ketchup uses sweet bell peppers, cinnamon sticks, and a lot more sugar than the others. Tomato Ketchup sits in balance between the two, and is the most traditional of the bunch. Like the Country Western it has cayenne pepper, and like the Blender it has cloves, but it also uniquely adds onions to the mix.

In addition to the ingredients, you’ll also need to gather a few pieces of equipment:

  • Four-burner gas or electric stovetop range
  • Boiling water canner with rack
  • 4-gallon stockpot or large kettle for checking tomatoes then heating all ingredients together (“checking” means splitting the skins)
  • Large bowl or sink filled with ice water (to dip checked tomatoes)
  • Chef’s knife
  • Cutting board
  • Spice bag
  • Food sieve or food mill (for Tomato Ketchup and Country Western Ketchup), or a blender (for Blender Ketchup)

Follow these links (same as above) to read the complete directions for making Tomato Ketchup, Blender Ketchup, or Country Western Ketchup.

Strawberry-Kiwi Jam Recipe

Strawberry Kiwi JamStrawberry-Kiwi Jam jars

Blending the local with the exotic, Strawberry-Kiwi jam is a flavorful extension of a classic strawberry jam. Strawberries are plumping up on farms in the southern states. If you’re farther north, then you might want to save this recipe for June or July when you’ll have fresh berries of your own. Or, you can pluck some strawberries off a shelf at the grocery store while you are purchasing the more exotic ingredients that most likely don’t grow close to home: kiwis and (crystallized) ginger.

Crushing StrawberriesChopping KiwiMincing Crystallized Ginger

Strawberry-Kiwi jam is a slightly tangy, subtly spicy, but mostly sweet jam. It goes great on toast, and if you like to bake then try it in thumbprint cookies or with cake. Home canning beginners may want to follow the illustrated instruction guide available here: Step-By-Step Preserving Strawberry-Kiwi Jam. Please also read Using Boiling Water Canners and Principles of Home Canning before beginning. For those of you already comfortable with the basics, here’s the recipe from the University of Georgia publication So Easy to Preserve:

Strawberry-Kiwi Jam with powdered pectin

Makes about 6 half-pint jars

–          3 cups crushed strawberries

–          3 kiwi, peeled and diced

–          1 tablespoon lemon juice

–          1 tablespoon minced crystallized ginger

–          1 package powdered pectin

–          5 cups sugar

Procedure:

  1. Wash canning jars and keep warm.
  2. Prepare two-piece canning lids according to manufacturer’s directions.
  3. Combine strawberries, kiwi, lemon juice, ginger and pectin in a large saucepot. Bring quickly to a boil, stirring frequently.
  4. Add sugar, stirring until dissolved.
  5. Return to a rolling boil. Boil hard 1 minute, stirring constantly.
  6. Remove from heat. Skim foam if necessary.
  7. Ladle hot jam into hot jars, leaving ¼ inch headspace.
  8. Wipe jar rims and adjust lids.
  9. Process in a Boiling Water Canner using recommended process times in the table below.
Table 1.   Recommended process time for Strawberry-Kiwi Jam in a boiling water canner

Process   Time at Altitudes of

Style   of Pack

Jar   Size

0   – 1,000 ft

1,001   – 6,000 ft

Above   6,000 ft

Hot

Half-pints
or Pints

10   min

15 min

20 min

Open jars of jam Turning Until Fingertip Tight

If you’re not able to access the Step-By-Step instructions, then go to http://nchfp.uga.edu/how/can7_jam_jelly.html and click on “Step-By-Step Preserving Strawberry-Kiwi Jam”.

Spice up the season

If you’ve had enough sweets, but you’re still looking for a way to brighten up the winter days, try mixing together a spicy red hot sauce! This recipe is easy to follow and uses ingredients that are available no matter what the season. Easy Hot Sauce is great for stirring into vegetables or cheese dips and spicing up soups and chili.

Easy Hot Sauce

You’ll need:

  • 8 cups (64 ounces) canned, diced tomatoes, undrained
  • 1½ cups seeded, chopped Serrano peppers
  • 4 cups distilled white vinegar (5 percent)
  • 2 teaspoons canning salt
  • 2 tablespoons whole mixed pickling spices

This recipe yields four half-pint jars. Wear gloves when handling, cutting and seeding hot peppers or wash hands thoroughly with soap and water before touching your face or eyes.

Start by washing half-pint canning jars; keep hot until they are filled. Prepare lids according to the manufacturer’s directions.

Next, place mixed pickling spices in a spice bag and tie ends firmly. Mix all ingredients in a Dutch oven or large saucepan. Bring to a boil, stirring occasionally. Simmer for 20 minutes or until tomatoes are soft.

IMG_0936IMG_0180

Press mixture through a food mill. Return the liquid to the pot, heat to boiling and boil for 15 minutes.

Fill hot sauce into clean, hot half-pint jars, leaving ¼-inch headspace. Remove air bubbles and adjust headspace if needed. Wipe rims of jars with a dampened clean paper towel; apply two-piece metal canning lids.

Process in a boiling water canner for 10 minutes (15 minutes if 1,000-6,000 ft. altitude; 20 minutes if over 6,000 ft.). Allow hot sauce to cool, undisturbed, for 12 to 24 hours and check seals. You can remove screw bands after the food has cooled if the lids are sealed.

P1010090

This entry is an edited version of an article originally written by April Reese Sorrow and Elizabeth L. Andress.