Tag Archives: seasonal recipes

Strawberry-Kiwi Jam Recipe

Strawberry Kiwi JamStrawberry-Kiwi Jam jars

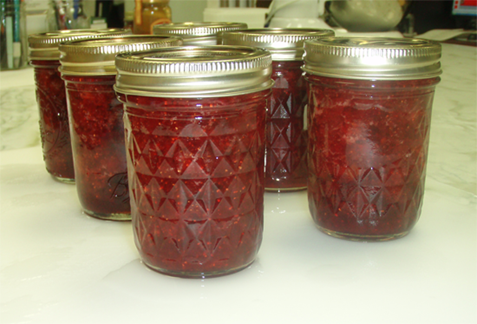
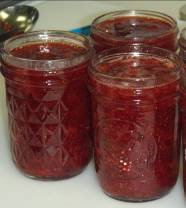
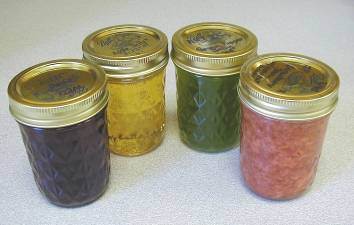
Blending the local with the exotic, Strawberry-Kiwi jam is a flavorful extension of a classic strawberry jam. Strawberries are plumping up on farms in the southern states. If you’re farther north, then you might want to save this recipe for June or July when you’ll have fresh berries of your own. Or, you can pluck some strawberries off a shelf at the grocery store while you are purchasing the more exotic ingredients that most likely don’t grow close to home: kiwis and (crystallized) ginger.

Crushing StrawberriesChopping KiwiMincing Crystallized Ginger

Strawberry-Kiwi jam is a slightly tangy, subtly spicy, but mostly sweet jam. It goes great on toast, and if you like to bake then try it in thumbprint cookies or with cake. Home canning beginners may want to follow the illustrated instruction guide available here: Step-By-Step Preserving Strawberry-Kiwi Jam. Please also read Using Boiling Water Canners and Principles of Home Canning before beginning. For those of you already comfortable with the basics, here’s the recipe from the University of Georgia publication So Easy to Preserve:

Strawberry-Kiwi Jam with powdered pectin

Makes about 6 half-pint jars

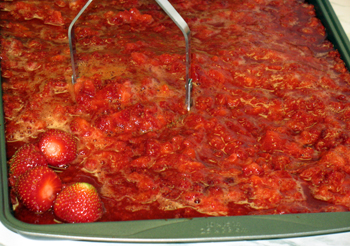
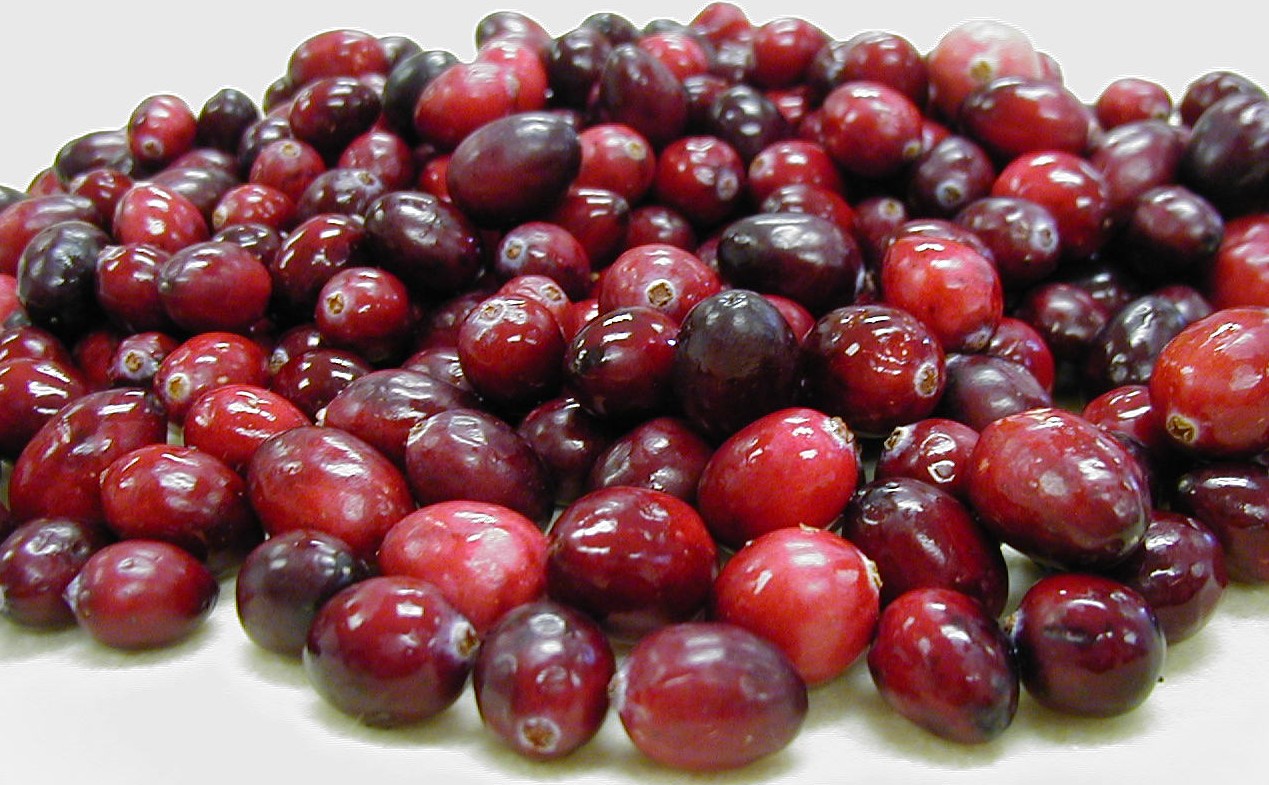
–          3 cups crushed strawberries

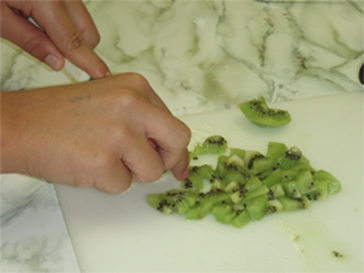
–          3 kiwi, peeled and diced

–          1 tablespoon lemon juice

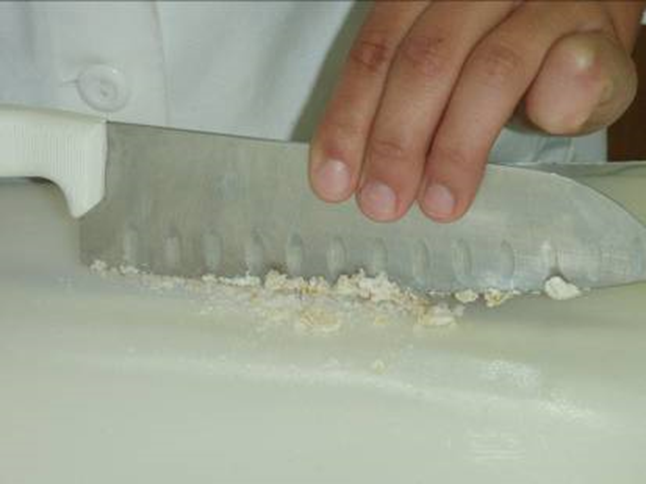
–          1 tablespoon minced crystallized ginger

–          1 package powdered pectin

–          5 cups sugar

Procedure:

  1. Wash canning jars and keep warm.
  2. Prepare two-piece canning lids according to manufacturer’s directions.
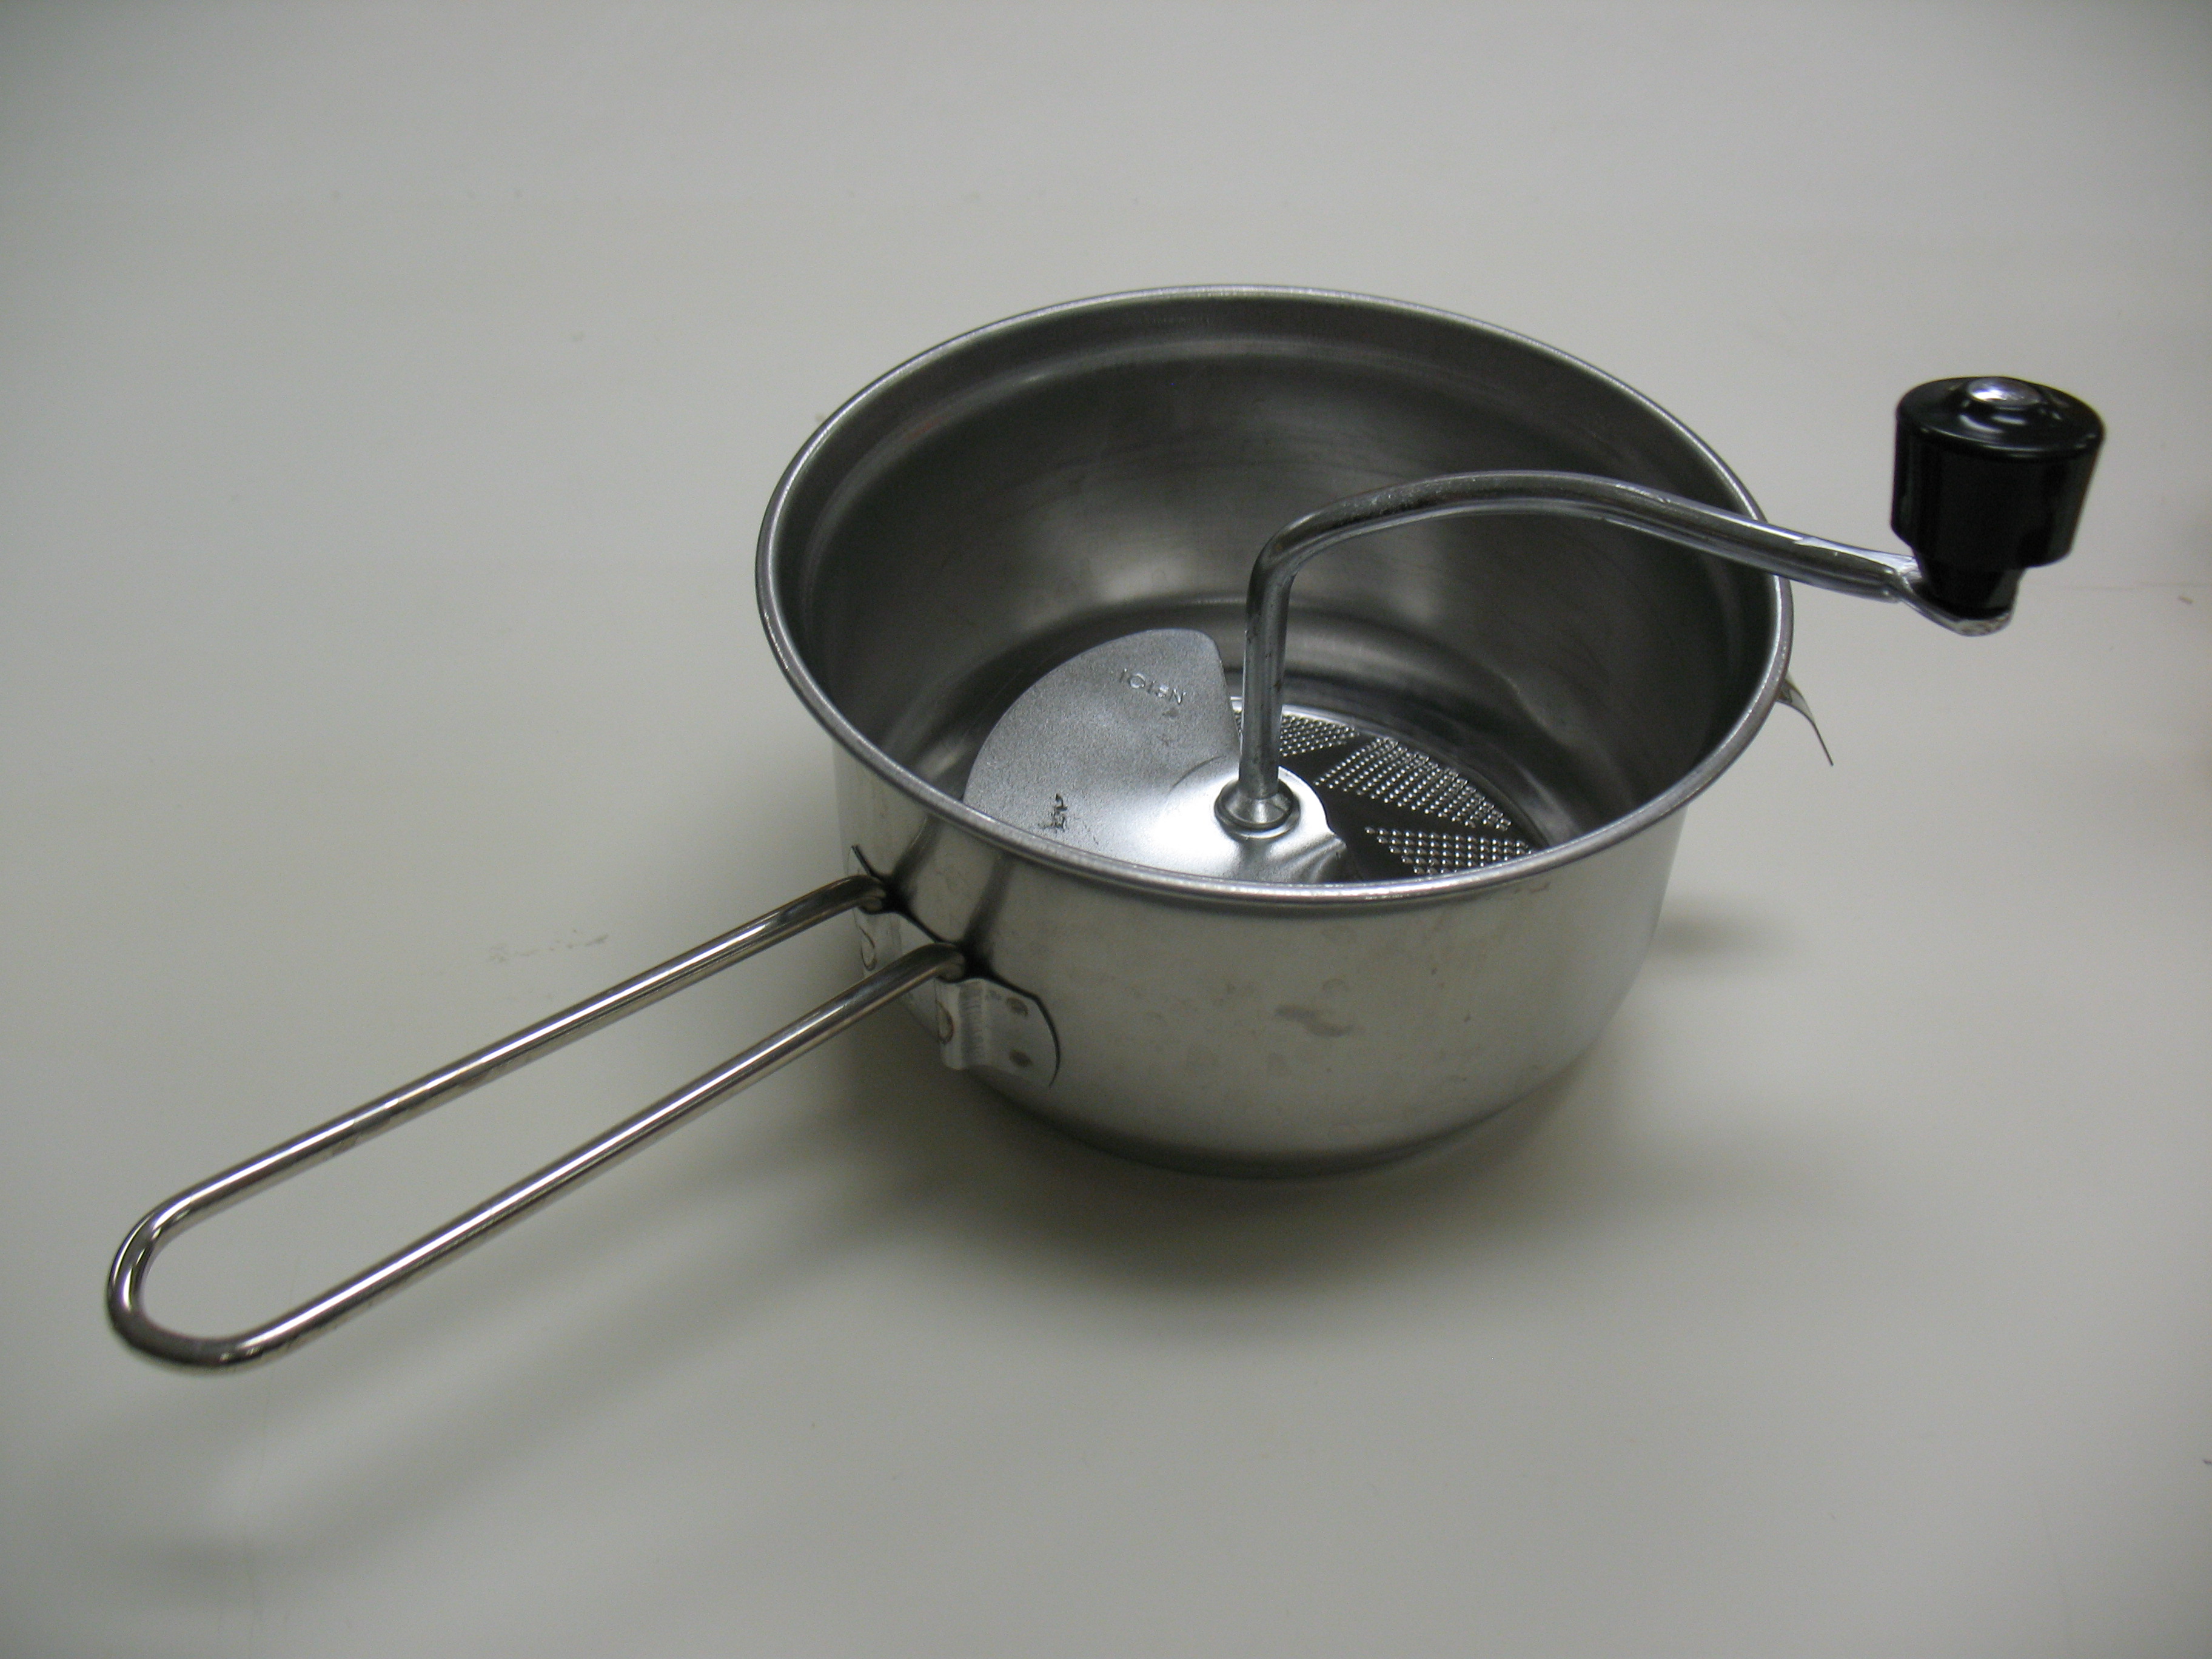
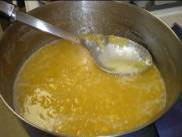
  3. Combine strawberries, kiwi, lemon juice, ginger and pectin in a large saucepot. Bring quickly to a boil, stirring frequently.
  4. Add sugar, stirring until dissolved.
  5. Return to a rolling boil. Boil hard 1 minute, stirring constantly.
  6. Remove from heat. Skim foam if necessary.
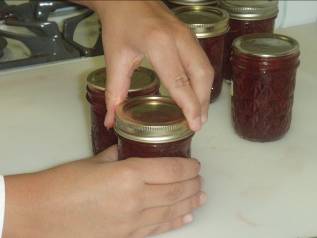
  7. Ladle hot jam into hot jars, leaving ¼ inch headspace.
  8. Wipe jar rims and adjust lids.
  9. Process in a Boiling Water Canner using recommended process times in the table below.
Table 1.   Recommended process time for Strawberry-Kiwi Jam in a boiling water canner

Process   Time at Altitudes of

Style   of Pack

Jar   Size

0   – 1,000 ft

1,001   – 6,000 ft

Above   6,000 ft

Hot

Half-pints
or Pints

10   min

15 min

20 min

Open jars of jam Turning Until Fingertip Tight

If you’re not able to access the Step-By-Step instructions, then go to http://nchfp.uga.edu/how/can7_jam_jelly.html and click on “Step-By-Step Preserving Strawberry-Kiwi Jam”.

Cranberry Conserve

cranberries in (and out of) bowl

Since you can still find fresh cranberries at some stores, here’s a Cranberry Conserve recipe from So Easy to Preserve that makes a more hearty treat out of a classic wintertime favorite. Make and enjoy- before it’s too late!

Cranberry Conserve

  • 1 unpeeled, finely chopped orange
  • 1 cup water
  • 3 cups sugar
  • 1 quart cranberries, washed
  • ½ cup seedless raisins
  • ½ cup chopped nuts (walnuts or pecans make a tasty choice)

Yield: About 4 half-pint jars

Please read Using Boiling Water Canners before beginning. If this is your first time canning, it is recommended that you read Principles of Home Canning.

Procedure: Combine orange and water; cook rapidly until peel is tender (about 20 minutes). Add cranberries, sugar and raisins. Bring slowly to boiling, stirring occasionally until sugar dissolves. Cook rapidly, almost to the jellying point of 220°F (about 8 minutes). As mixture thickens, stir frequently to prevent sticking. Add nuts during the last 5 minutes of cooking. Pour hot conserve into hot jars, leaving ¼-inch headspace. Wipe rims of jars with a dampened clean paper towel; apply two-piece metal canning lids. Process in a Boiling Water Canner.

Table 1. Recommended process time for Cranberry Conserve in a boiling water canner.
Process Time at Altitudes of
Style of Pack Jar Size 0 – 1,000 ft 1,001 – 6,000 ft Above 6,000 ft
Hot Half-pints 10 min 15 20

more cranberries

Spice up the season

If you’ve had enough sweets, but you’re still looking for a way to brighten up the winter days, try mixing together a spicy red hot sauce! This recipe is easy to follow and uses ingredients that are available no matter what the season. Easy Hot Sauce is great for stirring into vegetables or cheese dips and spicing up soups and chili.

Easy Hot Sauce

You’ll need:

  • 8 cups (64 ounces) canned, diced tomatoes, undrained
  • 1½ cups seeded, chopped Serrano peppers
  • 4 cups distilled white vinegar (5 percent)
  • 2 teaspoons canning salt
  • 2 tablespoons whole mixed pickling spices

This recipe yields four half-pint jars. Wear gloves when handling, cutting and seeding hot peppers or wash hands thoroughly with soap and water before touching your face or eyes.

Start by washing half-pint canning jars; keep hot until they are filled. Prepare lids according to the manufacturer’s directions.

Next, place mixed pickling spices in a spice bag and tie ends firmly. Mix all ingredients in a Dutch oven or large saucepan. Bring to a boil, stirring occasionally. Simmer for 20 minutes or until tomatoes are soft.

IMG_0936IMG_0180

Press mixture through a food mill. Return the liquid to the pot, heat to boiling and boil for 15 minutes.

Fill hot sauce into clean, hot half-pint jars, leaving ¼-inch headspace. Remove air bubbles and adjust headspace if needed. Wipe rims of jars with a dampened clean paper towel; apply two-piece metal canning lids.

Process in a boiling water canner for 10 minutes (15 minutes if 1,000-6,000 ft. altitude; 20 minutes if over 6,000 ft.). Allow hot sauce to cool, undisturbed, for 12 to 24 hours and check seals. You can remove screw bands after the food has cooled if the lids are sealed.

P1010090

This entry is an edited version of an article originally written by April Reese Sorrow and Elizabeth L. Andress.

A sweet spread for your sweetheart

Jelly jars

The spring and summer months allow a wealth of fresh canning possibilities. Tomatoes, corn and green beans from gardens can keep you canning or freezing until you wear out. But by winter, you may be ready to try some different types of preserves. Perhaps you’re also looking for ways to sweeten the upcoming Valentine’s Day holiday with home-preserved gifts for your loved ones.

Elizabeth Andress is the Director of the National Center for Home Food Preservation, which is hosted by the College of Family and Consumer Sciences at the University of Georgia. She said recipes available from the Center using juice concentrates and canned vegetables enable canners to preserve in winter. “There are recipes perfect for people yearning to can in the winter,” Andress said. “You don’t always have to can with fresh fruits and vegetables. Some of those preserves also make nice holiday gifts.”

Orange Jelly from Frozen Juice

This recipe calls for frozen concentrated juice and powdered pectin and creates a delightful, flavorful orange jelly for toast or biscuits on dreary winter mornings or late afternoons.

For five or six half-pint jars, you’ll need:

  • 12 ounces concentrated orange juice, thawed
  • 2½ cups water
  • 4½ cups sugar
  • 1 box powdered regular pectin

Begin by sterilizing your canning jars. To sterilize jars, boil empty, washed and rinsed jars for 10 minutes in water. The easiest way to do this is to stand empty jars upright on a rack in a boiling water canner filled with clean water. Keep jars hot until they are filled.

Measure sugar and set aside. Mix juice and water in a saucepan and stir in powdered pectin. Bring to a full boil over high heat, stirring constantly. Once boiling, stir in all sugar. Stir and bring to a full boil that cannot be stirred down. Boil hard for one minute, stirring constantly.

Skimming foam (1)

Remove from heat; skim off foam quickly. Pour hot jelly immediately into hot, sterile jars, leaving ¼-inch headspace. Wipe rims of jars with a dampened clean paper towel; adjust two-piece metal canning lids. Process in a boiling water canner for 5 minutes (10 minutes if 1,000-6,000 ft. altitude; 15 minutes if over 6,000 ft.). Allow jelly to cool, undisturbed, for 12 to 24 hours and check seals. You can remove screw bands after the food has cooled if the lids are sealed.

This entry is an edited version of an article originally written by April Reese Sorrow and Elizabeth L. Andress.