Cranberry Conserve

cranberries in (and out of) bowl

Since you can still find fresh cranberries at some stores, here’s a Cranberry Conserve recipe from So Easy to Preserve that makes a more hearty treat out of a classic wintertime favorite. Make and enjoy- before it’s too late!

Cranberry Conserve

  • 1 unpeeled, finely chopped orange
  • 1 cup water
  • 3 cups sugar
  • 1 quart cranberries, washed
  • ½ cup seedless raisins
  • ½ cup chopped nuts (walnuts or pecans make a tasty choice)

Yield: About 4 half-pint jars

Please read Using Boiling Water Canners before beginning. If this is your first time canning, it is recommended that you read Principles of Home Canning.

Procedure: Combine orange and water; cook rapidly until peel is tender (about 20 minutes). Add cranberries, sugar and raisins. Bring slowly to boiling, stirring occasionally until sugar dissolves. Cook rapidly, almost to the jellying point of 220°F (about 8 minutes). As mixture thickens, stir frequently to prevent sticking. Add nuts during the last 5 minutes of cooking. Pour hot conserve into hot jars, leaving ¼-inch headspace. Wipe rims of jars with a dampened clean paper towel; apply two-piece metal canning lids. Process in a Boiling Water Canner.

Table 1. Recommended process time for Cranberry Conserve in a boiling water canner.
Process Time at Altitudes of
Style of Pack Jar Size 0 – 1,000 ft 1,001 – 6,000 ft Above 6,000 ft
Hot Half-pints 10 min 15 20

more cranberries

Spice up the season

If you’ve had enough sweets, but you’re still looking for a way to brighten up the winter days, try mixing together a spicy red hot sauce! This recipe is easy to follow and uses ingredients that are available no matter what the season. Easy Hot Sauce is great for stirring into vegetables or cheese dips and spicing up soups and chili.

Easy Hot Sauce

You’ll need:

  • 8 cups (64 ounces) canned, diced tomatoes, undrained
  • 1½ cups seeded, chopped Serrano peppers
  • 4 cups distilled white vinegar (5 percent)
  • 2 teaspoons canning salt
  • 2 tablespoons whole mixed pickling spices

This recipe yields four half-pint jars. Wear gloves when handling, cutting and seeding hot peppers or wash hands thoroughly with soap and water before touching your face or eyes.

Start by washing half-pint canning jars; keep hot until they are filled. Prepare lids according to the manufacturer’s directions.

Next, place mixed pickling spices in a spice bag and tie ends firmly. Mix all ingredients in a Dutch oven or large saucepan. Bring to a boil, stirring occasionally. Simmer for 20 minutes or until tomatoes are soft.

IMG_0936IMG_0180

Press mixture through a food mill. Return the liquid to the pot, heat to boiling and boil for 15 minutes.

Fill hot sauce into clean, hot half-pint jars, leaving ¼-inch headspace. Remove air bubbles and adjust headspace if needed. Wipe rims of jars with a dampened clean paper towel; apply two-piece metal canning lids.

Process in a boiling water canner for 10 minutes (15 minutes if 1,000-6,000 ft. altitude; 20 minutes if over 6,000 ft.). Allow hot sauce to cool, undisturbed, for 12 to 24 hours and check seals. You can remove screw bands after the food has cooled if the lids are sealed.

P1010090

This entry is an edited version of an article originally written by April Reese Sorrow and Elizabeth L. Andress.

A sweet spread for your sweetheart

Jelly jars

The spring and summer months allow a wealth of fresh canning possibilities. Tomatoes, corn and green beans from gardens can keep you canning or freezing until you wear out. But by winter, you may be ready to try some different types of preserves. Perhaps you’re also looking for ways to sweeten the upcoming Valentine’s Day holiday with home-preserved gifts for your loved ones.

Elizabeth Andress is the Director of the National Center for Home Food Preservation, which is hosted by the College of Family and Consumer Sciences at the University of Georgia. She said recipes available from the Center using juice concentrates and canned vegetables enable canners to preserve in winter. “There are recipes perfect for people yearning to can in the winter,” Andress said. “You don’t always have to can with fresh fruits and vegetables. Some of those preserves also make nice holiday gifts.”

Orange Jelly from Frozen Juice

This recipe calls for frozen concentrated juice and powdered pectin and creates a delightful, flavorful orange jelly for toast or biscuits on dreary winter mornings or late afternoons.

For five or six half-pint jars, you’ll need:

  • 12 ounces concentrated orange juice, thawed
  • 2½ cups water
  • 4½ cups sugar
  • 1 box powdered regular pectin

Begin by sterilizing your canning jars. To sterilize jars, boil empty, washed and rinsed jars for 10 minutes in water. The easiest way to do this is to stand empty jars upright on a rack in a boiling water canner filled with clean water. Keep jars hot until they are filled.

Measure sugar and set aside. Mix juice and water in a saucepan and stir in powdered pectin. Bring to a full boil over high heat, stirring constantly. Once boiling, stir in all sugar. Stir and bring to a full boil that cannot be stirred down. Boil hard for one minute, stirring constantly.

Skimming foam (1)

Remove from heat; skim off foam quickly. Pour hot jelly immediately into hot, sterile jars, leaving ¼-inch headspace. Wipe rims of jars with a dampened clean paper towel; adjust two-piece metal canning lids. Process in a boiling water canner for 5 minutes (10 minutes if 1,000-6,000 ft. altitude; 15 minutes if over 6,000 ft.). Allow jelly to cool, undisturbed, for 12 to 24 hours and check seals. You can remove screw bands after the food has cooled if the lids are sealed.

This entry is an edited version of an article originally written by April Reese Sorrow and Elizabeth L. Andress.

Freezing soup

Who doesn’t enjoy freezing cold soup in the wintertime? …after it’s reheated, of course! Another option for soup lovers who don’t want to pull out the pressure canner this season is to freeze soups. Here you’ll find how-to tips and recommendations for freezing soups successfully.

24 hours before putting soup into your freezer, drop the freezer temperature to -10°F. Once soup has frozen, hold at 0°F. If you already have a freezer that’s set to the 0°F and there’s space open in it, then freezing is more likely to be an economical choice for food preservation. If you also have airtight containers to use instead of buying new ones, then the cost is even less.

Frozen corn and tomato productIMG_1159

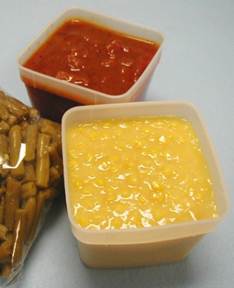
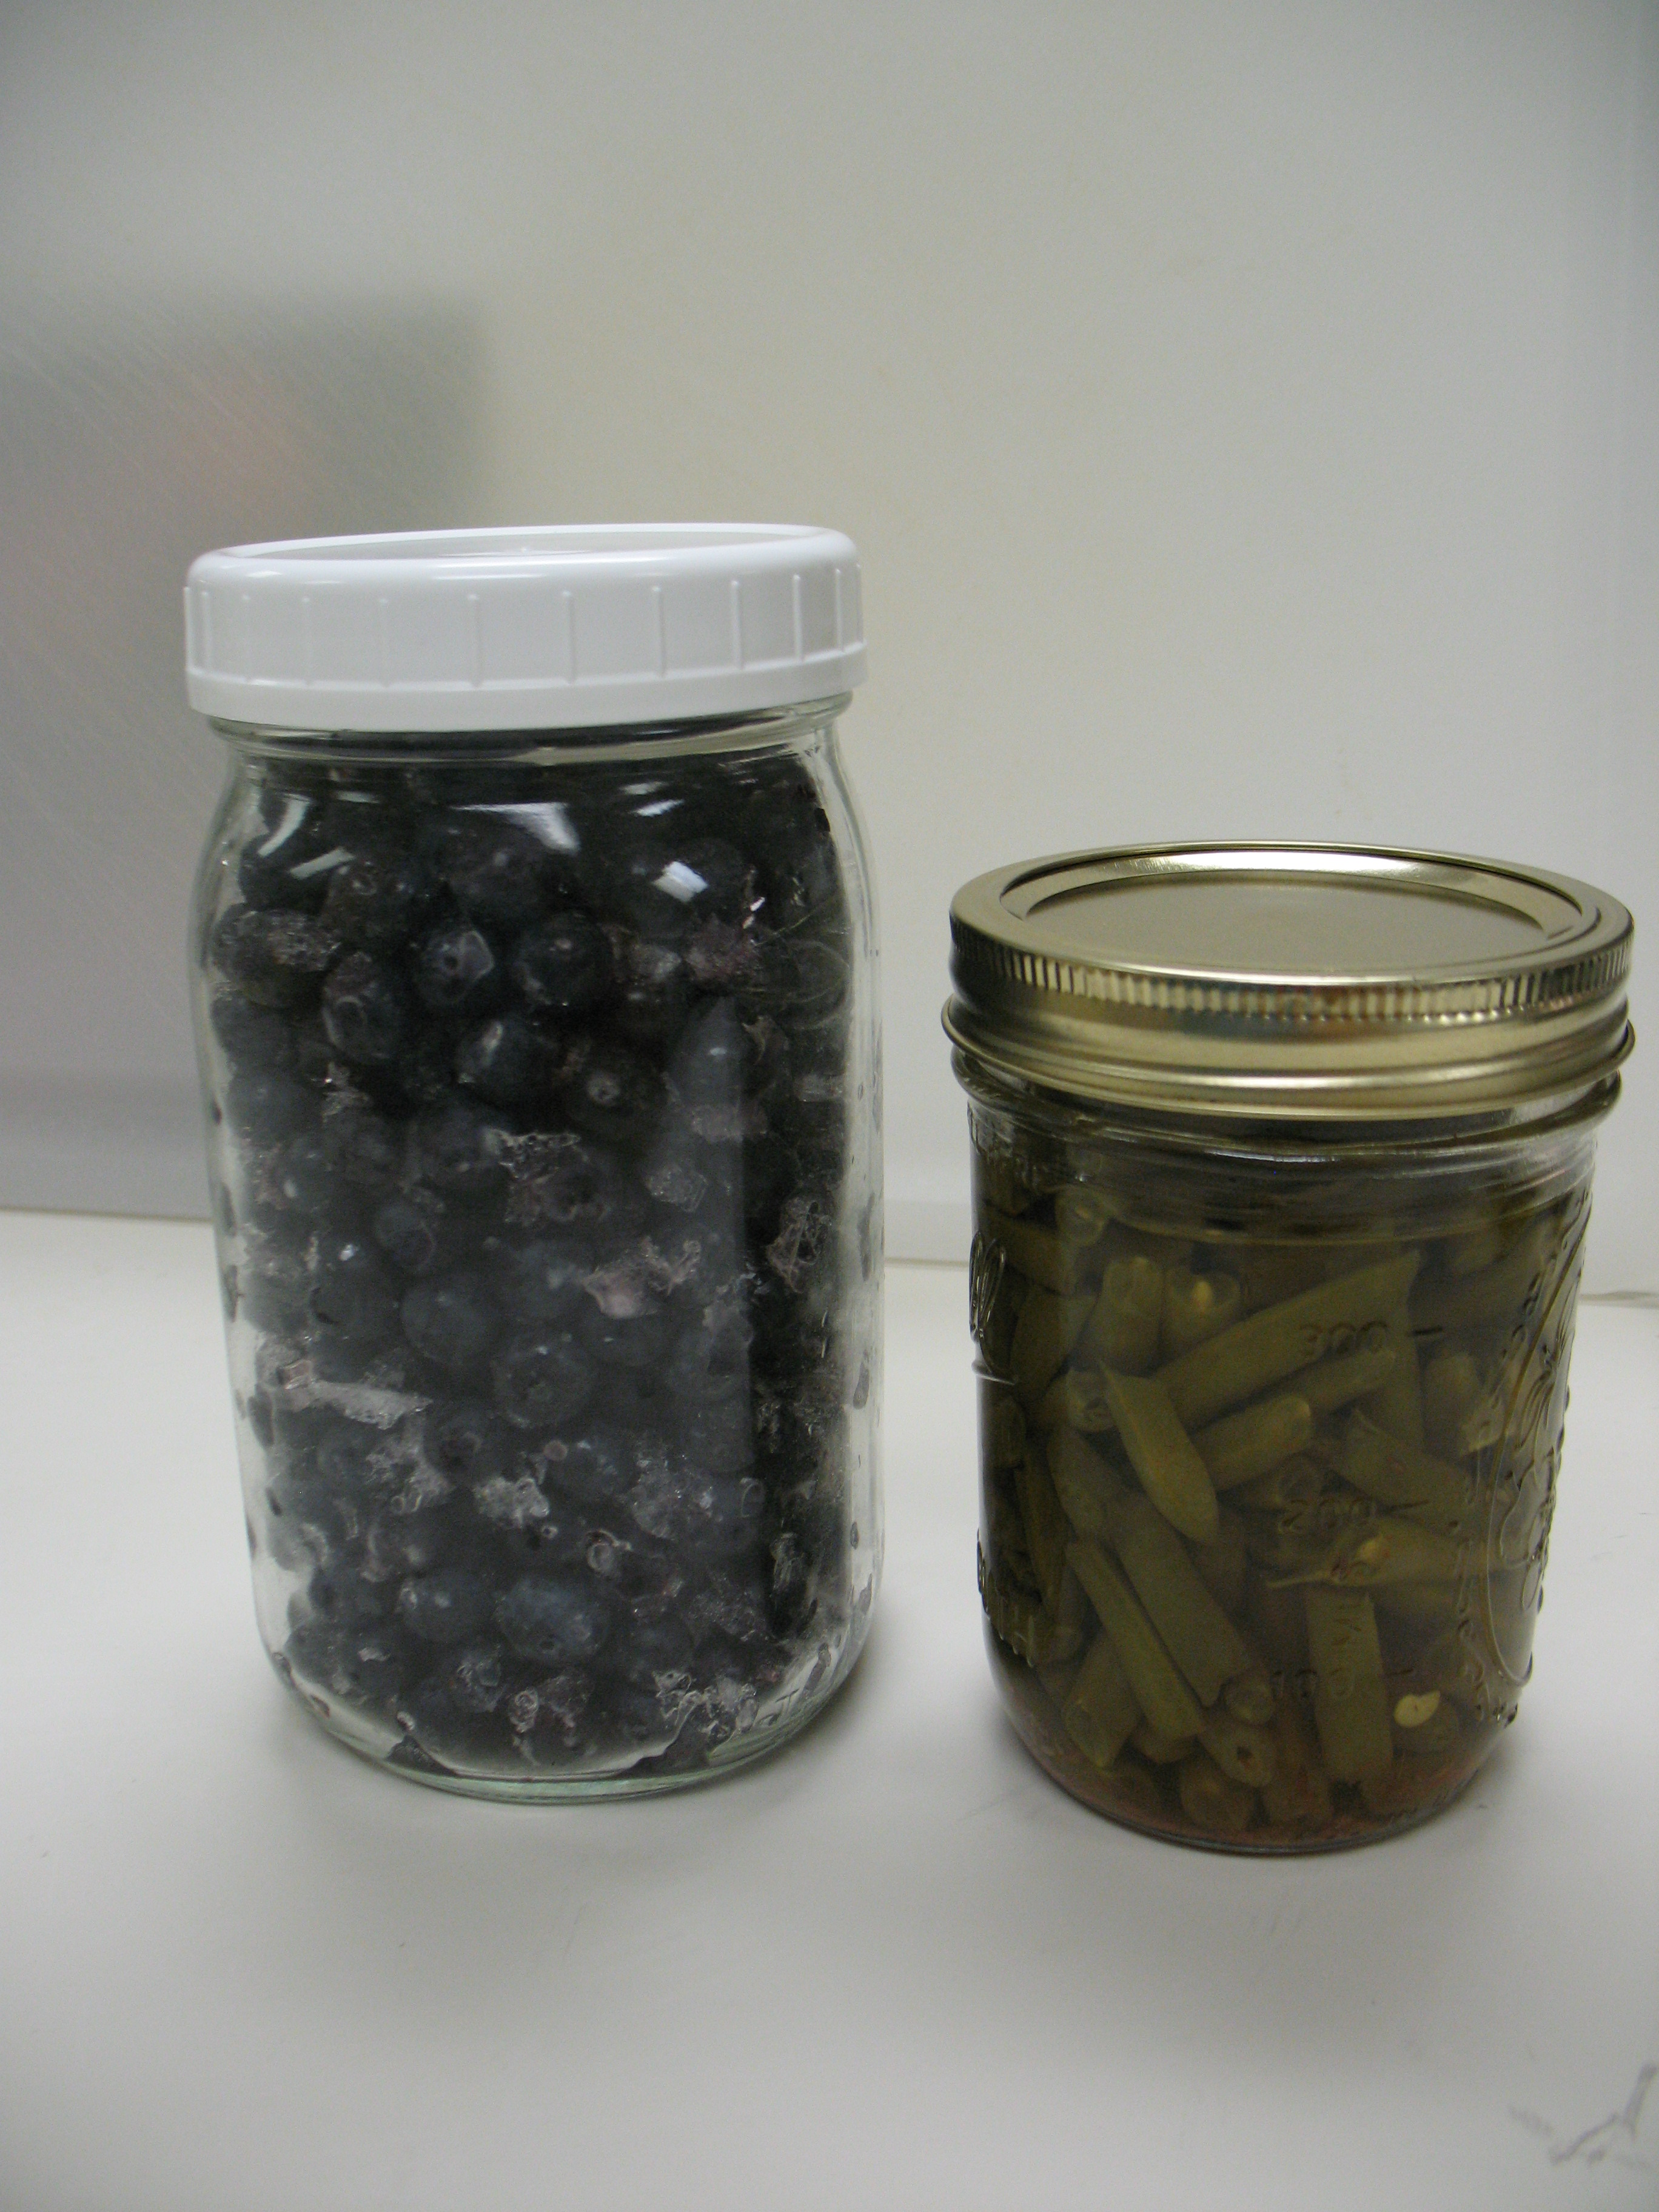
Which kinds of containers work best? Rigid containers like plastic cartons or glass jars designed for canning and freezing. Keep in mind thought that many common household containers are not suitable because you’re looking for moisture- and vapor-resistant materials that produce an airtight seal (i.e. not your average yogurt or milk container). Hint: wide-mouth jars make it easier to remove the contents before complete thawing. One other option is to pour the soup into ice cube trays!

An advantage of freezing soup is that you can portion individual servings (or servings for 2, 3, 4…), making it easy to reheat just one portion at a time in order to produce your desired quantity. No container should be so big that the soup will take a long time to become frozen; that leads to poor quality. Another benefit of freezing is that certain ingredients intensify in flavor after freezing, such as pepper, cloves, garlic, green pepper, celery seasonings and some herbs…but beware; they could also become bitter overtime. Other cautions: onion and paprika change flavor, curry develops and off-flavor and salt loses flavor. Simple solution: season lightly before freezing then add more seasonings after reheating.

Just like some fruits and vegetables freeze better than others, some soup recipes will maintain a higher quality than others. It’s generally suggested that you leave out potatoes from soups that you plan to freeze. Another tip for best quality is to concentrate the product by using less liquid. You can always add more liquid (broth, tomato juice, cream, water) when you reheat it.

After preparing your delicious soup, it’s important to cool it quickly, so that large ice crystals don’t form- that would lead to a mushy consistency. To do this, put the pot of soup in a pan or sink of ice water. When cool, package and freeze immediately, placing containers against the surfaces of the freezer for the fastest freeze. For highest quality, enjoy frozen soup within 4-6 months.

IMG_0193

Do not put hot glass in the freezer (or in ice water); it may break. It’s also important to leave headspace so that the soup doesn’t break the container as liquids expand in the freezing process. The exact amount of headspace needed depends on the contents of your soup, but leave at least ½-inch for mostly solid soups and 1½-inches for mostly liquid soups.

Unlike other frozen foods, it is recommended that you do not thaw your soup, but rather reheat it immediately after removal from the freezer. Heat it to a rolling boil, or at least 165°F. If it’s a cream soup, then heat over boiling water, double-boiler style. Soups with dairy may curdle and separate, so stir while reheating to keep smooth. Here’s another tip: add a waxy rice or corn flour as a thickener.

Information in the entry comes from ‘Freezing Prepared Foods’ and So Easy to Preserve.