Tag Archives: pressure canning

Umm…what exactly is botulism? (Part II)

Botulism: Prevention

After reading last week’s entry you know where botulism comes from and the effects it has on people. But perhaps even more importantly, are you confident that you know how to prevent it?

There are essentially two ways to prevent botulism: 1) thermal destruction (heating) of spores and 2) inhibiting spores from germinating into toxin-producing vegetative cells.

Even in favorable conditions, C. botulinum vegetative cells and toxin should be destroyed when held at the temperature of boiling water (212°F at sea level) for a relatively short period of time. There are some other inactivation heat processes available for different types of food, also.  However, C. botulinum spores are much more heat resistant and need temperatures much higher than boiling to be killed in  reasonable times.  For home canning, we use temperatures of 240°F or above. It is very important to note that, unlike most bacteria, C. botulinum and other spores are NOT destroyed by normal cooking or boiling procedures. The spores require higher temperatures (240°F or above) that properly operated pressure canners create.

dial=gauge pressure canner

To prevent botulism, use approved processing methods and times as recommended by USDA. Carefully follow recommendations for pressure canning low acid foods. If you are still concerned if you did everything right, you can boil home-canned products in a saucepan on the stove for ten minutes before serving (add one minute more for each 1,000 of elevation).

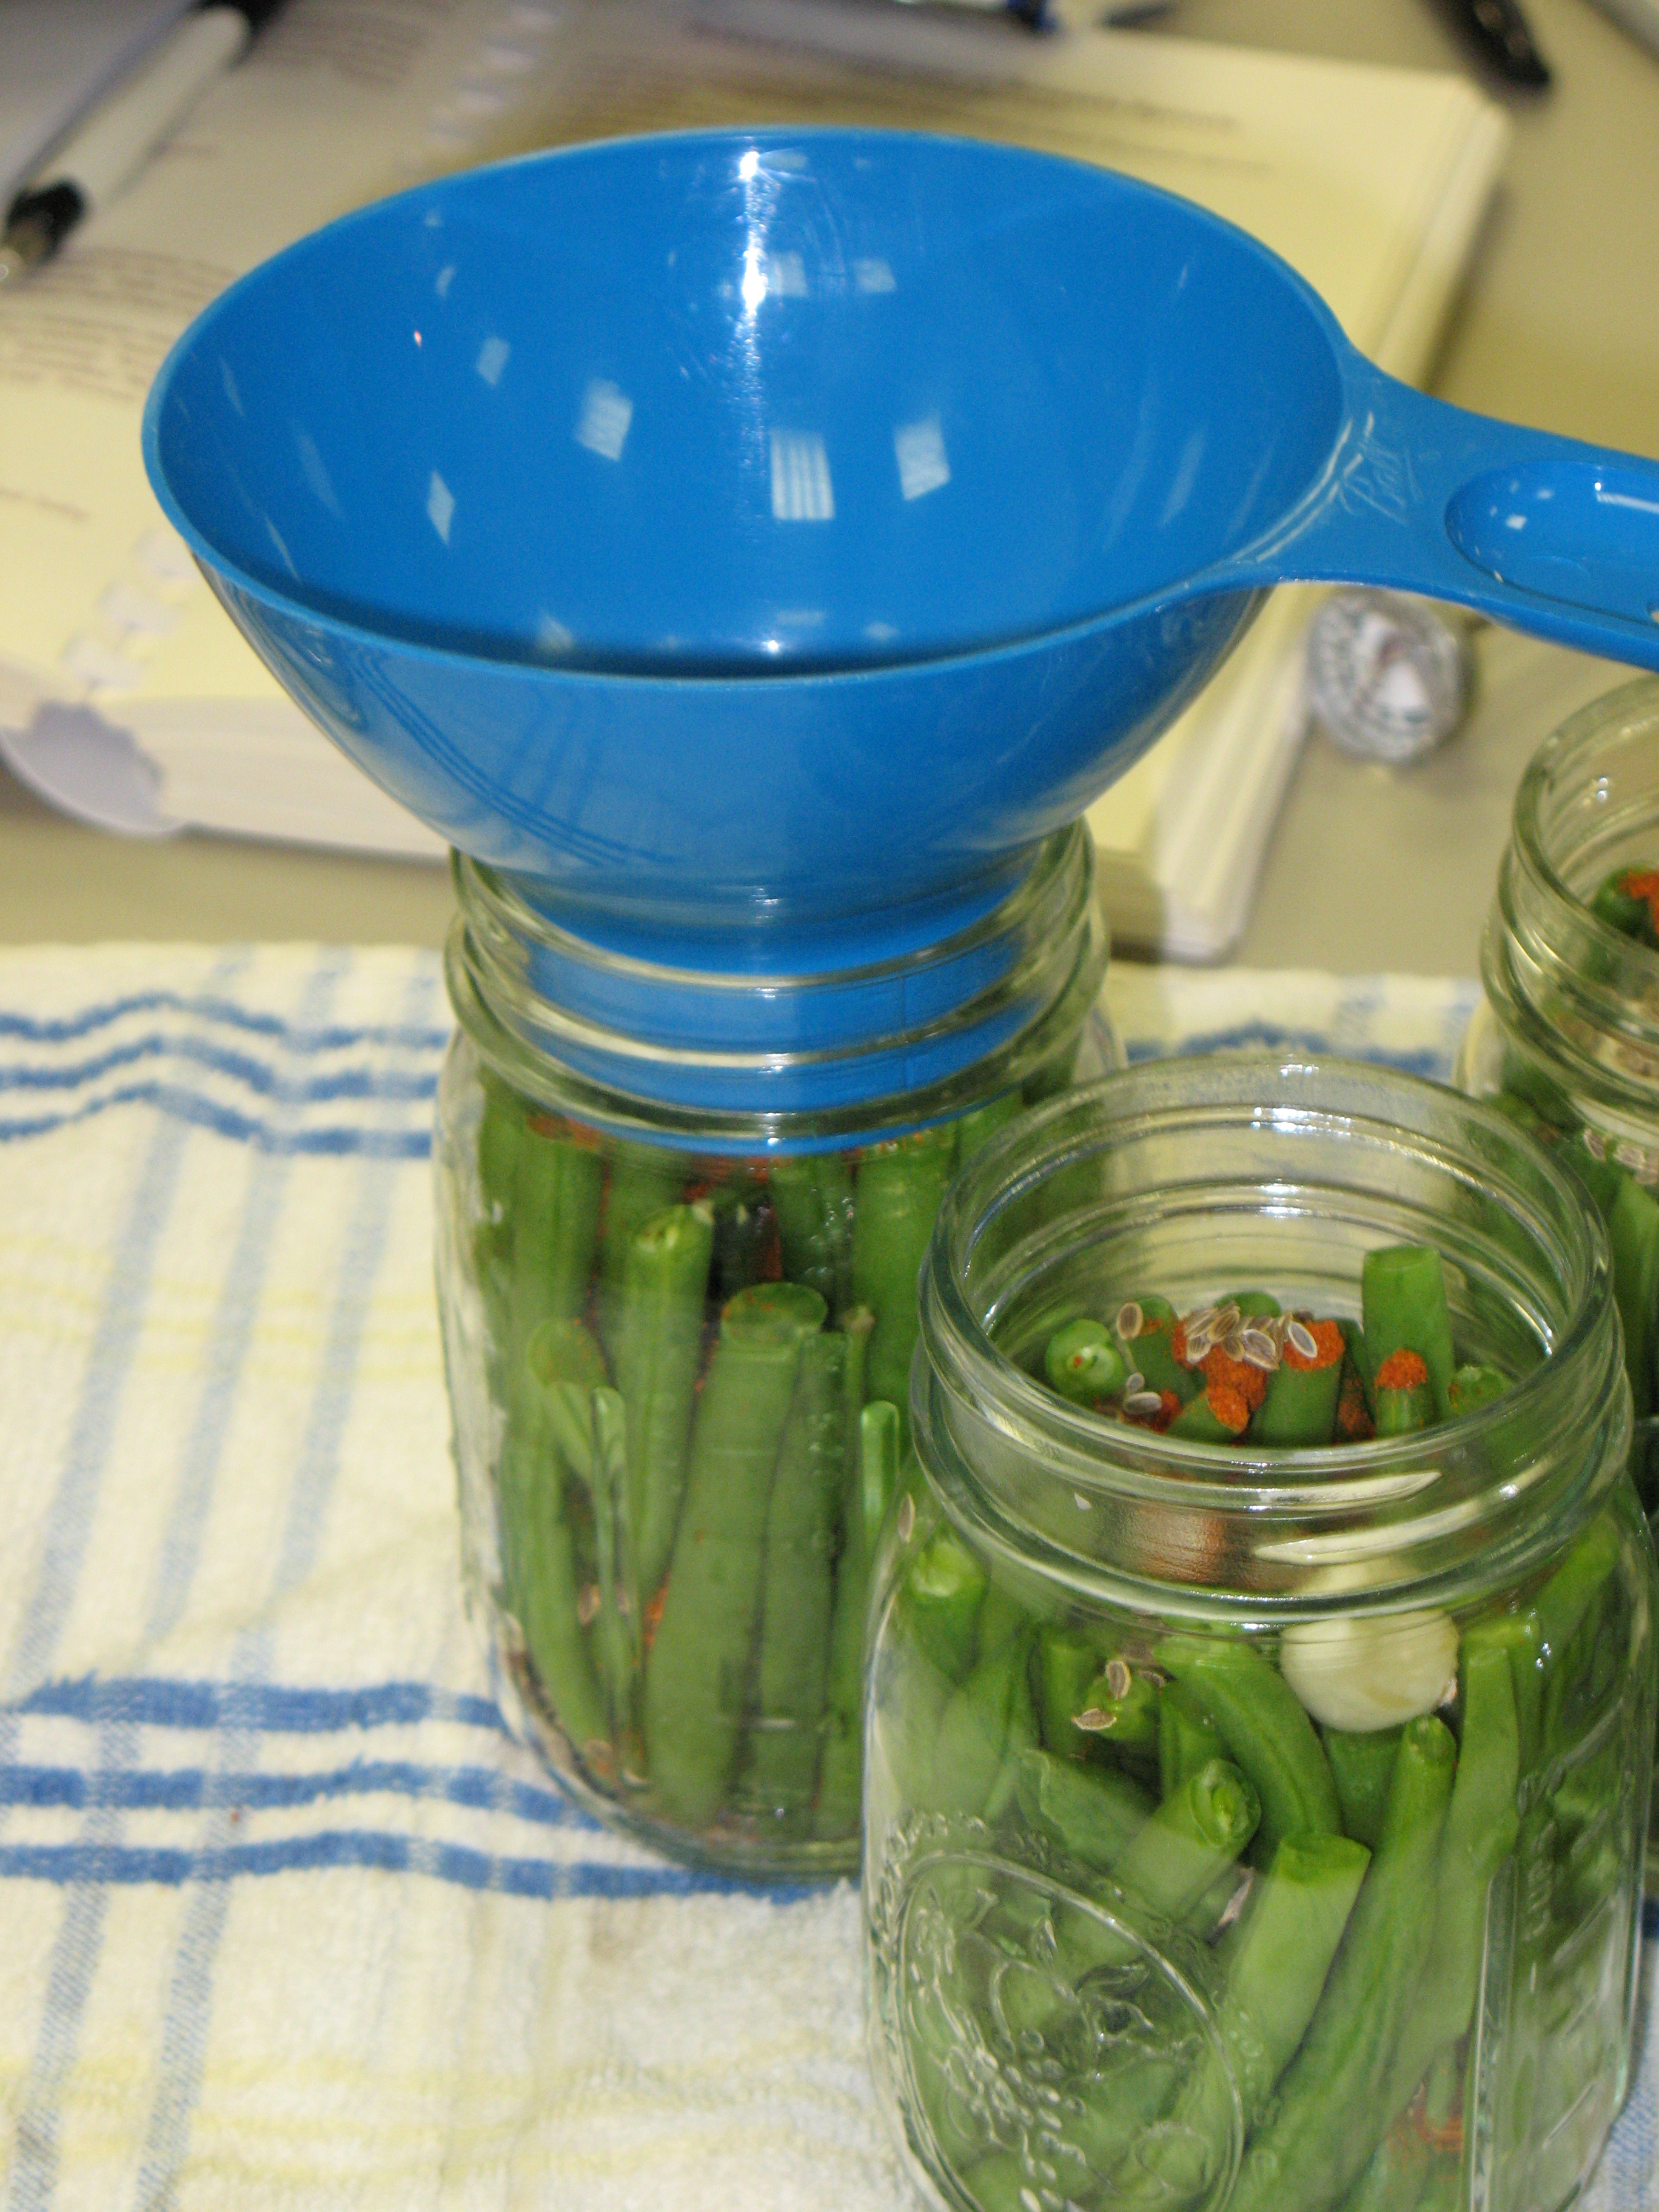
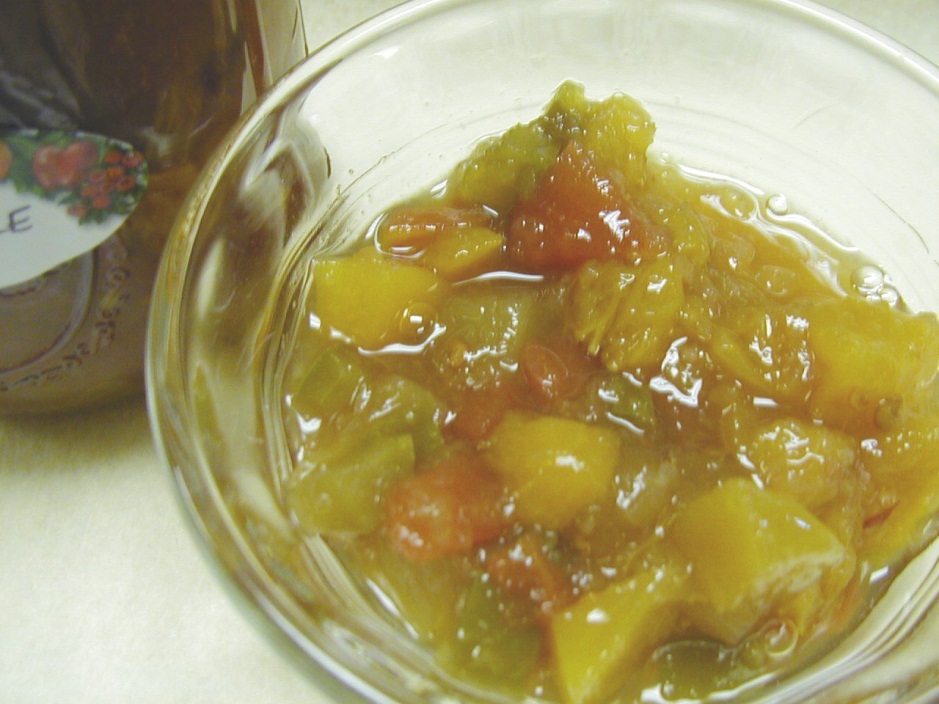
Also remember that C. botulinum spores cannot germinate and then produce the toxin in pH levels of 4.6 or below. Acid foods and properly acidified food products have pH levels equal to or less than 4.6, so the toxin formation is prevented. Examples of acidified foods include pickles to which vinegar is added and salsa to which lemon juice is added.

pickled green beanspeach apple salsa

You can further help prevent botulism and other foodborne illness by practicing general food safety; refrigerate all leftovers within 2 hours after cooking, and after just one hour if temperature is above 90°F. Discard, without tasting, any containers of food that are swollen, bulging, leaking, or cracked. Also immediately discard any product that spurts liquid or foam from a container once opened (unless it’s carbonated and shaken, of course).

Information in the entry comes from the USDA factsheet Clostridium botulinum and So Easy to Preserve.

Umm…what exactly is botulism? (Part I)

Glad you asked. This question is going to be answered in three parts, because it’s rather hefty, but very important to home food preservers, especially people who like to make canned products. The next three entries will cover the topics of Botulism: Sources (what it is and what it does), Botulism: Solutions (how you can prevent it), and Botulism: Surprises (did you know…).

Botulism: Sources

You’ve probably heard of botulism, and you likely know it’s a deadly foodborne disease. But do you know what causes botulism and how it works?

Let’s start by examining the source of botulism: rod-shaped bacteria called Clostridium botulinum. This microorganism is commonly found in soil and in marine sediment. It exists in two forms: as protected structures called spores, and as vegetative cells. To picture these forms, you could imagine spores like seeds and vegetative cells like sprouting plants.

C. botulinum spores are extremely common in soil and marine sediment, and therefore are also commonly found on the surfaces of fruits, vegetables, and seafood. Spores are generally harmless to adults (but can be harmful to infants; more about that later). The spore stage is formed when the bacteria are in an environment they find unfavorable; it is a protective stage that keeps the cell dormant or inactive but allows it to survive. When conditions are favorable, spores germinate into vegetative cells. Active vegetative cells are able to colonize and produce deadly botulinum toxin.

So what are those favorable conditions that allow the growth of C. botulinum?  Very low oxygen (such as in a sealed canning jar) and low acidity, meaning a pH value of 4.6 or above (such as in meats, vegetables, and some tomatoes, figs, and Asian pears).  That is why home food preservers need to be informed about Clostridium botulinum— you are not only dealing with the bacteria, but also the conditions ripe for them to grow out and produce toxin.

jars of veggies

What are the signs and symptoms of botulism? When consumed by humans, the neurotoxin produced by vegetative cells binds to nerve endings that join muscles, preventing muscles from contracting. Symptoms begin with nausea, vomiting, weakness, and dizziness which usually appear 12-36 hours after consuming the toxic food. Next are neurological symptoms such as blurry vision, difficulty speaking and swallowing, and lack of muscle coordination. Eventually the diaphragm and chest muscles become affected, which prevents breathing and results in death from asphyxia.

Can you do anything to stop botulism once the illness begins to affect the human body? Quick medical attention and injection of antitoxin can stop, but rarely reverse, nerve damage. Also, the antitoxin cannot always be used due to serious side effects.

Information in the entry comes from the USDA Factsheet Clostridium botulinum and So Easy to Preserve.

Plenty of Pumpkin Possibilities

Still have a pie pumpkin sitting around, or maybe you’re tempted by their sale price, but don’t know what to do with them? Although canning pumpkin butter is not recommended, there are plenty of other ways to prepare and preserve pumpkin. Just make sure that you are working with one of the smaller varieties of pumpkin, also called “sugar” or “pie” pumpkins. Otherwise, you’ll find the pumpkin flesh to be watery and stringy.

Cubed Pumpkin can be canned for future use in stews or sautées. It is also delicious roasted, perhaps with onion, garlic, and other yummy veggies. If you want pumpkin purée for soups, breads, pies, or pancakes, then get a few freezer bags ready for Freezing Pumpkin.  If you’re feeling adventurous, your inner child (or perhaps your actual child) will have fun drying and trying Spicy Pumpkin Leather. Here you’ll find recipes and instructions for each of these options.

Cubed Pumpkin (or Cubed Winter Squash)

If this is your first time canning, or if you could use a refresher of the basics, be sure to read Using Pressure Canners, and Principles of Home Canning before beginning.

Cubed pumpkin averages 2¼ pounds per quart jar, so decide your canner load: for 9 pints, you’ll need about 10 pounds, or for 7 quarts you’ll need about 16 pounds of pumpkin.

Procedure:

  1. Wash and remove seeds from pumpkin.
  2. Cut pumpkin into 1-inch wide slices, and peel.
  3. Cut flesh into 1-inch cubes.
  4. Boil 2 minutes in water (do not mash or purée!).
  5. Fill jars with cubes and cooking liquid, leaving 1-inch headspace.
  6. Adjust lids and process using the tables below.
Table 1. Recommended process time for Pumpkin and Winter Squash in a dial-gauge   pressure canner.

Canner Pressure (PSI) at Altitudes of

Style of Pack

Jar Size

Process Time

0 – 2,000 ft

2,001 – 4,000 ft

4,001 – 6,000 ft

6,001 – 8,000 ft

Hot

Pints

55 min

11 lb

12 lb

13 lb

14 lb

Quarts

90 min

11 lb

12 lb

13 lb

14 lb

Table 2. Recommended process time for Pumpkin and Winter Squash in a weighted-gauge   pressure canner.

Canner Pressure (PSI) at Altitudes of

Style of Pack

Jar Size

Process Time

0 – 1,000 ft

Above 1,000 ft

Hot

Pints

55 min

10 lb

15 lb

Quarts

90 min

10 lb

15 lb


Freezing Pumpkin

Select a full-colored mature pumpkin with fine texture.

Procedure:

  1. Wash, cut into cooking-size sections and remove seeds.
  2. Cook until soft in boiling water, in steam, in a pressure cooker or in an oven.
  3. Remove pulp from rind and mash.
  4. To cool, place pan containing pumpkin in cold water and stir occasionally.
  5. Package in freezer bags or a sealable plastic container, leaving ½-inch headspace.
  6. Seal and freeze.

Spicy Pumpkin Leather

Ingredients:

  • 2 cups fresh pumpkin, cooked and puréed
  • ½ cup honey
  • ¼ teaspoon cinnamon
  • 1/8 teaspoon nutmeg
  • 1/8  teaspoon powdered cloves

Procedure:

  1. Add honey, cinnamon, nutmeg, and cloves to the cooked and puréed pumpkin. Blend well.
  2. Spray fruit roll liner tray with vegetable oil (for electric dehydrators) or line cookie sheet with plastic wrap (for ovens that register as low as 140-145°F). Spread mixture evenly on tray or sheet, at a depth of ¼ inch.
  3. Dry at 140°F for 6-12 hours. After 6 hours, begin checking for doneness by pressing fingertip near center of leather. It’s done when no impression is left.
  4. Cut leather into quarters then place each piece on a piece of plastic wrap that is slightly wider than the leather- this allows you to roll the leather together with the plastic wrap, twisting the ends of the plastic to seal.
  5. Seal in a freezer bag and keep in a cool, dark place for storage up to one month.

Pumpkin Leather

For original articles, go to “How do I?” “Can” and “Dry” on the National Center for Home Food Preservation website.