Since You Can’t Have Too Many Tomatoes…

Tomatoes

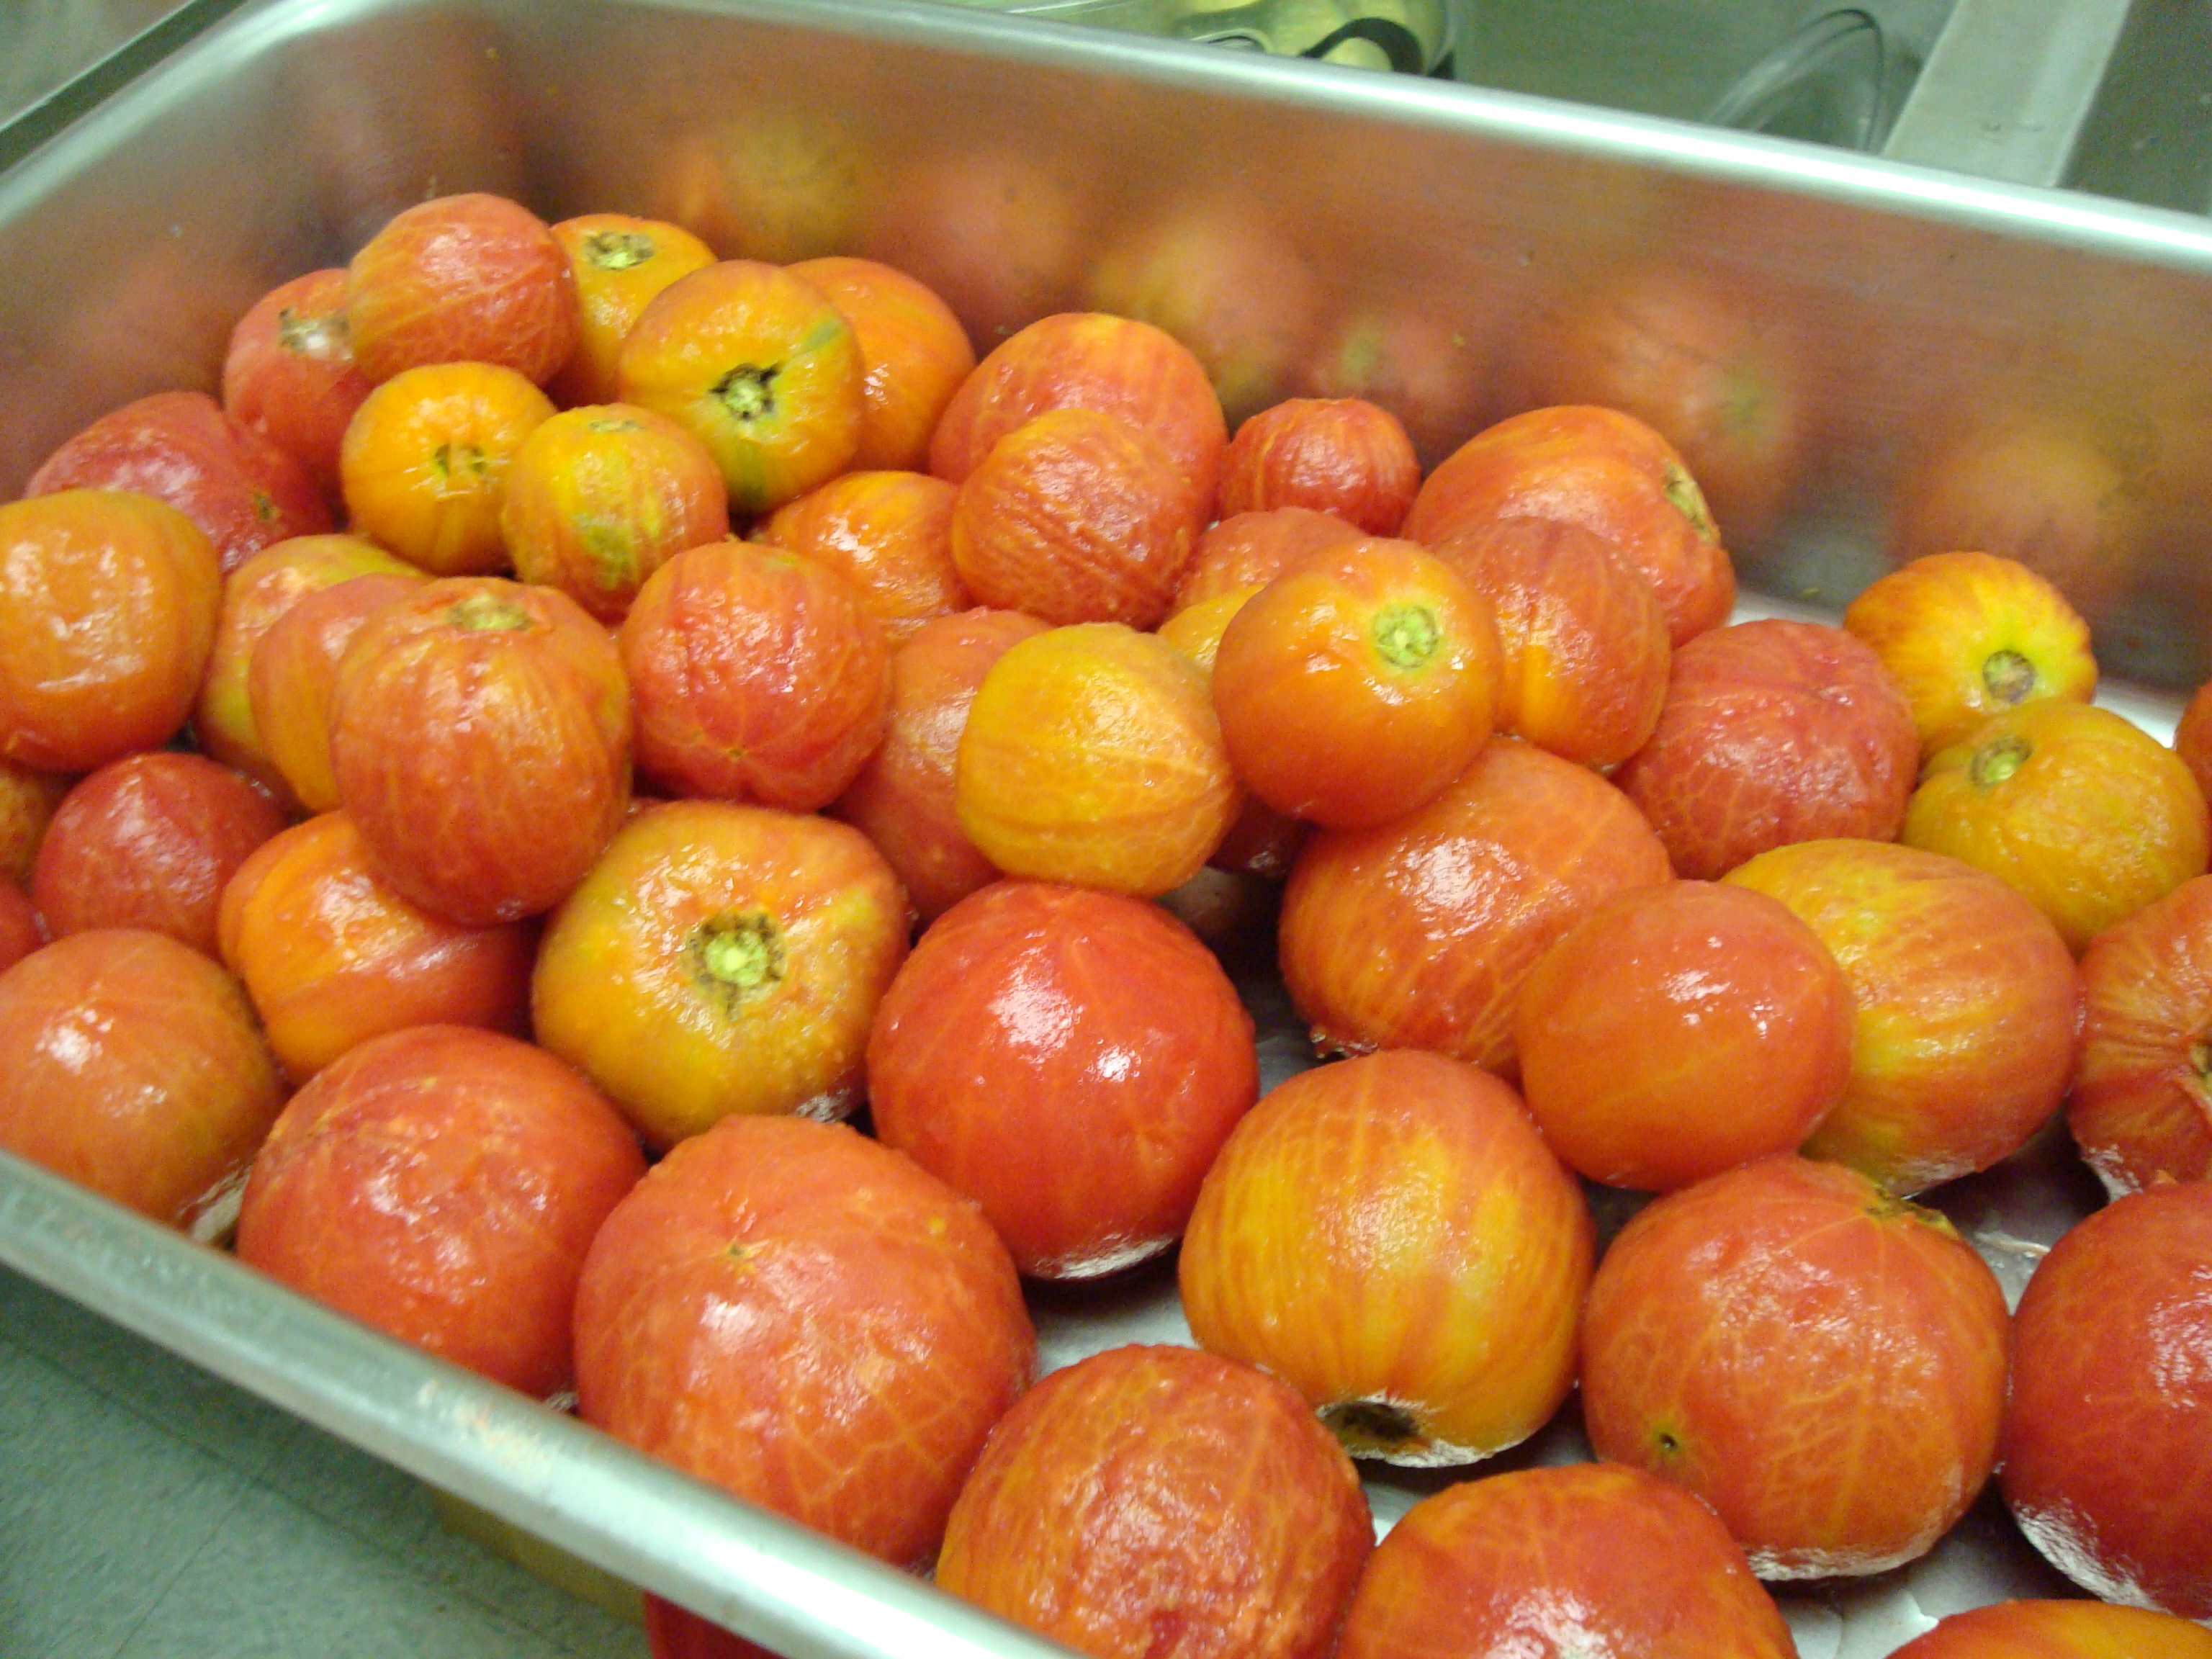
Just as the tomatoes in your garden grow and the varieties of tomatoes in markets continue to increase in number, we also encounter a generous assortment of directions for canning tomatoes. But canning your tomatoes does not have to be too complicated, if you simply use reliable, research-based directions for preparing and processing your food.

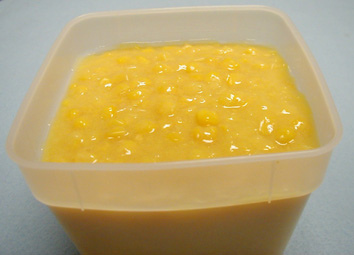
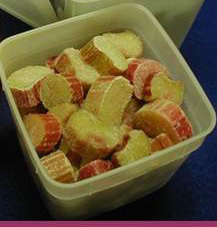
For example, home canned tomatoes may be crushed so that they are ready-to-use, or left whole or halved. Whole or Halved Tomatoes may be canned with water, in tomato juice, or with no added liquid. While the no-added-liquid version of canned tomatoes is a raw pack, Crushed Tomatoes are a hot pack only. Tomato Juice can be made as is or as a Tomato-Vegetable Juice Blend, as hot packs only. Also only available as a hot pack is Tomato Sauce.  Many more classic canned tomato product directions are available, such as Spaghetti Sauce with or without meat and Ketchup.

Canned Tomatoes

No matter how you choose to can your tomatoes, remember that it is very important to use a canning process time that matches up with the preparation directions for filling your jars. Also, it is important to the safety of your canned tomato products to use tested directions, like those from USDA. For many of these tomato products, there are canning options for both boiling water and pressure canning available in our directions.

In the case of these tomato products with both options, the pressure processing still requires acidification in these products. The pressure options only provide the same amount of heat to the product as the boiling water processes. Just because pressure is used to decrease the process time, the canning process is not the same as one to destroy spores of Clostridium botulinum as you would expect for low acid foods.

Peeled Tomatoes

Tomatoes are borderline in pH between acid and low acid foods, so the USDA preparation directions for these products call for acidification to allow a less severe heat treatment than would be required without it. To ensure safe acidity in whole, crushed, or juiced tomatoes, add two tablespoons of bottled lemon juice or ½ teaspoon of citric acid per quart of tomatoes. (Citric acid results in a less noticeable change in taste for most people.) For pints, use one tablespoon bottled lemon juice or ¼ teaspoon citric acid. Acid can be added directly to the jars before filling with product; in fact, this is recommended to be sure you get the acid in each and every jar. Sugar may be added to offset an acid taste, if desired, but the acid cannot be decreased to taste. (Four tablespoons of a 5 percent acidity vinegar per quart may be used instead of lemon juice or citric acid. However, vinegar may cause undesirable flavor changes.)

The National Center for Home Food Preservation has recommended directions for canning tomatoes and tomato products under “How do I”….”Can”…..”Canning Tomatoes and Tomato Products“.

This entry contains excerpts from an article called “Sorting Out Tomato Canning Directions” written by Elizabeth Andress, PhD and Director of the National Center for Home Food Preservation.

Corn: On or Off the Cob

There’s nothing like eating fresh, flavorful corn-on-the-cob, grilled outside on a breezy summer day. But if you want to preserve some of that classic summertime treat for other seasons as well, then you might like to know about a few different ways to freeze corn.

Whichever freezing method you choose, select only tender, freshly-gathered corn in the milk stage. The milk stage is recognizable by plump kernels and a milky white fluid that secretes from cut kernels. (Some people even eat the kernels raw at this stage since this is when they are most sweet and moist). Husk and trim the ears, remove silks and wash well.

Blancher

Freezing Corn-on-the-cob is the only way to still bite it directly off the cob after freezing, but it is likely to become water-logged and mushy because it takes longer to blanch, freeze, and re-heat due to the presence of the dense cob. To freeze corn-on-the-cob, water blanch small ears (1¼ inches or less in diameter) for 7 minutes, medium ears (1¼ to 1½ inches in diameter) for 9 minutes and large ears (over 1½ inches in diameter) for 11 minutes. Cool promptly and completely to prevent a “cobby” taste. Drain and package. Seal and freeze.

Freezing Whole Kernel Corn is likely to produce crisper kernels than corn-on-the-cob, but must be eaten with a utensil or used as an ingredient in a recipe. To freeze whole kernel corn, water blanch 4 minutes. Cool promptly, drain and cut from cob. Cut kernels from cob about 2/3 the depth of the kernels. Package, leaving ½-inch headspace. Seal and freeze.

headspace_creamcorn

Freezing Cream Style Corn creates a creamy texture as a backdrop for the crisp kernels which stands alone as a side dish quite well, but does not necessarily mix into other recipes as well as whole kernel corn. To make cream style corn, water blanch 4 minutes. Cool promptly and drain. Cut kernel tips and scrape the cobs with the back of a knife to remove the juice and the heart of the kernel. Package, leaving ½-inch headspace. Seal and freeze.

Another way to prepare cream style corn for freezing is to cut and scrape the corn from the cob without blanching. Place the cut corn in a double boiler, and heat with constant stirring for about 10 minutes or until it thickens; allow to cool by placing the pan in ice water. Package, leaving ½-inch headspace. Seal and freeze.

These recommendations come from So Easy to Preserve and are also available on the NCHFP website. More freezing tips can be found at http://nchfp.uga.edu/how/gen_freeze.html.

For Fresh Rhubarb Pie All Year-Round

If you’re a fan of the tart, tangy flavor of rhubarb, then these preserving tips are for you. Once safely preserved, you’ll be able to add that one-of-a-kind taste to delicious pie, tart, and muffin recipes any time of year. You may even like to experiment with sauces or spreads. For a baked-good, sauce, and spread friendly product, try either canning or freezing your rhubarb according to the directions below.

If you are new to canning, or could use a refresher of the basics, then please read Using Boiling Water Canners and Principles of Home Canning before beginning.

Canning

Select young, colorful stalks and trim off the leaves. Wash and cut the stalks into 1/2 to 1 inch pieces. You’ll need to know how much rhubarb you have in order to figure out how much sugar to add, so measure your sliced rhubarb and then place in a saucepan. For each quart (4 cups) of rhubarb, add ½ cup sugar to a saucepan. Wait for juice to appear, and then heat gently to boiling. Immediately pack hot rhubarb mixture into hot jars, leaving 1/2 inch headspace. Release air bubbles, wipe jar rims, adjust lids, and process in a boiling water bath for 15 minutes. If you are using a pressure canning, please refer to the time tables at http://nchfp.uga.edu/how/can_02/rhubarb_stewed.html.

Freezing

Rhubarb can be frozen with or without sugar syrup. Either way, begin by selecting tender stalks with few fibers. Wash and cut into lengths that fit your freezer packaging (air-tight, moisture proof plastic or glass containers). To help rhubarb retain color and flavor, heat it in boiling water for 1 minute and cool promptly in cold water.

trayfreeze

For a dry pack, tightly pack the raw or preheated rhubarb into containers, leaving ½ inch headspace. Seal and freeze. You could also tray freeze the slices in a single layer on a baking sheet just until hardened, then pack dry into your containers. Tray freezing is the best way to have loose slices easily removed from the package.

Frozen rhubarbThawed rhubarb

For a syrup pack, pre-make a  40% syrup: mix a proportion of 2 ¾ cups sugar to 4 cups lukewarm water and stir until the solution is clear. Chill syrup. Tightly pack the raw or preheated rhubarb into containers, and cover with cold 40% syrup. The amount of headspace needed depends on the size of the container and if its top is narrow or wide. See the table at http://nchfp.uga.edu/how/freeze/headspace.html to determine how much headspace you need.

Delightful Fresh Dill Cucumber Relish Recipe

If you haven’t planted cucumbers or dill yet, then this recipe might bring you inspiration to get out and add these delicious plants to your garden. Fresh Dill Cucumber Relish is our own take on a sweet, not salty, relish that is great for your homegrown fresh dill. For a sweet, light, refreshing treat, chill this relish in the refrigerator and try it on tortilla chips!

If this is your first time canning, or if you could use a review of the basics, please read Using Boiling Water Canners and Principles of Home Canning before beginning.

Fresh Dill Cucumber Relish

Makes about 6 to 7 pint jars

Ingredients:

–          12 cups chopped pickling cucumbers (about 4 ½ pounds)

–          3 cups chopped red bell pepper

–          1 cup chopped onion

–          ¼ cup pickling or canning salt

–          4 cups crushed or cubed ice

–          8 cups water

–          5 cups cider vinegar (5%)

–          1 cup sugar

–          1 cup water

–          2 tablespoons mustard seed

–          1 cup chopped fresh dill

–          1 teaspoon garlic powder

Procedure:

  1. Wash and rinse pint canning jars; keep hot until ready to use. Prepare lids and bands according to manufacturer’s directions.
  2. Prepare cucumbers and peppers by first washing them well. After washing the cucumbers, slice a thin piece from both the stem and blossom ends and discard. Cut into about 1-inch pieces and then chop in a food processor (using about 3 pulses on “chop”) to yield about ¼-inch or slightly larger pieces. Measure 12 cups of the chopped cucumber.
  3. After washing the peppers, remove the stem, seeds and white membranes. Cut into about 1-inch pieces or slices and then chop in a food processor (using about 3 pulses on “chop”) to yield about ¼-inch or slightly larger pieces. Measure 3 cups of the chopped pepper.
  4. Remove the skin from onions. Wash well and chop into about ¼-inch cubes, or process to size in a food processor as for peppers. Measure 1 cup of the chopped onion.
  5. Combine measured chopped cucumber, pepper and onion with salt, ice and the 8 cups water in a large bowl or saucepot. Cover; let stand 3 to 4 hours in refrigerator. Drain; rinse thoroughly with ice cold water and drain well again through a cheesecloth-lined strainer (until no more water drips through, about 15 to 20 minutes).
  6. Heat vinegar, sugar, 1 cup water, and remaining ingredients in a stockpot while stirring, until sugar dissolves. Add drained, chopped vegetables, and bring to a boil. Reduce heat and simmer 10 minutes.
  7. Fill hot relish into clean, hot pint jars leaving ½-inch headspace. Remove air bubbles and adjust headspace if needed. Make sure liquid covers the top of the food pieces. Wipe rims of jars with a dampened, clean paper towel; apply prepared canning lids.
  8. Process in a boiling water canner according to the recommendations in the table below. Let cool, undisturbed, 12 to 24 hours and check for seals.
Table 1. Recommended process time for Fresh Dill   Cucumber Relish in a boiling-water canner.

Process Time at Altitudes   of

Style of Pack

Jar Size

0 – 1,000 ft

1,001 – 6,000 ft

Above 6,000 ft

Hot

Pints

15 min

20

25

Note: This recipe was developed at The University of Georgia, Athens, for the National Center for Home Food Preservation. It is also available at http://nchfp.uga.edu/how/can_06/fresh_dill_relish.html.