Fall into the Season with Home-Canned Applesauce

Applesauce is a sweet treat for little kids and big kids (also known as adults) alike.  In addition to tasting delicious, one cup of applesauce provides 12% Daily Value (DV) of fiber and contains 3% DV or more of Vitamin C, Vitamin B-6, Thiamin, Riboflavin, Potassium, Copper, and Manganese.

This recipe for Applesauce from the USDA Complete Guide to Home Canning may be canned in a boiling water canner or a pressure canner. You can also tailor the recipe slightly, deciding how sweet or tart you prefer your final product and also if you’d like its texture to be smooth or chunky.

An average of 21 pounds of apples is needed for a canner load of 7 quarts. If you are using pint jars, then about 13½ pounds are needed for a canner load of 9 pints. Select apples that are juicy and crispy. For a sweeter sauce, select apples that are sweet. For more tartness, combine 1 to 2 pounds of tart apples to each 3 pounds of sweeter fruit.

Apple slices in ascorbic acidWash, peel, and core apples. To prevent browning, you have the option to slice apples into water containing ascorbic acid. Use these guidelines for retaining optimum color and flavor to ensure that you use the proper proportion of ascorbic acid. After slicing, place apples slices into an 8- to 10- quart pot, draining the slices first if you used an ascorbic acid solution. Add ½ cup water. Heat quickly, stirring occasionally to prevent scorching, and cook until tender (5 to 20 minutes, depending on maturity and variety).

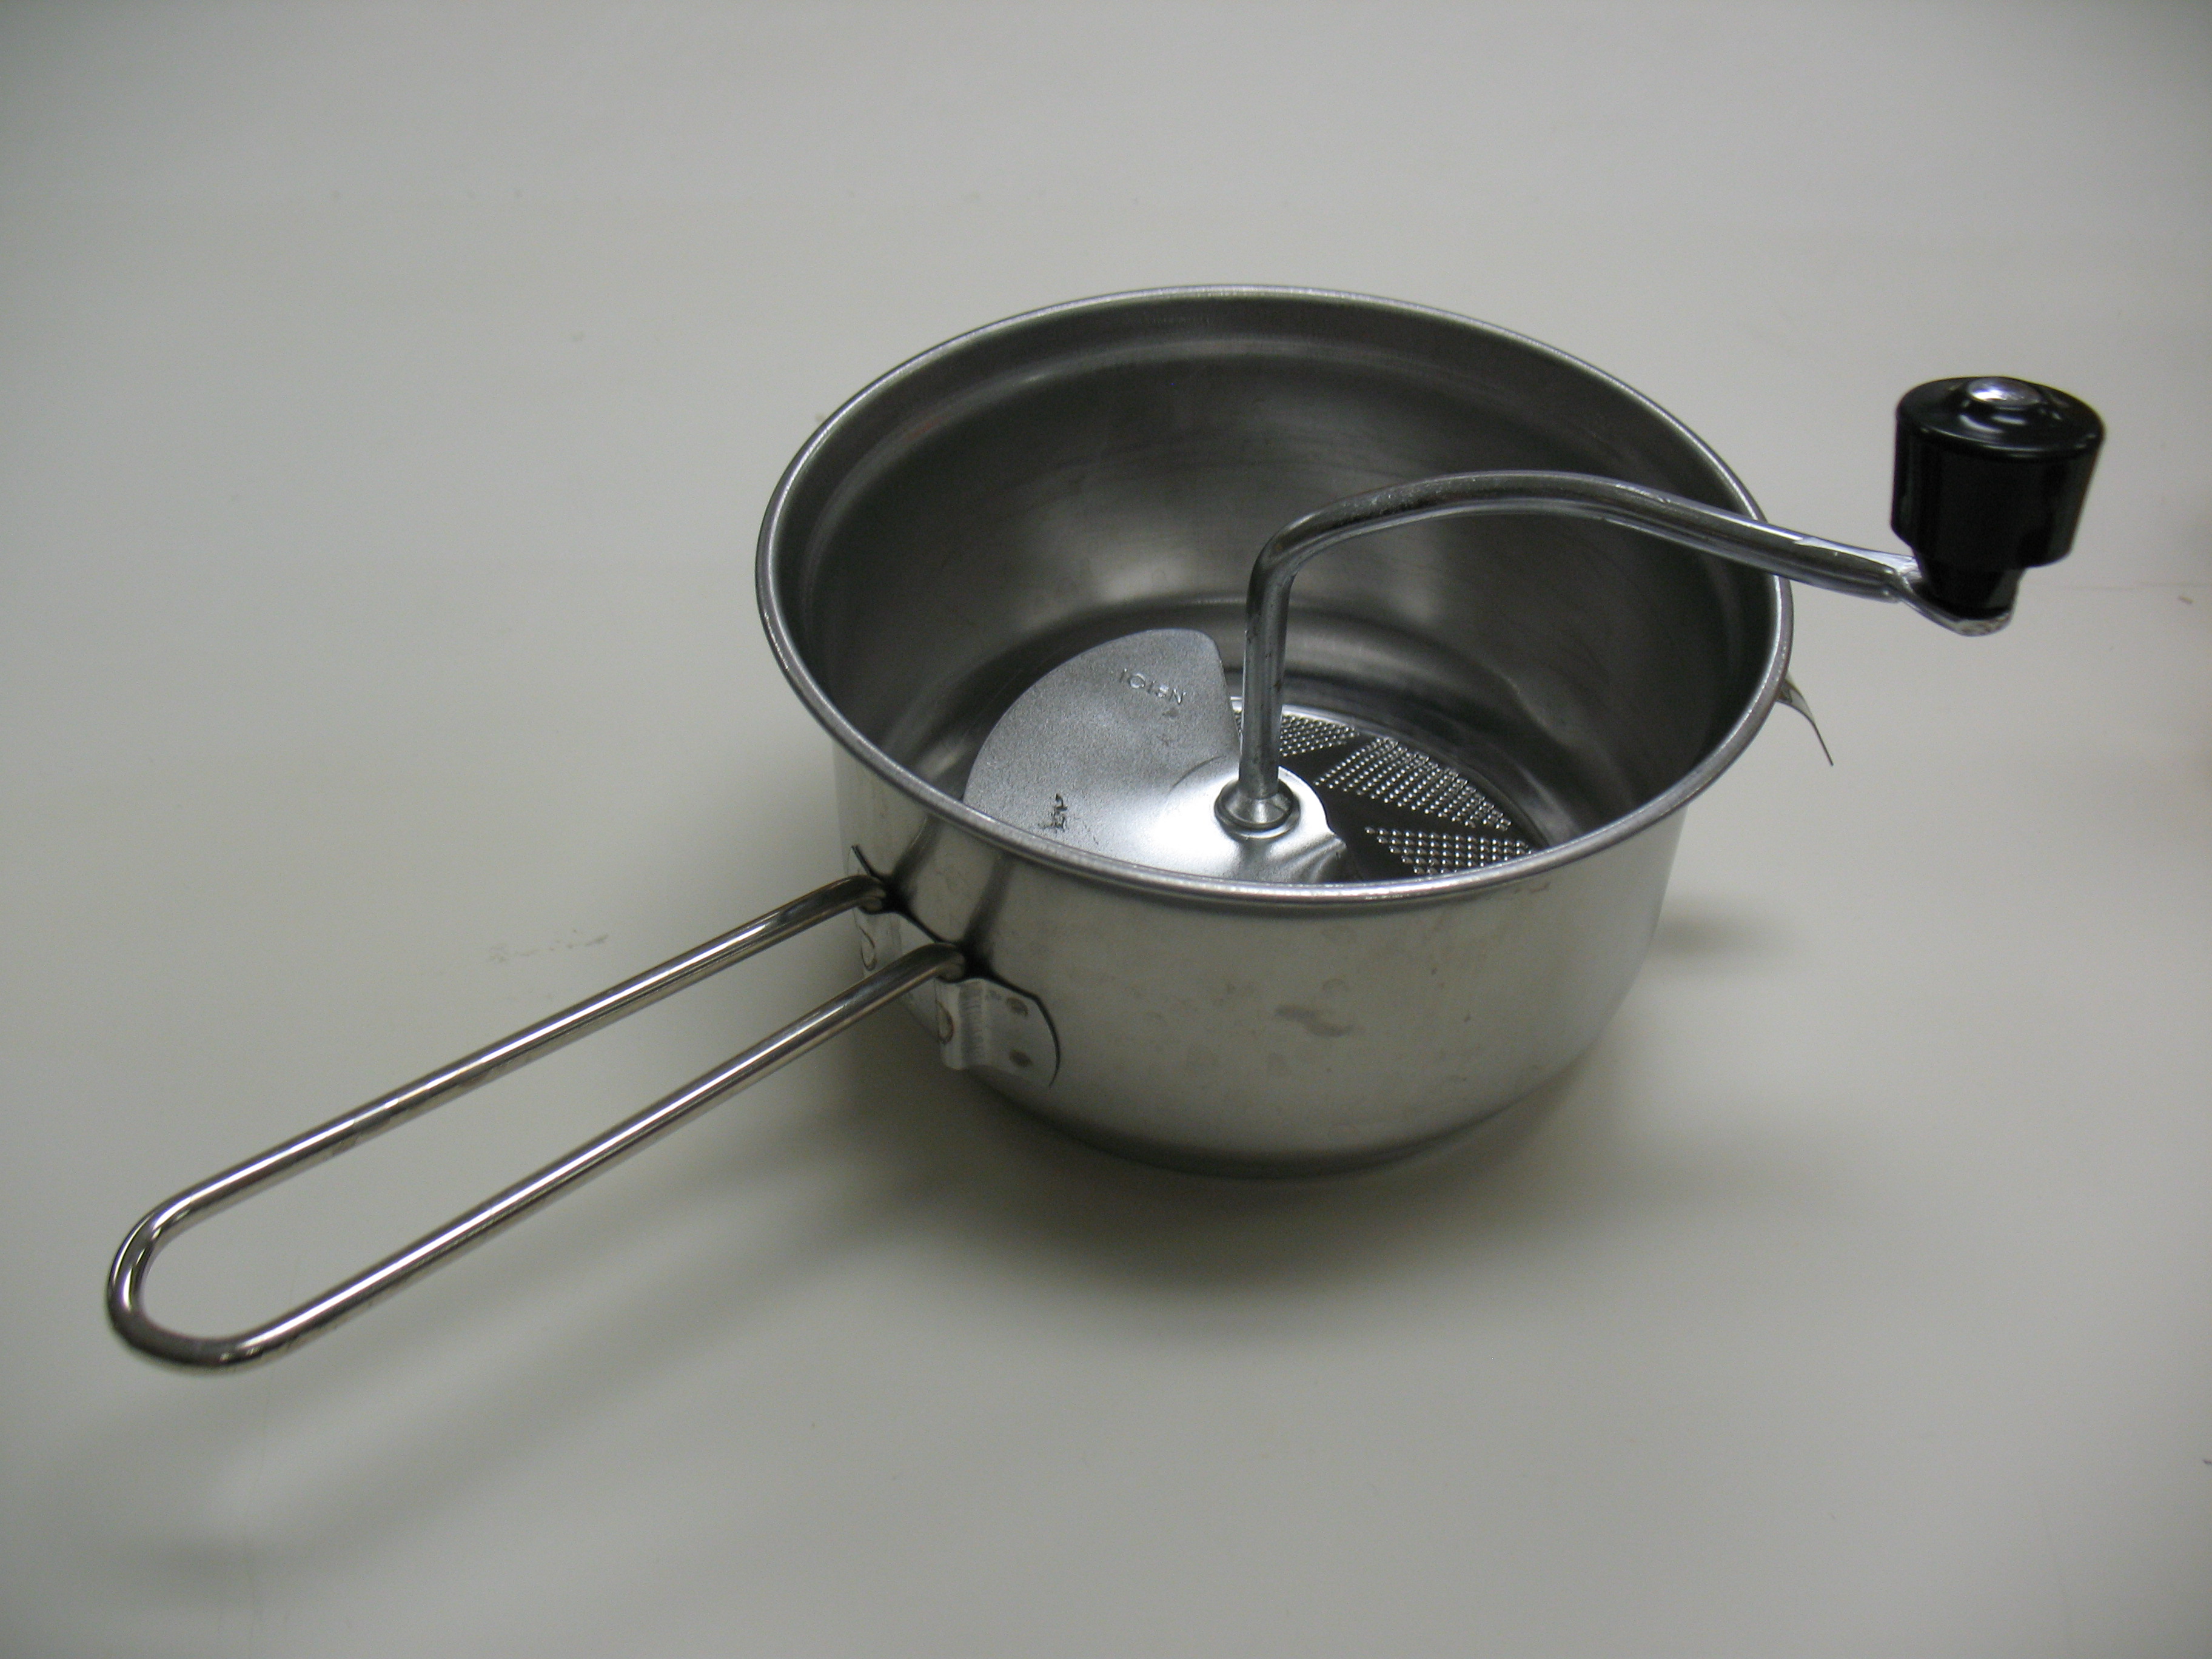
For a smoother texture, press through a sieve or food mill. For a chunk-style sauce, skip this step.

food mill
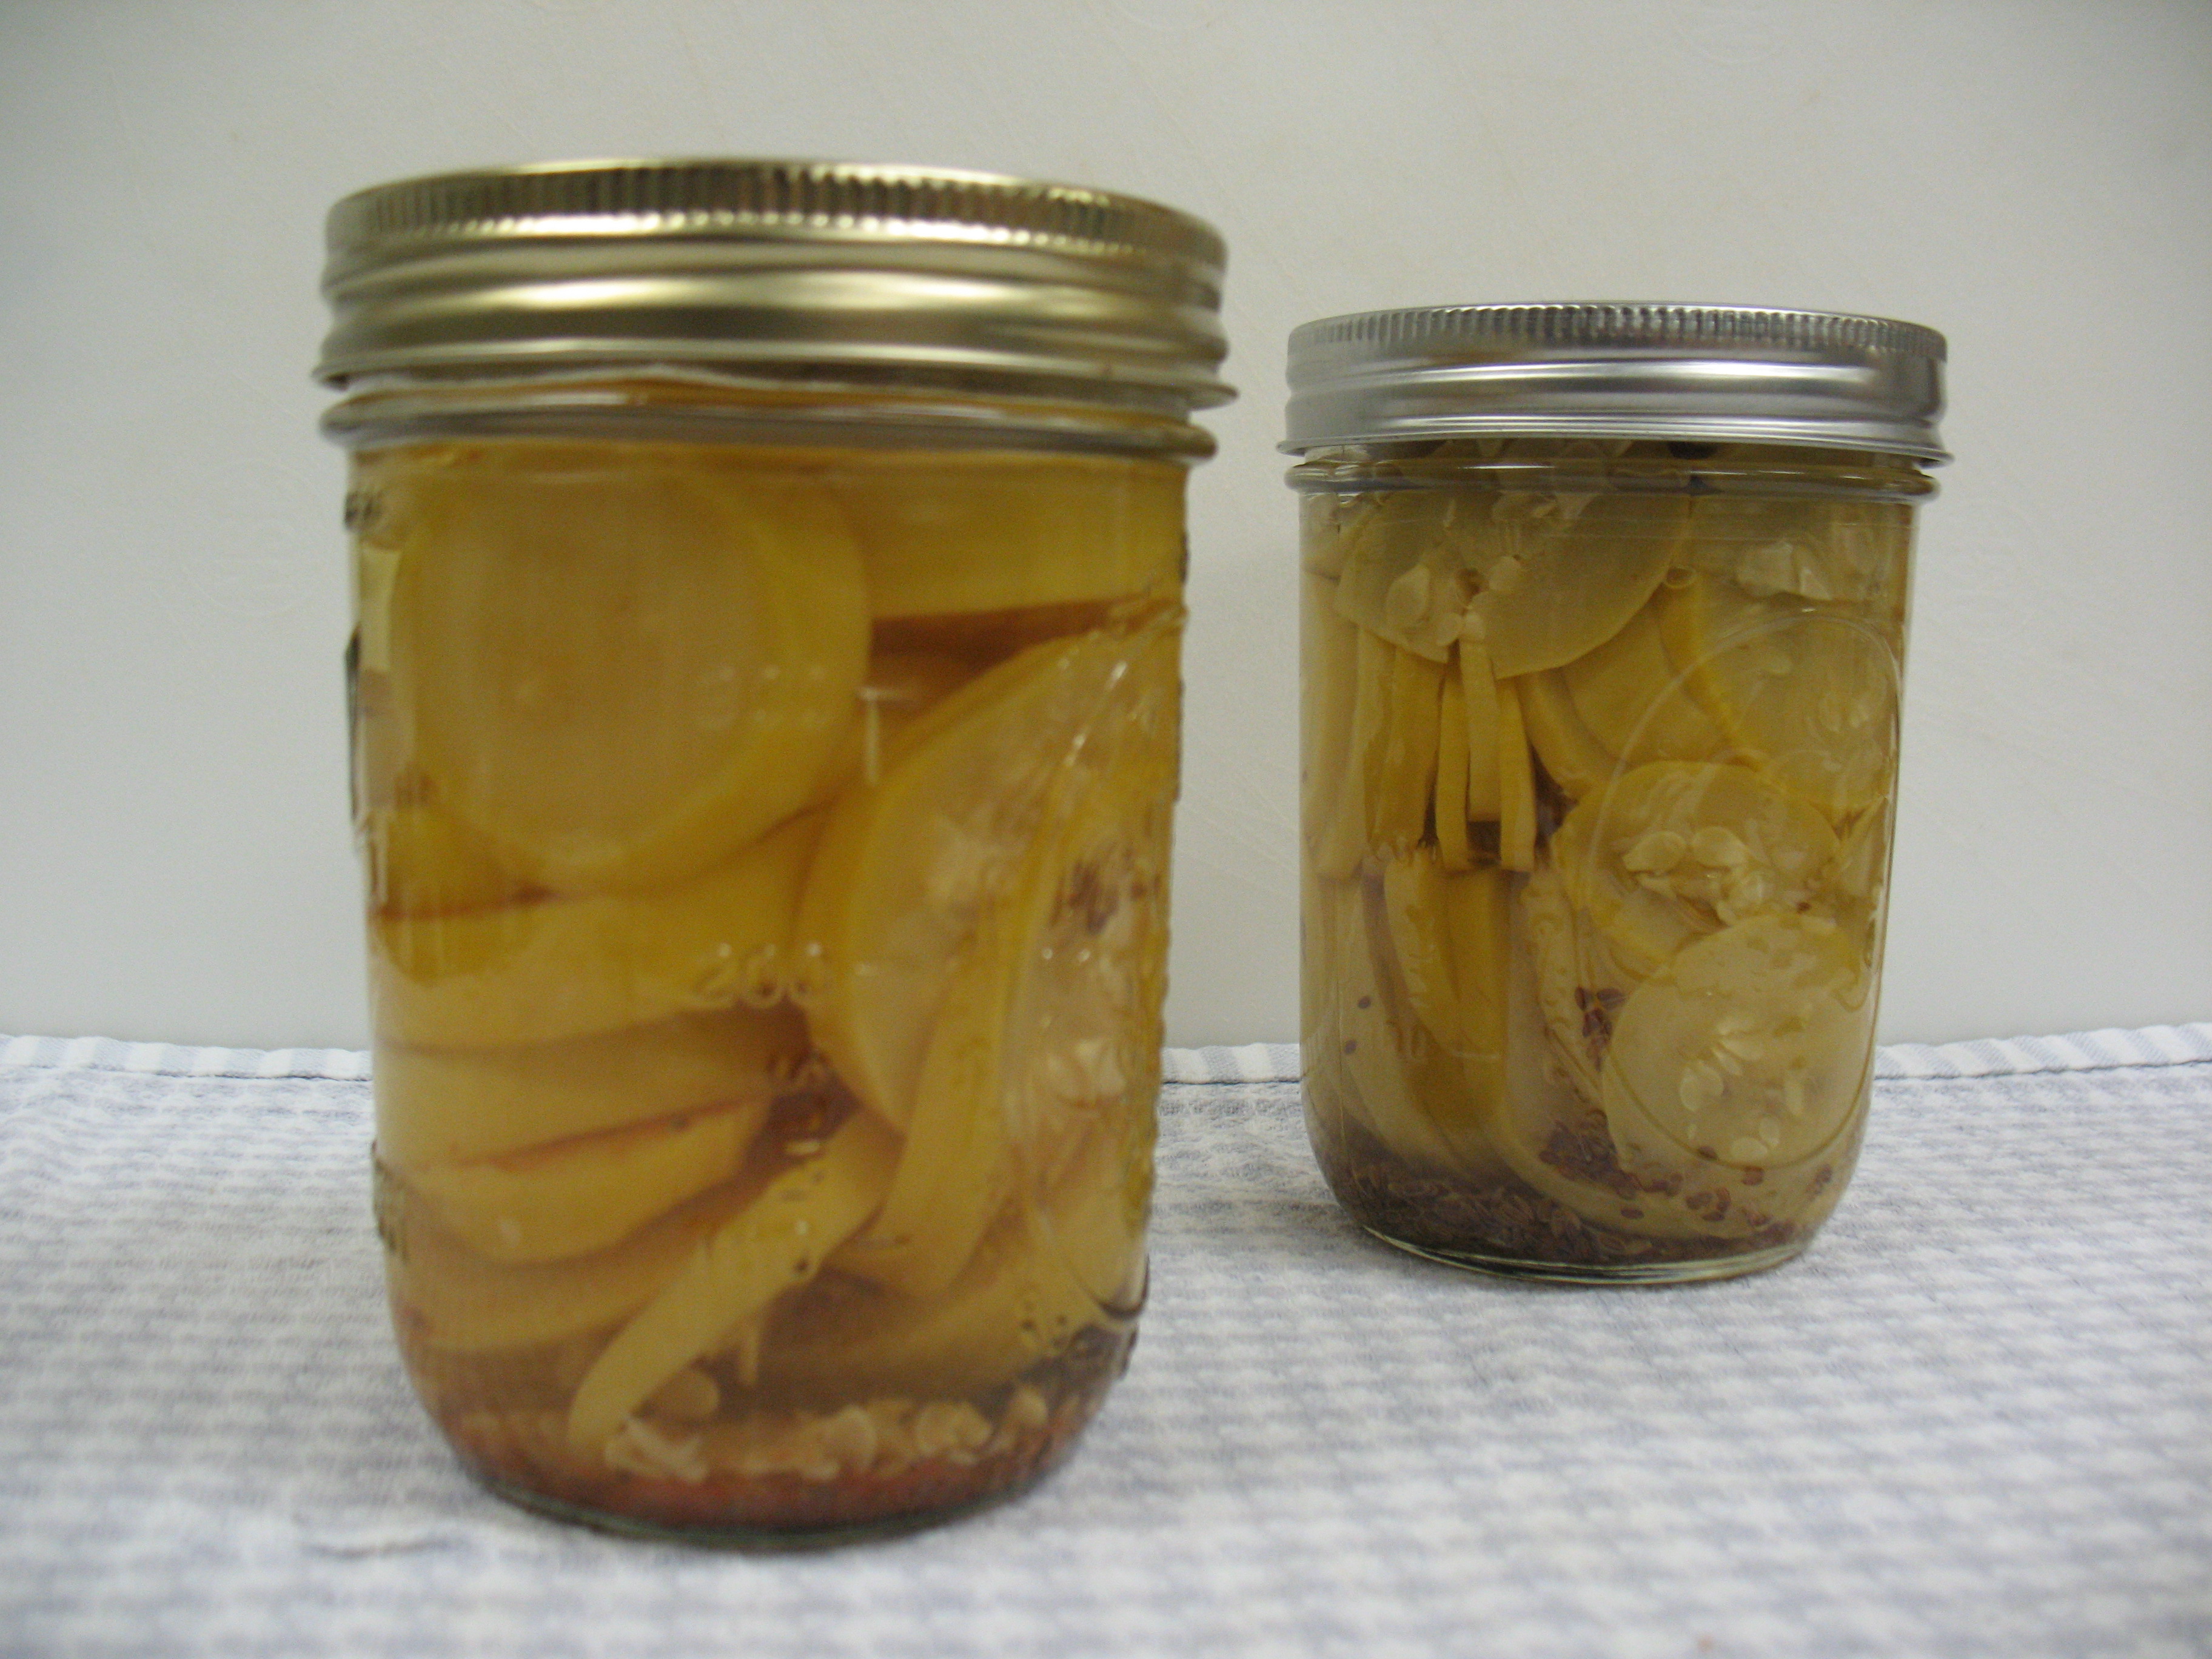
Your sauce may now be packed. If you’d rather sweeten it, then add 1/8 cup sugar per quart of sauce. Taste and add more, as you please. If sugar is added, reheat sauce to boiling then pack into jars. Remove air bubbles and leave ½-inch headspace (empty space between the top of the applesauce and the lid). Wipe jar rims and process according to the process times on the Tables below (adapted from the “Complete Guide to Home Canning,” Agriculture Information Bulletin No. 539, USDA, revised 2009).

Table 1. Recommended process time for Applesauce in a boiling-water canner.
Process Time at Altitudes of
Style of Pack Quart Size 0 – 1,000 ft 1,001 – 3,000 ft 3,001 – 6,000 ft Above 6,000 ft
Hot Pints 15 min 20 20 25
Quarts 20 25 30 35
Table 2.Process Times for Applesauce in a Dial-Gauge Pressure Canner.
Canner Pressure (PSI) at Altitudes of
Style of Pack Jar Size Process Time (Min) 0 – 2,000 ft 2,001 – 4,000 ft 4,001 – 6,000 ft 6,001 – 8,000 ft
Hot Pints 8 6 lb 7 lb 8 lb 9 lb
Quarts 10 6 7 8 9
Table 3. Process Times for Applesauce in a Weighted-Gauge Pressure Canner.
Canner Pressure (PSI) at Altitudes of
Style of Pack Jar Size Process Time (Min) 0 – 1,000 ft Above 1,000 ft
Hot Pints 8 5 lb 10 lb
Quarts 10 5 10

Preserving the Fickle Fig

Whole and sliced figsFigs can be perfectly ripe when you pick them from the tree, then just a few days later they are notably far less appealing. With an extensive history of cultivation and consumption, fig trees provide us with fruit that is often preserved in order to extend its revered but fleeting qualities of flavor and texture.

Although a fruit, figs also display a borderline pH value for preserving as an acid food. Most fruits are clearly acid foods, with a pH below 4.6. (Vegetables, by the way, tend to be low acid foods, with pH values above 4.6.) Just a few fruits, figs among them, naturally range in pH right around 4.6, making them a borderline acid/low acid food since the pH can go above 4.6. Therefore, to be safely processed in a boiling water canner, some acid needs to be added to figs to keep them safe from botulism risk. You will see in the recommendations below that lemon juice or citric acid must be added, in the amounts called for, to home-canned fig products.  These acidification levels were determined through research.

Here are a few tested recommendations for preserving figs to try the next time you find yourself with fresh figs on your trees, or in your hands:

Fig Preserves is the recipe to use if you want to keep the plump fruits whole. This is a traditional southern-style whole fruit preserves, not a spread like jam. Fig Jam without added pectin directs you to chop the figs, and contains less sugar and less lemon juice than its crushed-fruit, pectin-added counterpart, Fig Jam with liquid pectin. If you’re willing to mix fruit flavors, then you might like to try Strawberry-Fig Preserves, which uses gelatin to help obtain a gel.

Another option for canning is to make Fig Pickles!

You may also choose to Freeze your figs. Unlike when canning, acid does not need to be added to figs in order to safely freeze them. However, it is suggested that lemon juice or ascorbic acid is added for the purpose of preventing discoloration and maintaining the highest quality of the figs.

Fresh fig halves on dryer trayFigs are excellent fruits for drying. To dehydrate figs, select fully ripe fruit and wash or clean the whole fruit with a damp cloth. Leave small fruit whole, and cut larger fruit in half. You should pretreat figs to be left whole by “checking” them.  Dip them in boiling water for 30 seconds or until skins split, then plunge them in ice water to stop further cooking. Be sure to drain them well on paper towels before loading them onto dehydrator trays and drying them for 6 to 12 hours.  The moisture inside the figs needs an escape route for drying out before intact skins would get too tough and dry.

Dried green figs

To learn more about dehydrating, please read Preserving Food: Drying Fruits and Vegetables.

Pick a Bean, any Bean…


There are so many different types of beans (although we don’t actually have recommendations for canning jelly beans, sorry, but that would be a sticky mess). Likewise, you have many choices for canning them. If you are deciding what to do with your harvest of beans, or maybe just hankering to put some up just the way you like them, then use the links below to find tested recommendations from USDA.

As a low-acid food, beans require the use of a pressure canner for canning them. If you are new to pressure canning or could use a refresher of the basic how-to, then please read Using Pressure Canners before beginning. If this is your first time canning, then also read Principles of Home Canning.


All Varieties of Shelled, Dried Beans or Peas may be canned in water using this basic, no-frills recommendation that includes only salt as an optional addition. If you’d rather can hearty flavor into your beans, and you have a full day to boil and bake, then prepare Baked Beans, with molasses, vinegar, salt, mustard, and bacon. If you don’t have quite enough time for all that, but still want that sort of flavor, then try Beans, Dry, with Tomato or Molasses Sauce.

If your beans are of the Lima variety, then follow these directions for Fresh, Shelled, Lima Beans. Follow these similar procedures, but slightly different directions for Snap and Italian Green and Wax Beans. As you’re deciding whether to prepare a hot pack or raw pack, remember that hot packs are often considered to produce the highest quality final product, and you can often fit more beans into one jar, but raw packs do cut down on the prep time.

Green Beans

If canning is not your preservation method of choice, then refer to our recommendations for freezing beans – blanching times vary slightly between Green, Snap, or Wax Beans and Lima, Butter, or Pinto Beans .


So long Summer Squash…see you this winter!

Squash PicklesSo, if you’ve already grilled squash outside for a cook-out, prepared stir-fry with squash, enjoyed a delicious squash casserole, and even fried squash blossoms, then you might be wondering what else you can do with the summer squash that’s still coming in. Preserve it!

One tasty option is to make Squash Pickles, following these recommendations from USDA/University of Georgia:

Recipe makes about 5 pint jars.

Ingredients:

4 pounds summer squash (or zucchini)

½ cup canning salt

1 quart vinegar (5%)

1 cup water

Dill seed (1 teaspoon per pint)

Garlic (1 clove per pint, if desired)

Procedure:

Wash squash, remove ends and slice into rounds. Pack garlic, dill seed, and squash into jars, leaving ½-inch headspace. Bring vinegar, water, and salt to a boil; simmer for 5 minutes. Fill jars to ½ inch from top of jars with the boiling hot liquid. Remove air bubbles and check that headspace is still ½-inch. Wipe jars rims and apply lids as directed by manufacturer. Process 15 minutes in a boiling water bath (remember to make altitude adjustments as needed). For a crisper product, you may want to add an agent such as crisping products containing calcium chloride.

Generally you CANNOT safely make substitutions in tested recipes, but there are a few noted exceptions.  USDA does support the substitution of summer squash for cucumbers in this recipe for Bread-and-Butter Pickles, which you might like if you prefer a sweeter flavored pickle.  If you are not a fan of pickles, then you may prefer to include summer squash as a substitute for zucchini in the recipe for canning Mixed Vegetables .

Zucchini PicklesCanning summer squash (without pickling) is not recommended, so if you prefer the flavor of plain squash, follow these directions for Freezing Summer Squash.

Recipe from So Easy To Preserve, edited by Elizabeth Andress and Judy Harrison, printed 2011.