Fresh, Not Frozen

frozen lettuce
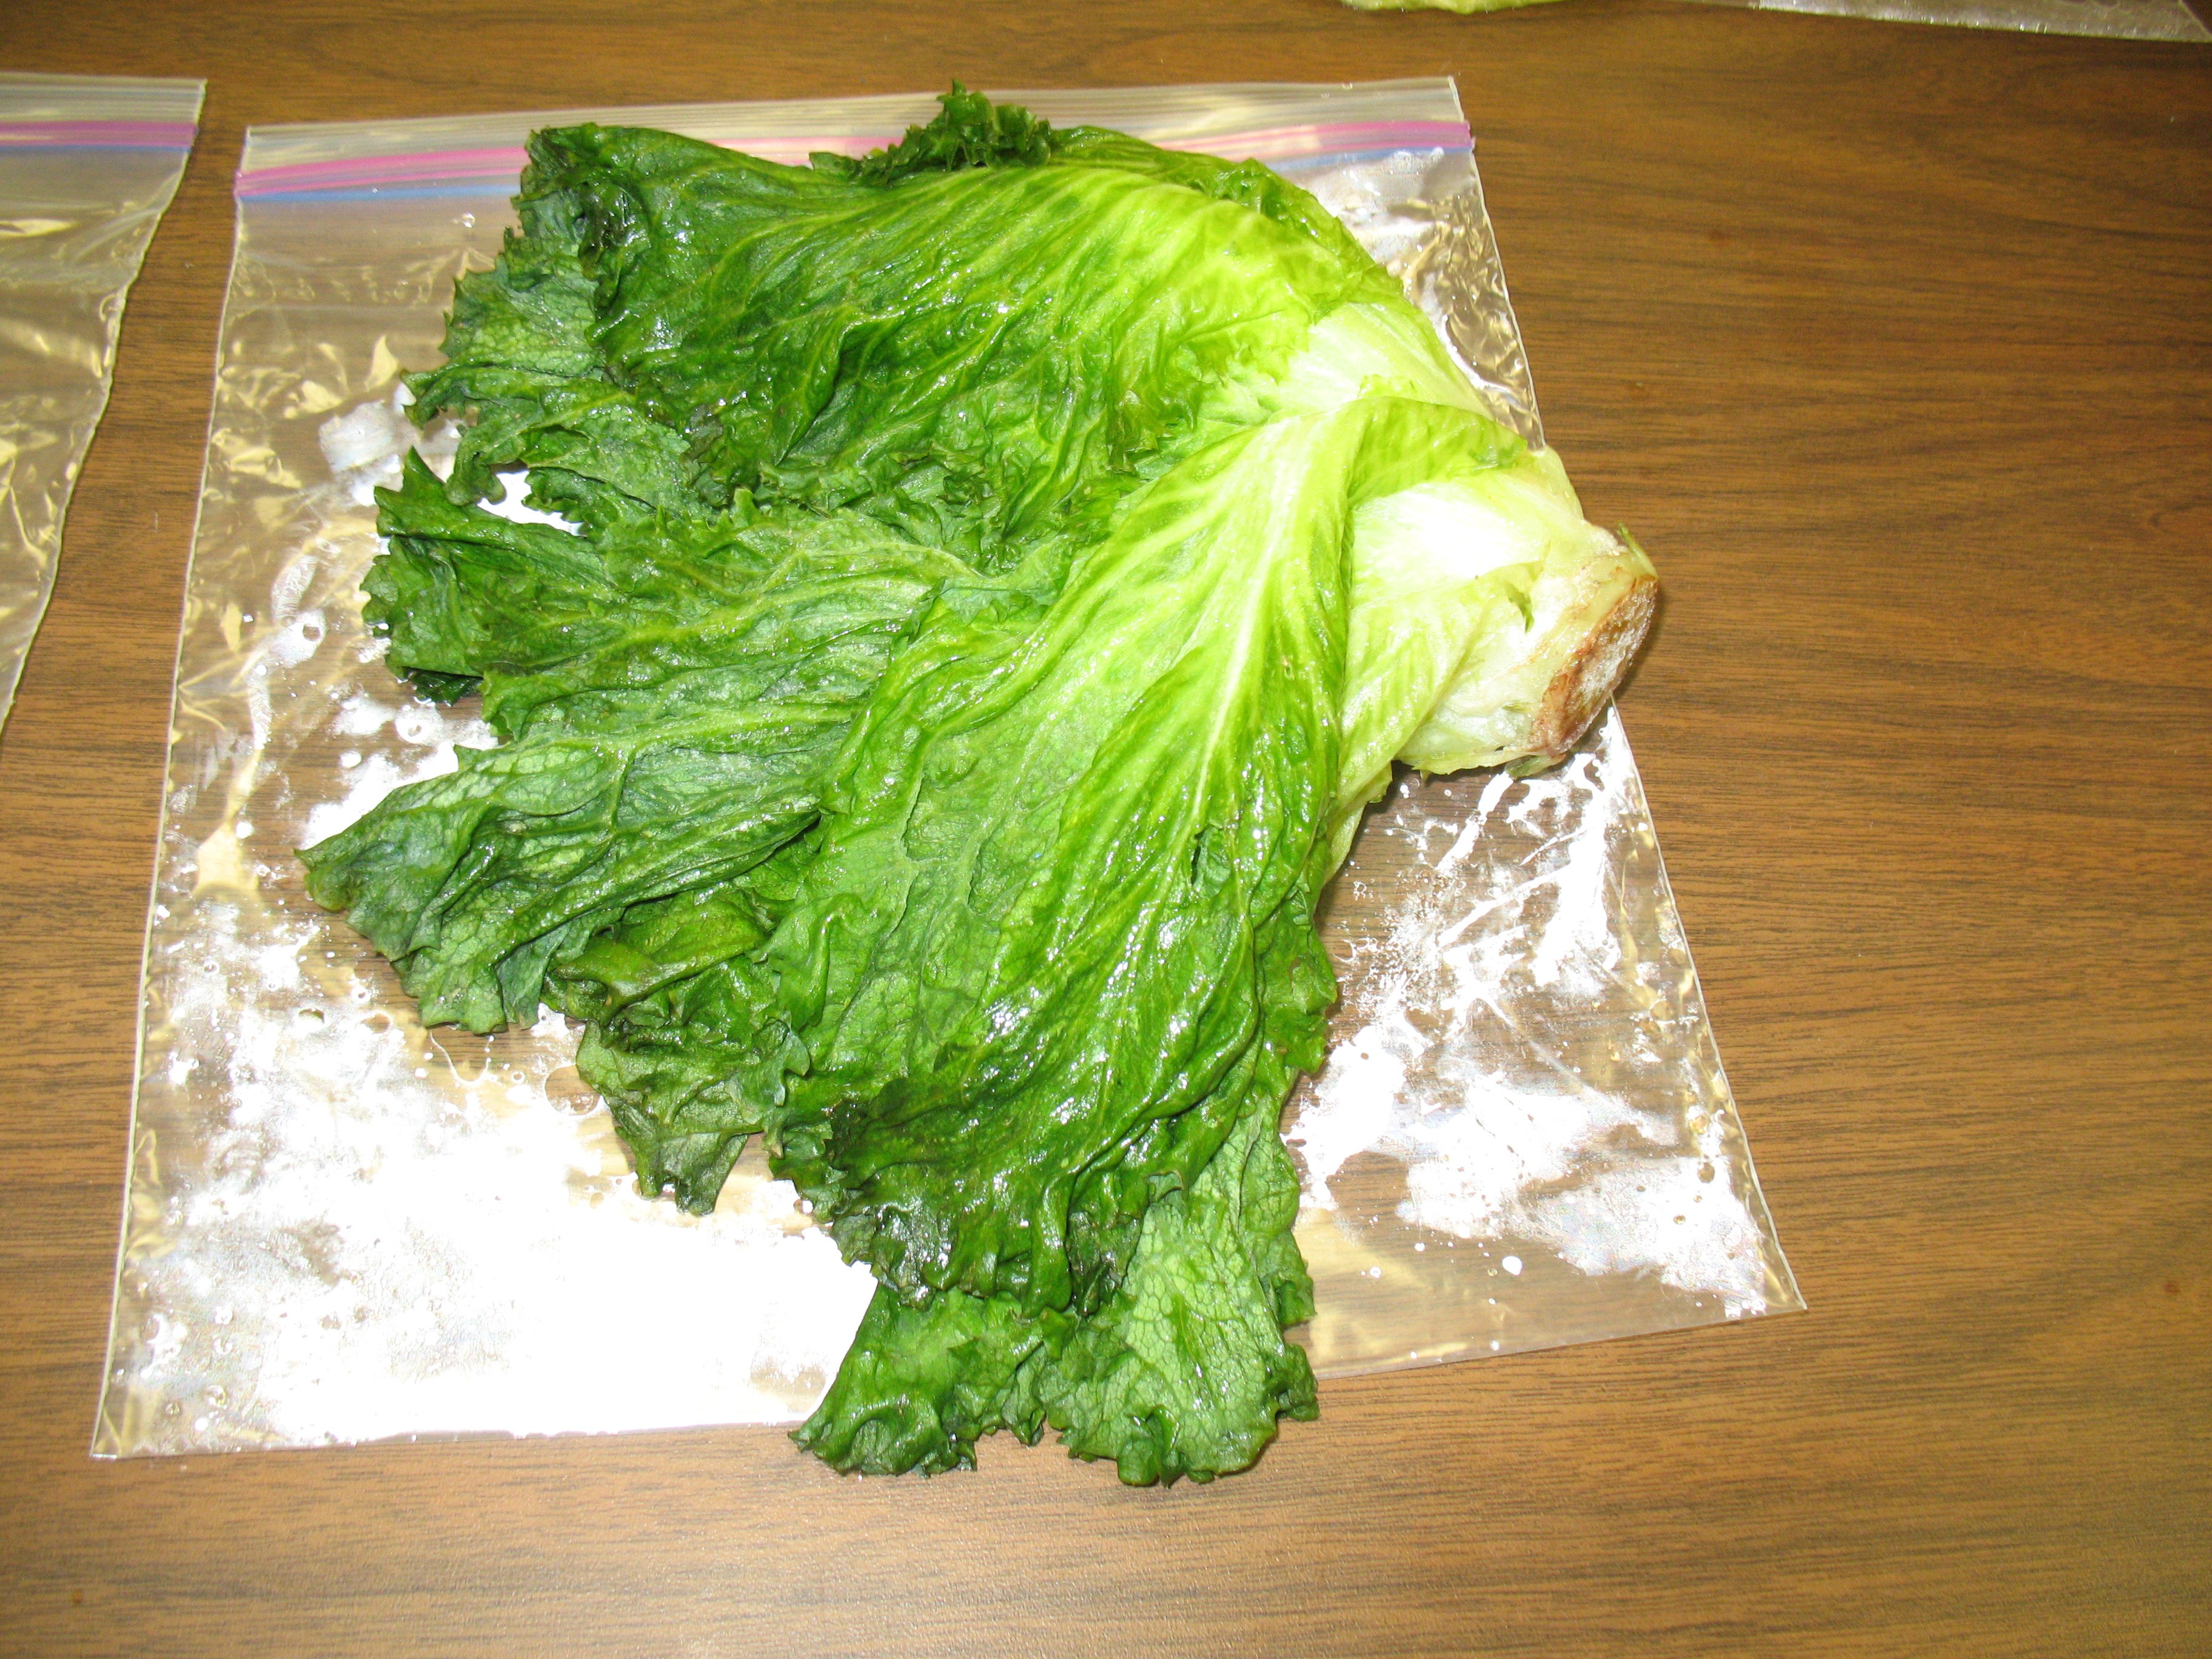
Some foods just don’t freeze as well as others. Why not? Crispy, crunchy fruits and veggies like celery, lettuce, cucumbers, and apples that we usually eat raw are more likely to disappoint when frozen because they will be much softer and limp when thawed. These foods have high water content combined with fragile cell walls in their tissue, and when they are frozen the water expands, breaking cell walls and turning the texture to mush. Similarly, citrus fruits, watermelon, grapes, and tender-leafed herbs like basil also become unpleasantly mushy after thawing. (Frozen grapes, however, are worth trying as a sweet frozen treat, yum!)

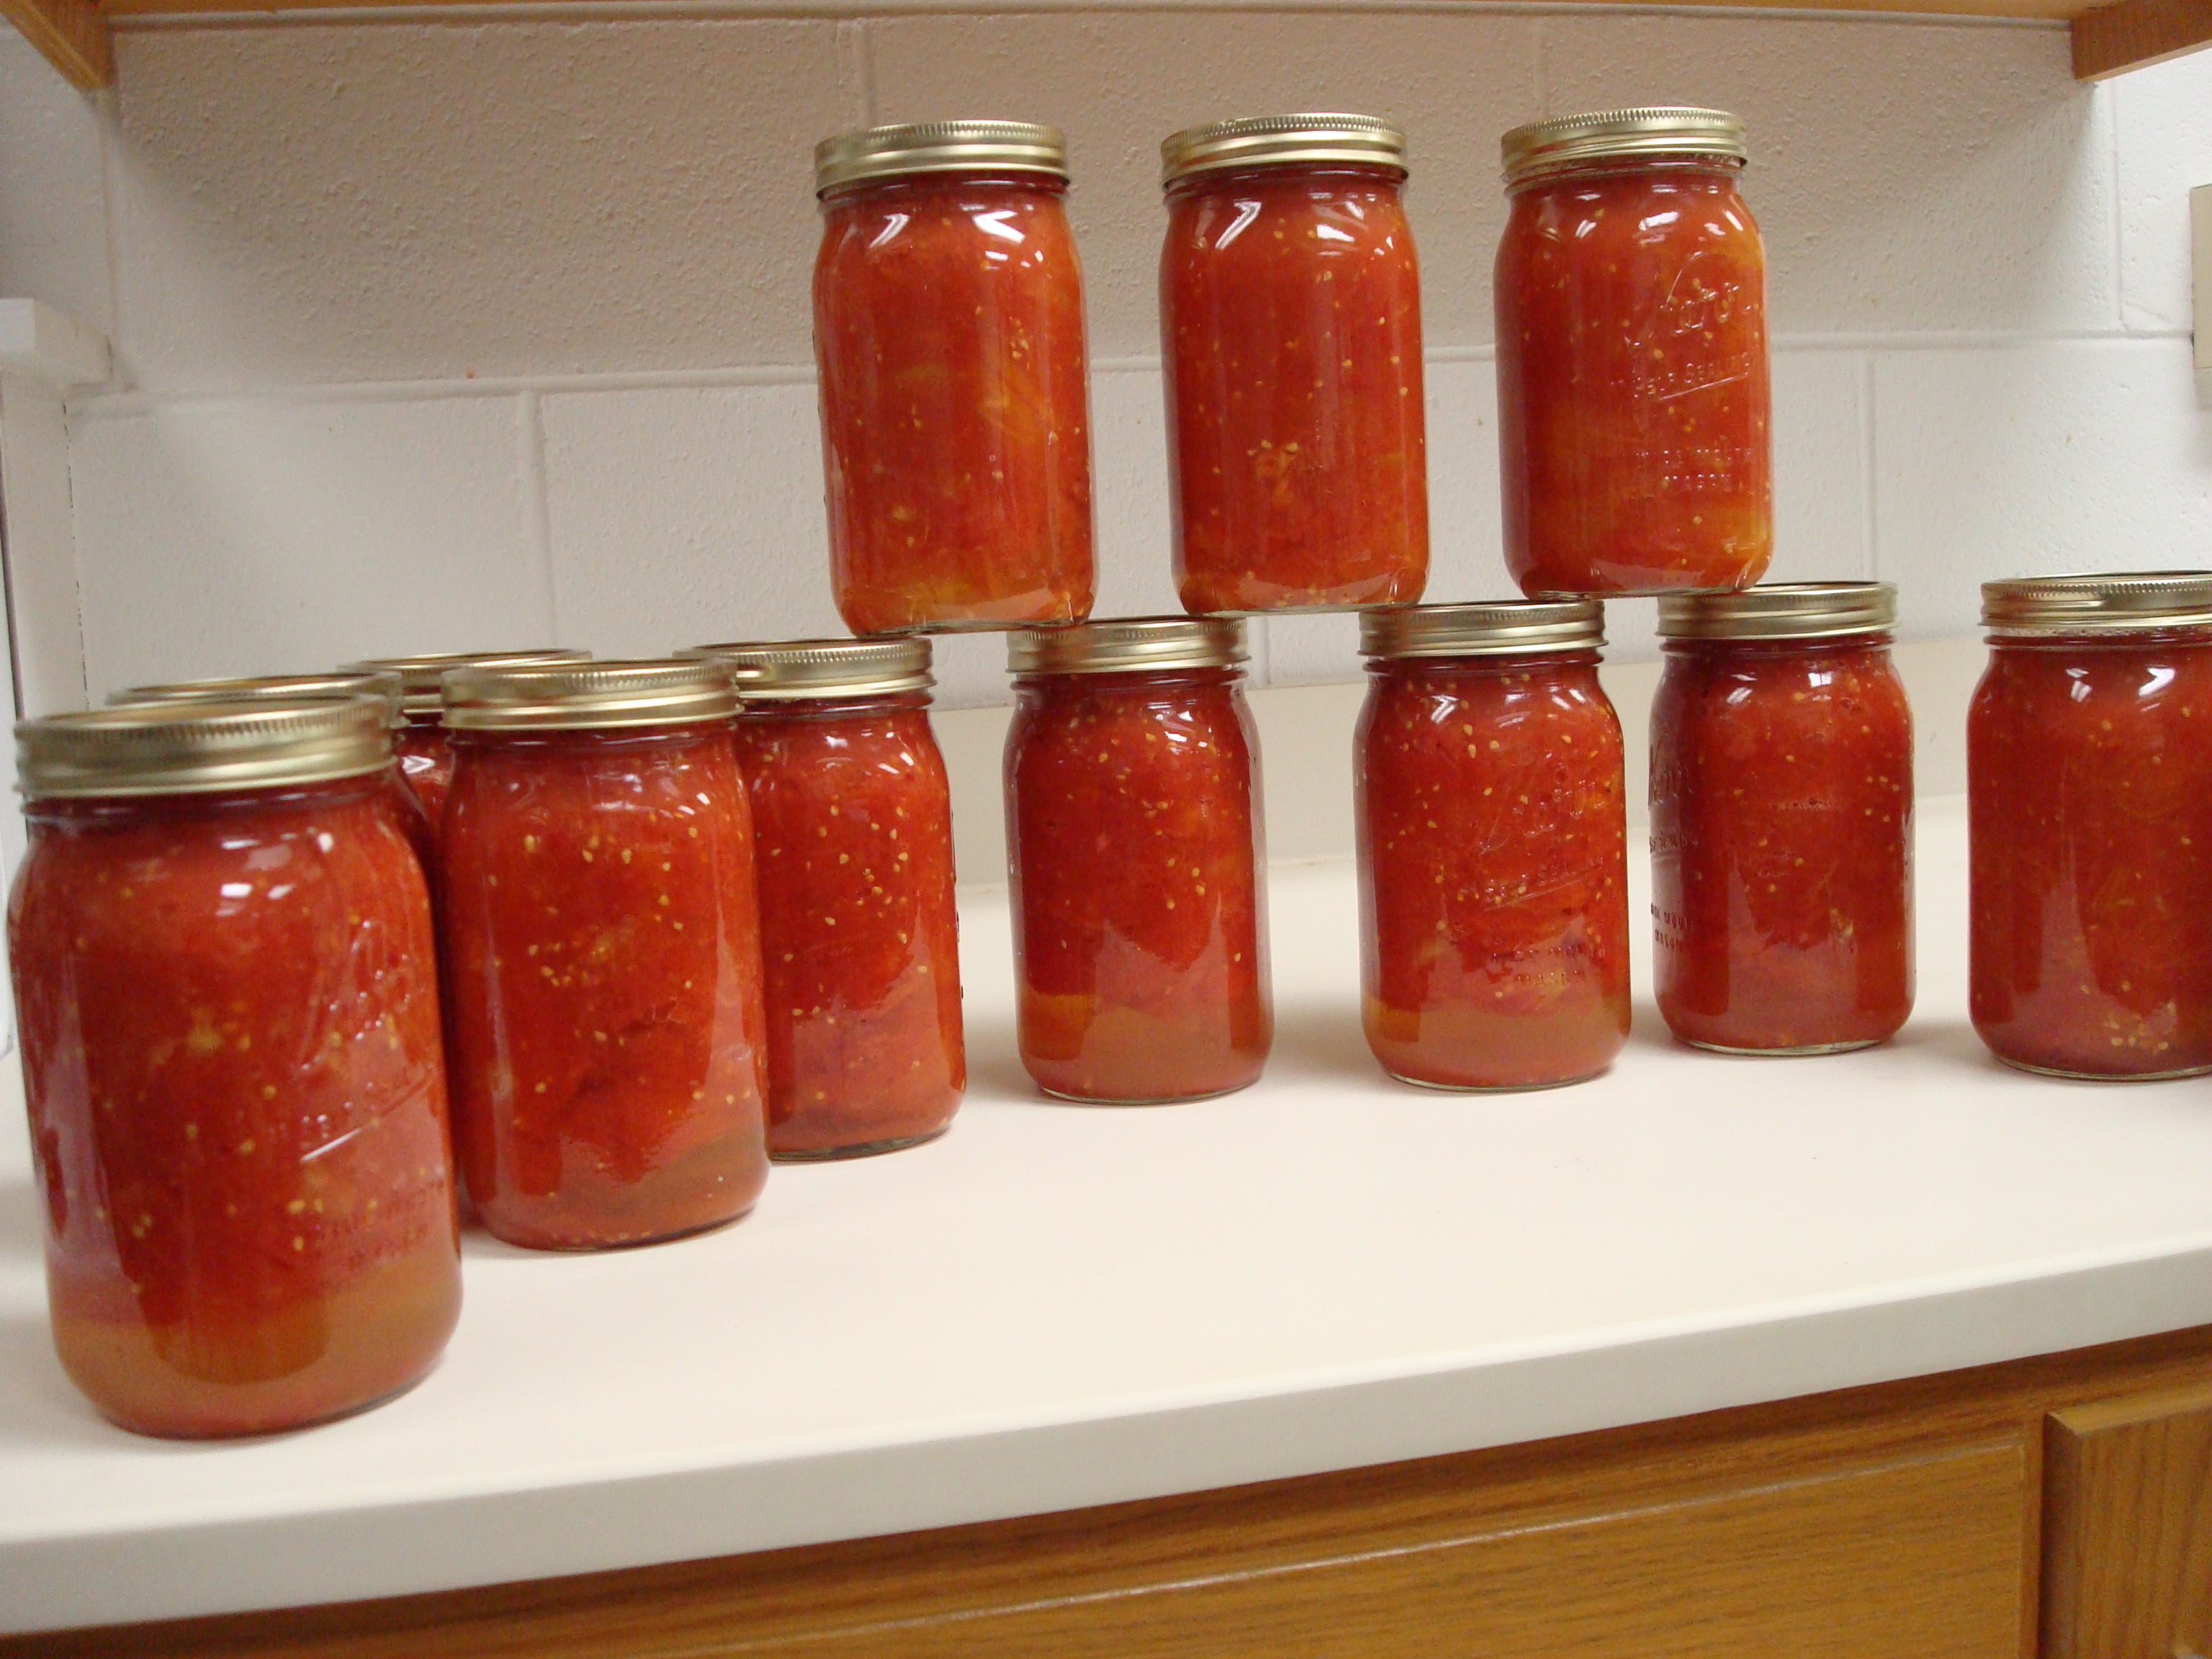
Cooking fruits and vegetables also softens cell walls, so foods that we are used to eating cooked are good candidates for freezing, such as tomatoes (so long as you aren’t planning to slice them onto a sandwich after freezing).

High-starch vegetables like corn, peas, and lima beans are less affected by textural changes from freezing.DSC_0122

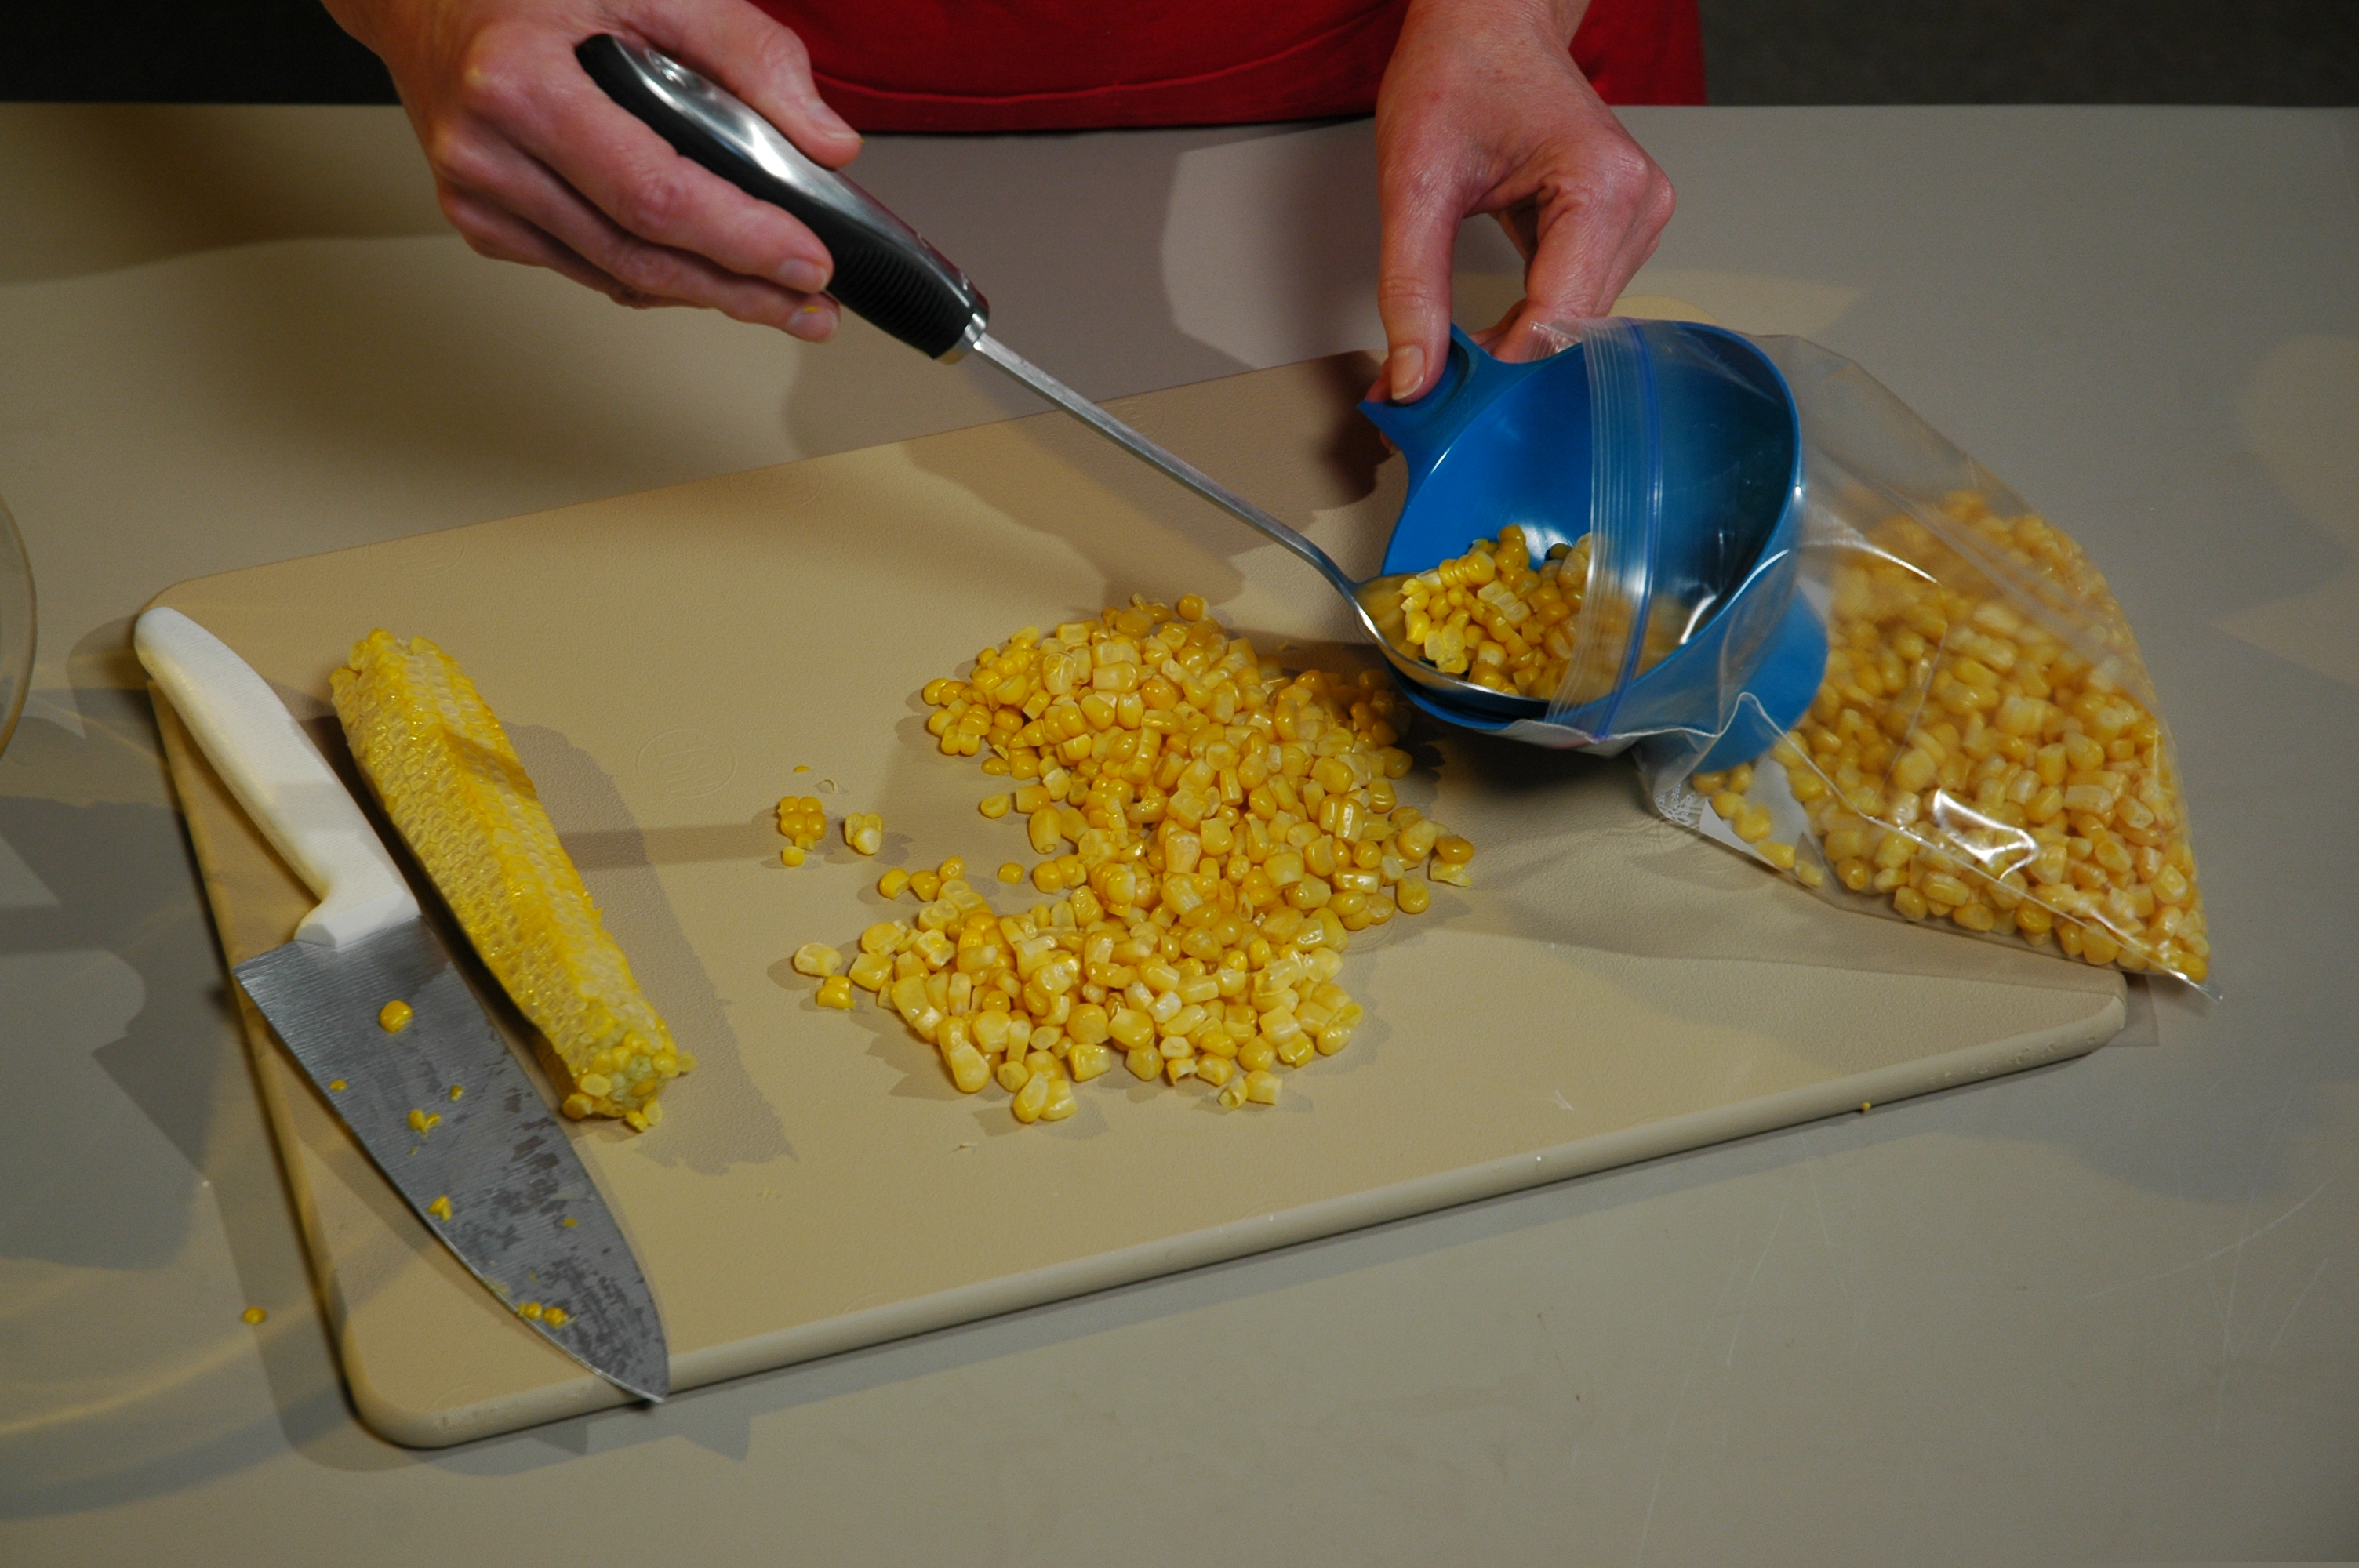
Undesirable flavor changes also occur in some foods when they are frozen. Green peppers and garlic become overly strong and even bitter, whereas onion tends to lose flavor. Spices and seasonings may also be affected; for example, cloves, pepper, and celery seasoning get stronger and bitter, curry develops and off-flavor, and salt loses flavor. Adding salt also runs the risk of increasing rancidity if added to foods containing fat. To avoid these flavor changes, season prepared foods when reheating for serving instead of prior to freezing, or just season them lightly before freezing.

For much more information about freezing foods, visit the NCHFP website, General Freezing Information.

Making the Most of Mint

If you have seen mint growing in the ground then you know – give it an inch, and it will take a yard…and perhaps the sidewalk too. What to do with all that mint? After sipping a cup of fresh mint tea, you can harvest all those leaves to make delicious mint jelly and dry them for a year’s worth of refreshing mint tea. (You may also want to dig up those plants and re-plant them into containers – mint does well in pots.)

Classic Mint Jelly requires the addition of a strongly acidic ingredient in order to produce a gel-structure, as you’ll see in our recipes for Mint Jelly (with cider vinegar) and Mint Jelly (with lemon juice). These two recipes are very similar, but the quantities of mint and water vary slightly to adjust to the required proportion of a strong acid ingredient (i.e. more vinegar than lemon juice, so less water added to the version with vinegar). Green food coloring is listed in the ingredient list for the version made with cider vinegar, but it is optional, and note that it is also optional in the recipe made with lemon juice. Mint Jelly is traditionally served with roast lamb, and it can also be mixed into other sauces and gravies.

Mint is a tender-leaf herb, which means that it has high moisture content and therefore will mold if not dried quickly. To dry mint, try hanging it inside a paper bag that has holes torn in the sides for air to circulate through. Use a rubber band to secure the base of the stems to the top do the bag. The bottom of the bag will catch the dried leaves as they fall. If you live in a region with high humidity and/or don’t have a location where air currents can pass through the bag, then you may get better results from drying leaves individually. To do so, remove leaves from the stems, space them apart on a paper towel, cover with another paper towel and layer up to 5 layers. Place the layers of paper towels and leaves in a cool oven – the oven light of an electric range or pilot light of a gas range will be enough. (Higher heat could easily burn the leaves, and the paper.) The finished, crispy dry leaves can be left whole or crumpled into an airtight storage container. Dried mint is can be substituted into recipes that call for fresh mint, using 1/3-1/4 of the amount listed.

For more information about growing and using mint, read this publication from UGA Extension: Herbs in Southern Gardens.

Homegrown Tomatoes — Not just a Daydream

This winter was a cold one for most of us, making that next round of fresh homegrown tomatoes seem a distant daydream.  Did your supply of home-canned tomatoes from last year get low or even emptied?  Well, it’s not too early to start thinking of your next harvest.  Tomato plants can go in the garden once any danger of frost has passed, so sooner than later those ripe tomatoes could be a reality.

In southern states, tomato plants are now going into the ground. In more northern climates last frost may still be a few weeks away, but tomato plants Spring calendarcan already be started indoors. If you start them indoors from seed, you’ll wait four to seven weeks before they are ready to be planted outside.

A few tips from University of Georgia Extension will help your chances of success in starting your homegrown ‘maters:

  • Establish an indoor location near a south-facing window that receives a lot of sunlight. If you cannot do this, then you might need to use a supplemental grow light with a spectrum that mimics natural light.
  • Use a light soil mix for planting tomato seeds.
  • Select a seed variety that is adapted to your local area.
  • Remember to harden off the plants before transplanting by gradually exposing them to sunlight a little bit more each day for about a week before carefully tucking them into their garden beds.

Are your tomato plants already ready to go into the garden? Follow the planting, mulching, fertilizing, and watering tips from UGA Extension: Georgia Home Grown Tomatoes.

If you plan to preserve your upcoming bounty of homegrown tomatoes, then remember that there are options for both boiling water bath canning and pressure canning tomatoes. Make sure you follow tested recommendations, and have citric acid or a bottle of lemon juice ready! (Directions for canning tomatoes call for adding a small amount of citric acid or commercially bottled lemon juice in order to ensure the acidity and safety of the final product.)

DSC03160

Pop Quiz: What Time Is It?

dial=gauge pressure cannerDial Gauge Testing Time! As the temperatures warm (or not so much) let that be a reminder it’s the time of year again to get your pressure canner dial gauge tested. Dial gauges need to be tested for accuracy before each canning season or after dropping or banging it.

The manufacturer of your pressure canner is best able to provide you with instruction for inspection/gauge testing. Some companies require that you mail it in to them. You may also ask at a local hardware store or contact your local Cooperative Extension office, as some of them will do gauge testing for some brands of dial gauge pressure canners if they have an agent at that location who is trained to do so. Select your state from the drop-down list on this search tool to locate your county office:  Find Your Local Extension Office.

Also as part of an annual “check-up”, make sure all parts of your pressure canner are in good condition.  If your canner has a rubber gasket, make sure it is flexible and soft, not brittle, sticky or cracked. Check the openings on any small pipes or vent ports to be sure they are clean and clear of any debris.

If you don’t have a pressure canner and are thinking about getting one, then make sure you select a pressure canner that is capable of holding at least 4 quart-size jars upright, on the rack, with a lid that secures airtight. If it is smaller than that, we do not recommend it for home canning using USDA canning procedures.

Whether your pressure canner has not yet been used this season or is new out of the box, it is a good idea to make sure it is working properly before preparing a canner load of jars.  Put several inches of water in your pressure canner, and pressurize it as if canning.  Make sure it gets to the pressure needed and can be maintained there without leaking.  This is a good time to practice de-pressurizing the canner as if it had jars in it and then go through the steps for opening your canner as desired.  Read step-by-step procedures for using pressure canners on the NCHFP website.

IMG_1027This blog post contains a revision of Can Your Vegetables Safely by Dr. Elizabeth Andress.