Category Archives: Seasonal Food Tips

Simply Soup

tomato vegetable soupThis cold, long winter will be a memorable one for many. Hopefully you made use of your reserve of fresh and preserved foods, but you may have made your way through it all! If you are already thinking about preparing for next year, then you may like the idea of canning soup to bring delicious and nutritious warmth during the coldest days.

Different from the vast majority of USDA canning recommendations, our recommendation for IMG_1071
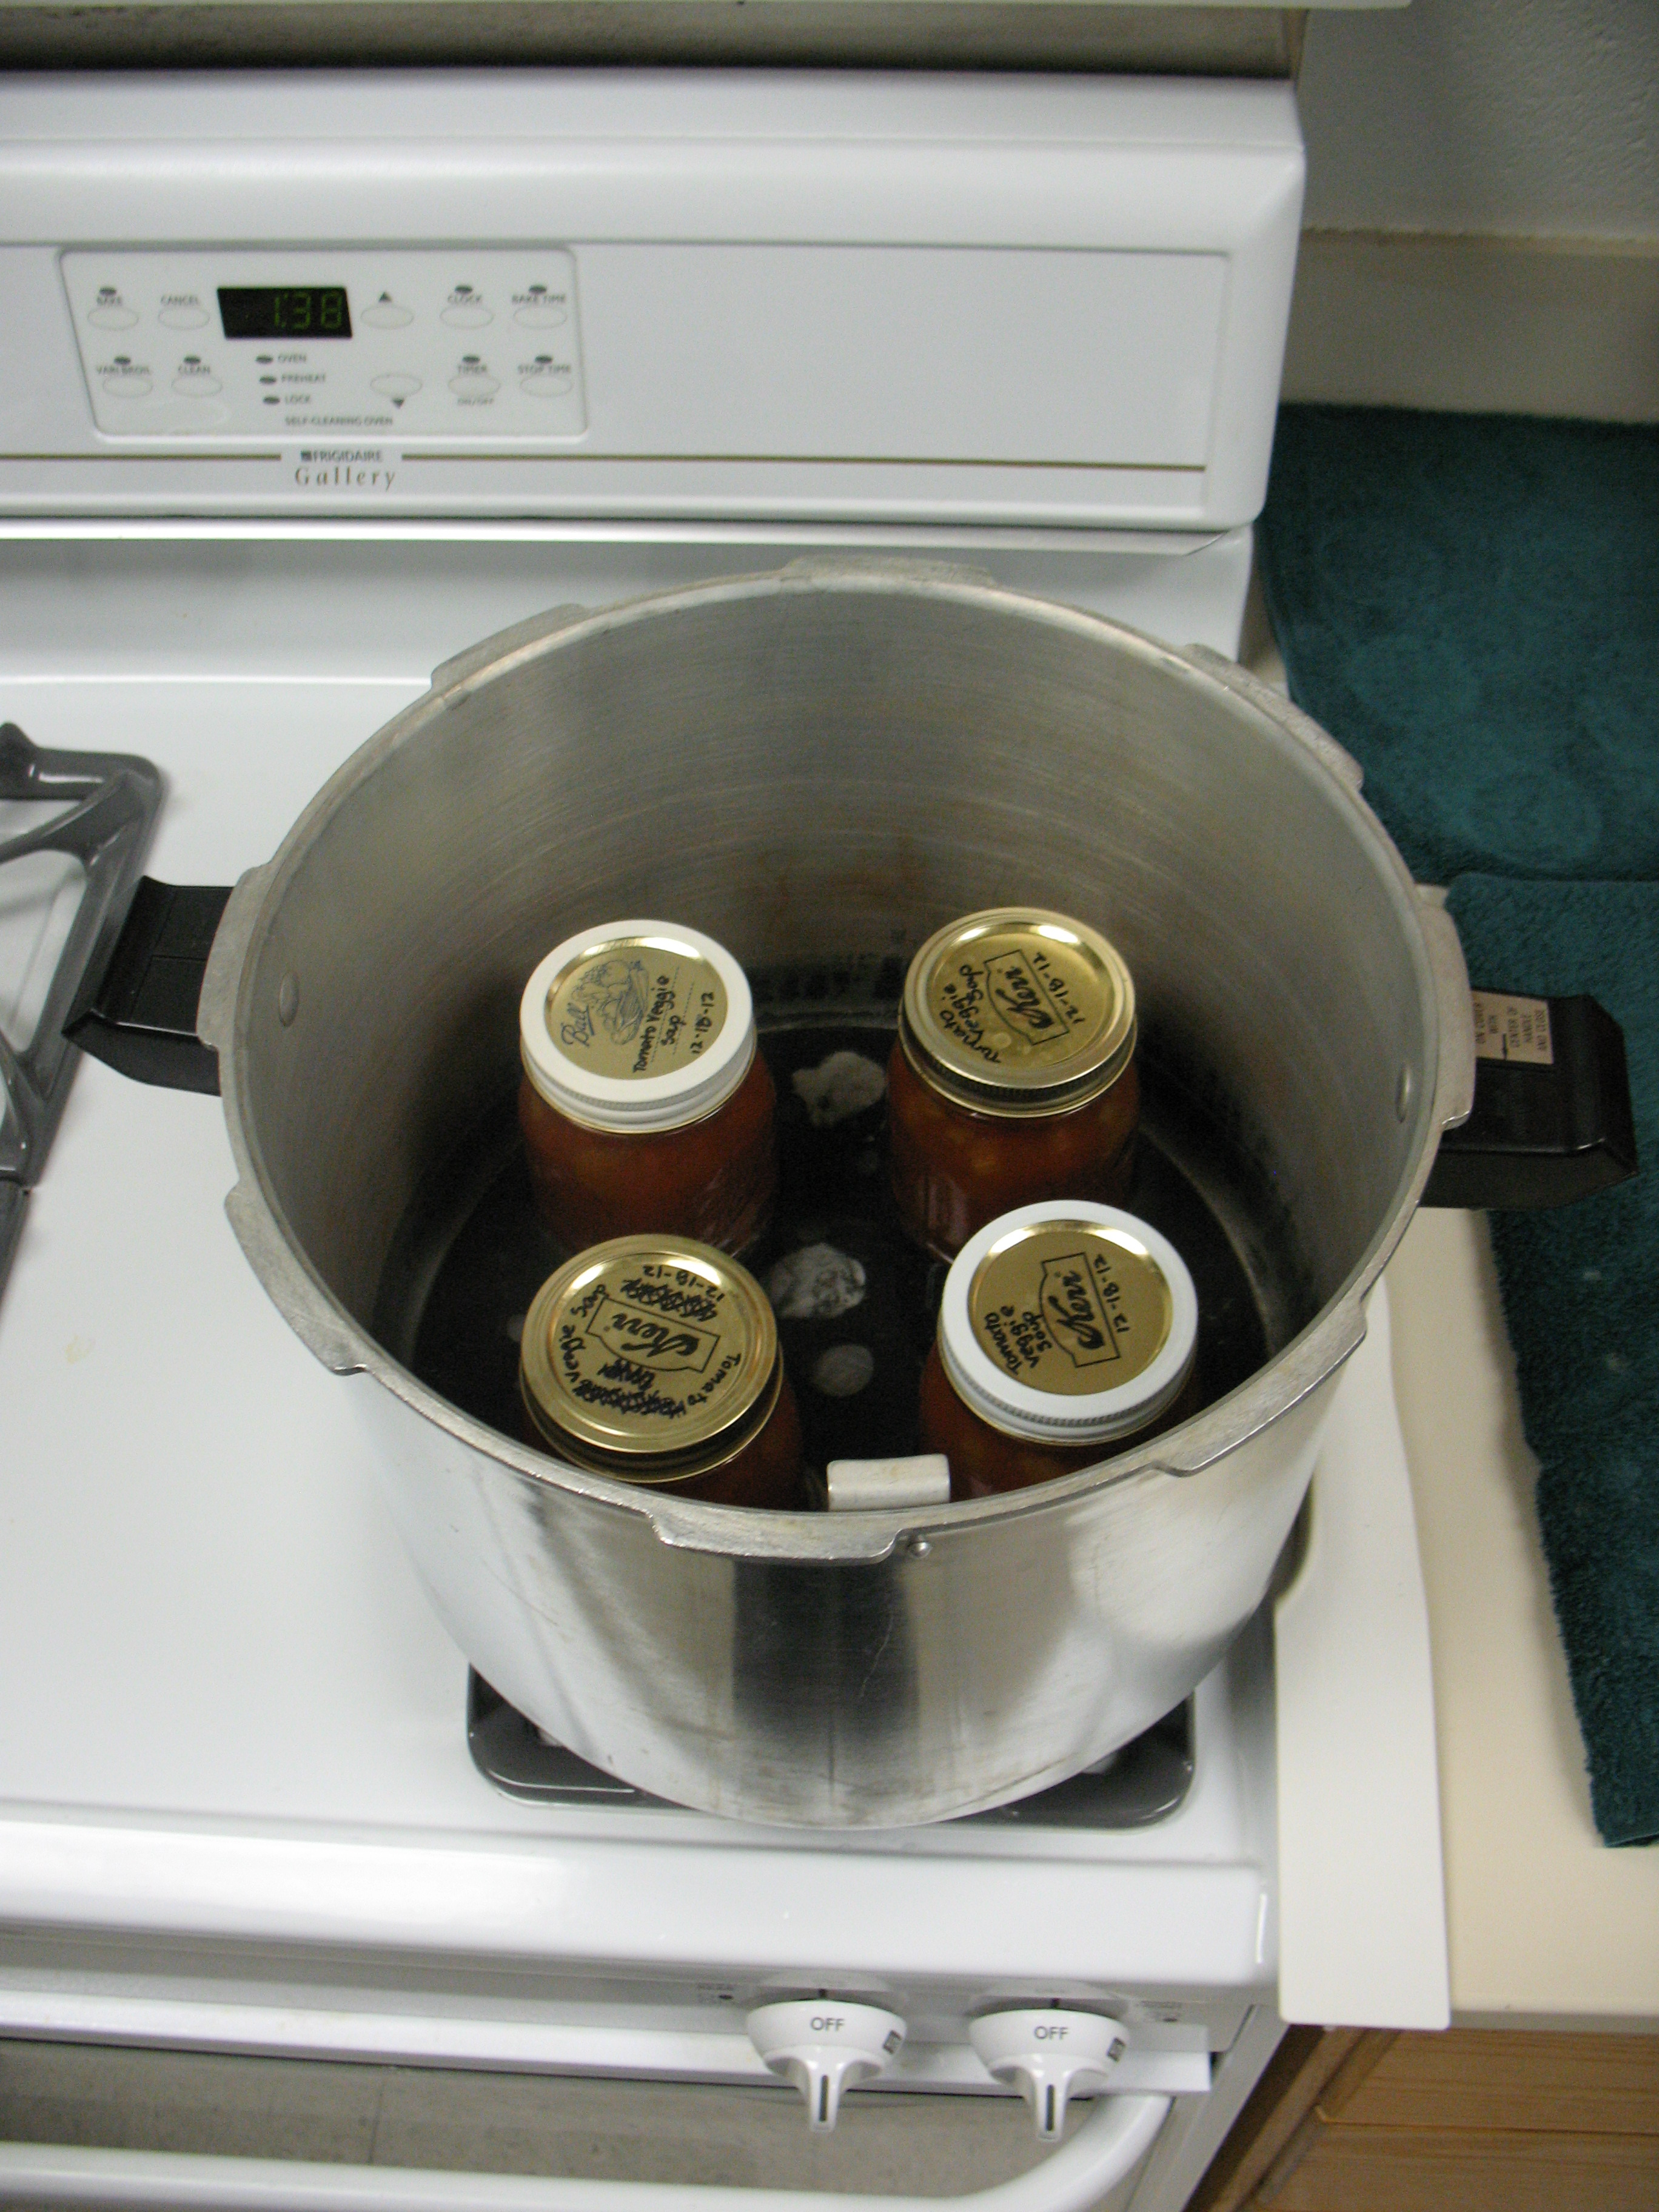
Canning Soup allows you to have some choice of vegetables, dried beans or peas, meat, poultry, or seafood. However, that does NOT mean that it is safe to can just any combination and proportions of ingredients, sorry!  For your safety, please regard these key precautions before before getting out your pressure canner (and yes, a pressure canner is required for canning soup):

  • Our recommendation for canning soup does NOT allow you to include noodles or other pasta, rice, flour, cream, milk or other thickening or dairy ingredients.
  • The procedure for canning soup says “Each vegetable should be selected, washed, prepared and cooked as you would for canning a ‘hot pack’ according to USDA directions”, which means that there must be a canning recommendation for each added ingredient. As examples, for this reason we cannot recommend adding cabbage nor cured meats like cured ham to canned soup.
  • It is also very important when canning soup that you “Fill jars halfway with solid mixture.” The reason behind filling the jar 1/2 with solids and 1/2 with liquid is to ensure the safety of the product. Our recommendation for canning soup may have a substantial amount of variability based on which vegetables and/or meats are selected and in what proportions. The 1:1 liquid to solid ratio ensures that a certain rate of heating occurs so Soup filled jars half and halfthat the dangerous bacterial spores of botulinum will be destroyed no matter which ingredients (that are noted in the recommendation as acceptable) you select and prepare as directed. Heat transfers more easily and quickly through liquid than through solids and dense mixtures, so a new canning process time would have to be determined through product testing if you were to increase the solid to liquid ratio.

If you choose to follow canning recommendations from another source, then you are choosing to trust their product testing of their recipe, procedure, and process time — they are responsible for their own product testing and you could certainly contact them if you have questions about their recommendations.

Our canning VegSoup1recommendations are meant to be followed exactly as written, and we unfortunately cannot provide individual testing of homemade recipes. If you are still wondering if you can can your favorite homemade soup recipe at home, please read our Burning Issue: Canning Homemade Soups.  Remember too that once you can soup as recommended, you can add your choice of ingredients AFTER you open the jars and re-heat the soup for serving!

Plain or pickled, they make great treats. What are they? Yes, they’re Beets!

Packed with vitamins, minerals, and fiber, beets are a healthy and delightfully colorful wintertime veggie. (Did you know that Betanin, often used in industrial food production as red food coloring, is from beet root?) Beets are easily roasted, baked, or steamed into a fresh side dish, and there are even more options for preserving them.

Here are a few ways we recommend to preserve those bright and beautiful beets:

If you’re not up for canning, then you can simply freeze beets. Select tender, young beets (ideally 1 to 2 inches diameter) and wash them then sort them according to size. Trim their leafy tops, leaving ½ inch of stems and tap root to prevent the color from bleeding out during cooking. Boil the beets until tender, about 25 to 30 minutes for small beets and 45 to 50 minutes for medium beets. Cool the cooked beets immediately in cold water then peel, remove stem and tap root, and cut into slices or cubes. Leave 1/2-inch headspace in the freezer containers as you pack them, then place in a freezer.cut beets

Beets can also be preserved by pressure canning them in pint or quart size jars. For a full canner load of 9 pints use about 13.5 pounds and for a canner load of 7 quarts use about 21 pounds. Remember, those amounts are averages, obtained by weighing the beets without tops, and there will be natural variance in actual quantities. You will remove skins before canning the beets; to do so, trim off beet tops, leaving an inch of stem and roots (you’ll cut these off later), scrub the beets, boil them for 15 to 25 minutes depending on size, and then cool them just enough to handle without burning yourself, and remove their skins, tops and roots. The beets should remain warm or hot going into the jars.  Baby beets can be left whole, but medium or large beets need to be cut into 1/2-inch cubes or slices. Add one teaspoon salt per quart jar if you like, then fill the jars with the hot beets. Add fresh hot water that has been brought to a boil first (not the water you used to boil the beets with), leaving 1-inch headspace. Process pints for 30 minutes and quarts for 35 minutes in a pressure canner, making altitude adjustments as required in the tables here.

If you prefer boiling water canning and want to try something with more flavor, then try one of our pickled beet recipes. Pickled Beets are highlighted with the flavors of sugar, cinnamon, cloves, and onions (optional) and No Sugar Added Pickled Beets are almost the same, except that the sugar is replaced with a sucralose sweetener.


What Will You Put Up in 2015?

Planting could be considered to be the first step of putting up. Now that winter is halfway through, are you looking forward to your spring garden? Now is a good time to start making plans for planting, and eventually putting up!

Here are a few tips towards a glorious garden in 2015:

  • Try to figure out how much of your favorite veggie varieties you and family will eat fresh from your garden. You may not be able to come up with a very precise quantity, but start by recalling how much you consumed in past years and then add to that the types and amounts of food you want to preserve. For example, if your family didn’t eat all the cabbage you grew last year then maybe you don’t need to plant so much…or maybe you’ll stick with it and try fermenting sauerkraut or canning a relish with cabbage in it.
  • Measure your space and lay out the garden on paper. Hopefully you did this last year too, so that you can review your records and rotate crops each year to reduce disease and insects. If you are starting a new garden plot, be sure to consider the basic needs of your plants – most vegetables need eight or more hours of full sun (leaf crops like spinach and broccoli require less), and a nearby water supply will make your watering efforts far easier.
  • Buy seeds from a reputable local seller, and buy the best ones – cheaper seeds may have lower germination rates and may not be adapted to your area. UGA Extension has many more tips about Starting Plants From Seed for the Home Gardener.
  • If you decide buy transplants later, then buy those from a reputable local seller as well. Inspect the plants carefully for insects and disease, leaving any such signs on the shelf.
  • Go ahead and contact your local Cooperative Extension office and ask how to take a soil sample to figure out which amendments you’ll need to make once those starts are ready to go in the ground. Good soil is like a healthy diet – your plants need it to survive and thrive.

Let us know what you plan to put up in 2015 by commenting on this post, and we will try to support you with specific recommendations throughout the year.

This post was inspired and adapted from Wayne McLaurin’s article, Spring Gardening: Getting Ready.

Do Those Sprouts Really Come from Brussels?

Probably not. Brussels sprouts may be grown in your very own home garden and still qualify as Brussels sprouts, though they are very popular and may have originated in Brussels, Belgium. Whether you actually have Brussels sprouts growing in your garden right now might depend on where you live and what the weather has been like this year, but as long as you have access to a grocery store with a healthy selection of seasonal vegetables, you can probably find some sprouts nearby. The best time to buy Brussels sprouts is between September and March. Brussels sprouts are notable not just for their unusual appearance, but also for their hardiness in cold weather. They are even said to be best when harvested after a couple of good freezes.

So it may not be surprising then that freezing Brussels Sprouts is a highly recommend method of preserving them. They will maintain best quality for up to 12 months in a 0°F freezer. To prepare them for freezing, select green, firm, and compact heads, removing any insects and course outer leaves. Wash well, then sort into small, medium, and large sizes if size variance is notable. Water blanch small heads for 3 minutes, medium heads for 4 minutes and large heads for 5 minutes. Cool them quickly in cold water or an ice bath, drain thoroughly, and package with no headspace. Then simply seal the containers and place in the freezer. To have properly proportioned serving sizes straight from the freezer and ready to be cooked, note that 5-6 sprouts equal one serving and/or one pound equals four servings.

If you’re feeling adventurous, then you might like also to try canning Pickled Brussels Sprouts. You may not have tried these before — the brine imparts flavor that is typical of many vegetable pickles while the texture is certainly more difficult to come by. Brussels Sprout pickles are made by boiling the clean sprouts in salt water (4 tsp canning salt per gallon), then cooling them while you prepare the brine that will be poured over the sprouts once they are in jars; the brine is a mixture of vinegar, sugar, onion, diced red pepper, mustard seed, celery seed, turmeric, and hot red pepper flakes. For the complete recipe, detailed instructions, and canning process time, see the recommendation in the link above. The same recipe and canning process is used for cauliflower too, so if you have some cauliflower flowerets around you could make both kinds (note that Brussels sprouts need to boil in the salt water for one minute longer than cauliflower).

Some of the information in this entry comes from Buying, Using, and Storing Vegetables from the University of Georgia.