Category Archives: Seasonal Food Tips

It’s in your garden, it’s kind of gooey, and no, it’s not a slug…

It’s Okra!

In addition to being supremely slimy (and providing high fiber from all that mucilage), did you know that okra is also in the same family as cotton, cacao, and hibiscus (Malvaceae)?

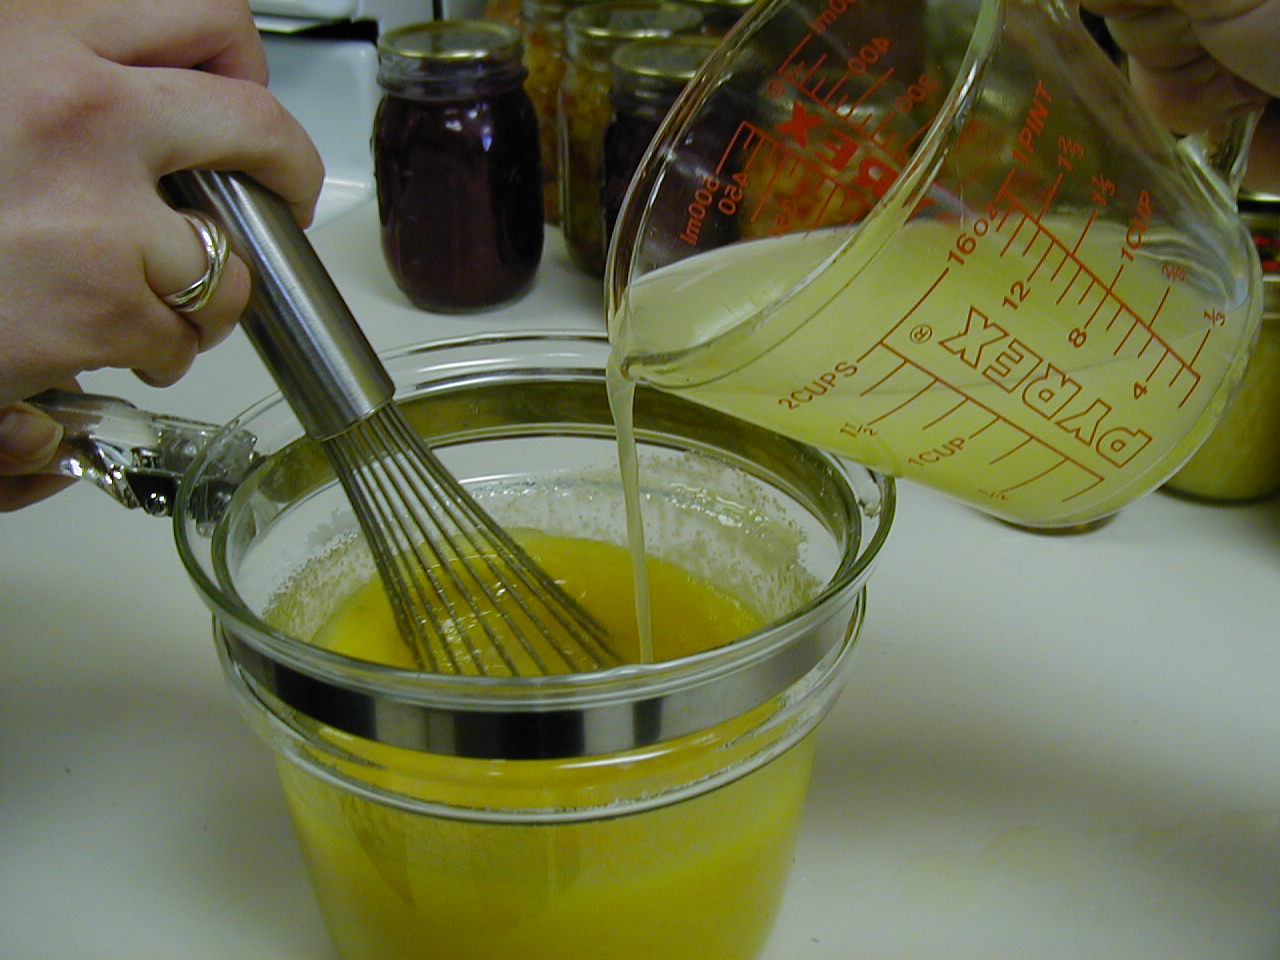
Once you’ve had enough fresh southern-style fried okra this spring, preserve those precious pods by freezing, drying, pickling, or canning them. Complete recommendations are accessible by clicking the blue links below.

Freezing Okra is simple, but the best quality frozen okra will result from smoother rather than more ridged varieties because the smooth types do not split as easily. Water blanch small pods (4 inches or less) for 3 minutes and large pods for 4 minutes. Quickly cool and drain pods, then either leave whole or slice crosswise. Pack into freezer containers leaving ½-inch headspace, seal, and freeze.

For Freezing Okra for Frying, follow instructions above but dredge with flour or meal after slicing crosswise. Spread in a single layer on shallow trays and place trays in freezer just long enough for them to firm, then package quickly leaving ½-inch headspace, seal, and freeze.

Dehydrator
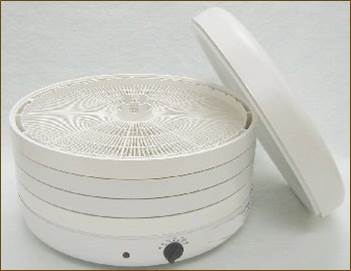
Drying Okra is also a simple process, so long as you have a food dehydrator or an oven that registers 140°F. (And drying really reduces that gooey slime.) Wash, trim, and slice okra crosswise into 1/8- to ¼- inch disks. No blanching is required, just place in a single layer on dehydrator trays or cookie sheets and dry for 8-10 hours in a dehydrator, up to twice as long in an oven. Drying time depends on air circulation — directing a fan towards a slightly opened oven speeds up drying time.

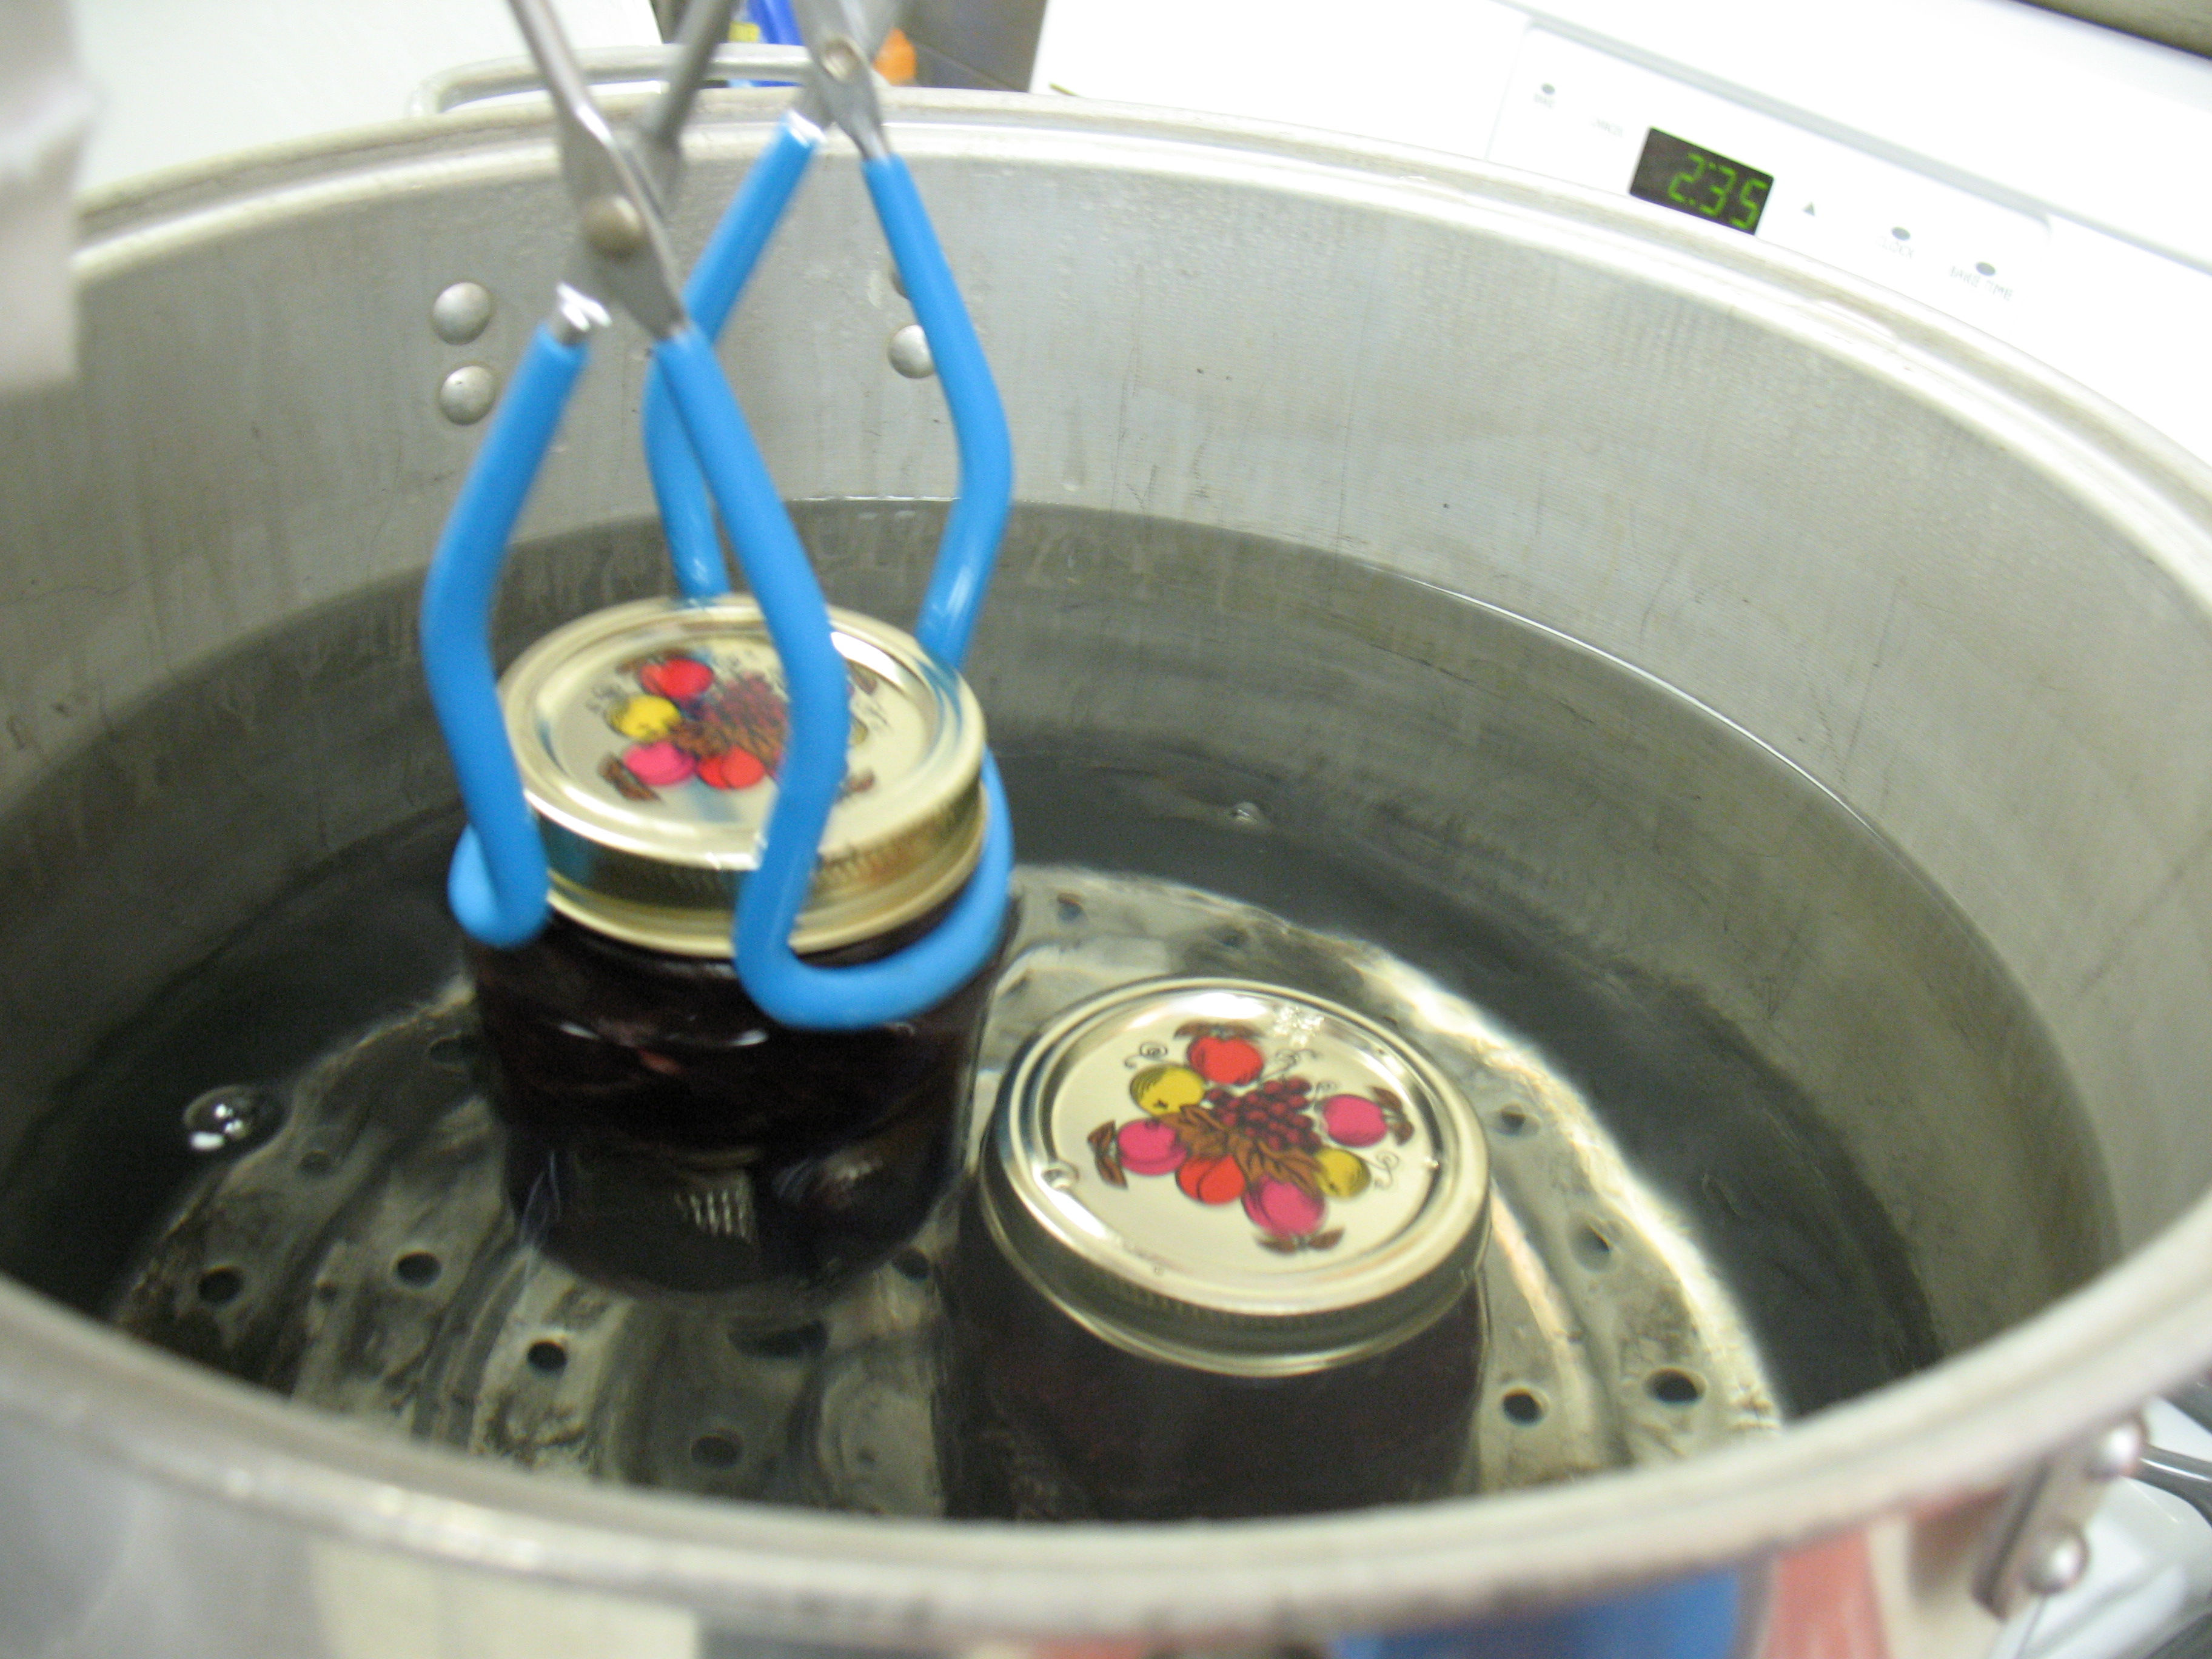
As with pickled products in general, this recipe for Pickled Dilled Okra contains enough vinegar in proportion to solid food that the previously low acid food becomes acidified. Unlike okra by itself, which is a low acid food, acidified foods like this pickled okra can be safely processed in a boiling water canner. And, it makes a great, tangy snack!

venting - visible funnel of steamUsing a pressure canner, okra can be canned by itself or with tomatoes. Directions for Canning Okra call for tender young pods to be washed and ends trimmed, then left whole or cut into 1-inch pieces. After boiling the pods for 2-minutes, drain liquid such that you can use it to cover the pods after you pack them into jars. Leave 1-inch headspace. Add 1 teaspoon salt to each jar for flavor, if desired. Process in a pressure canner; pints for 25 minutes and quarts for 40 minutes. Use the tables in the recommendations to make appropriate altitude adjustments.

For Canning Tomatoes with Okra, okra is added to tomatoes at about a 1 to 3 ratio. Tomatoes are a borderline acid food and, as you now know, okra is a low acid food, so be sure to follow the tested directions and pressure canning process times from USDA.

Going Wild with Cherries

Raw, Washed CherriesQuick! Cherries’ peak growing season is so short, you don’t want to miss making the most of any fresh ones you can get a hold of. If you buy cherries from a typical grocery store, you are likely to find the best deals of the year during the early summer months of June and July.

cropped cherry jarsThere are so many ways to preserve cherries that instead of describing each method here, you’ll find complete recommendations on the National Center for Home Food Preservation website by clicking the blue links, below.

With about 3 pounds (2 quarts) of sour cherries, try making Cherry Jam with powdered pectin or the equally scrumptious Cherry Jam with liquid pectin.  Goes great on biscuits, thumb-print cookies, or mixed into plain yogurt.

If you have a bit more time available, then you’ll be able to prepare the juice needed for making Cherry Jelly with powdered pectin or Cherry Jelly with liquid pectin.

Pitting CherriesAnother option for sour cherries is to can Sour Cherries – Whole. And, the very same procedure and process times are used to can Sweet Cherries – Whole. You could even mix sweet and sour cherries!

For an extra sweet spread option, can Sweet Cherry Topping, made with Bing cherries, water, sugar, and liquid pectin.

Cherry Syrup is another way to make and can a sweet topping, this one more pourable/liquid-like and less spreadable/solid-like than the Sweet Cherry Topping, above. You may use any type of cherry for the syrup.

Boiling Cherries into SyrupLowering Jars into Canner

In case canning is not your preferred preservation method, you could freeze your Sour Cherries or Sweet Cherries. The difference between the two is due to balancing the flavor of sour cherries with slightly more sugar. Sour cherries can be packed in 50% sugar syrup or a sugar pack, whereas sweet cherries are packed in 40% sugar syrup or a dry pack, no sugar added.

Last but not least, Dried Cherries make a great snack, either plain or as an ingredient in fancy trail mix with nuts and chocolate pieces. Drying cherries takes just a few steps – start with ripened cherries and stem, wash, drain, and pit them, leaving whole, halving or chopping as you please. Whole cherries need to be dipped in boiling water until skins split to help moisture escape while they dry. For sour cherries, you will syrup blanch them for 10 minutes. Make sure you have 24-36 hours available to check on the cherries as the complete the drying process in a dehydrator.

How do you like your eggs? Scrambled, Fried…or Pickled!

Whether your eggs come from your backyard chickens, the grocery store, or the Easter bunny, you might find yourself looking for different ways to prepare and preserve your abundance of springtime eggs.

There are no tested, reliable home canning recommendations for keeping pickled eggs at room temperature that we are able to recommend. Eggs are a low-acid food, and it is possible for botulism to grow in areas of a boiled egg that have not been sufficiently saturated by vinegar. The density, thickness, and very low acidity of eggs (pH ranges between 6.4 and 9.0) all present challenges for adequate penetration of vinegar and sufficient acidification throughout all areas of each egg. To read more about a case of home-pickled eggs implicated as a cause of botulism in Illinois in 1997, click here.

Instead of going through the steps of a canning process, simply make delicious pickled eggs safely at home by following recipes and instructions designed for refrigerator storage. Be sure to wash all utensils and surface areas (including hands) very well and sanitize jars for 10 minutes in boiling water before filling with boiled eggs if you expect to keep them for more than several days. Keep pickled eggs refrigerated, and limit their amount of time out of the fridge to 2 hours or less. Give them about 2 weeks to season in the brine before tasting. Unless otherwise indicated, you’ll want to consume refrigerated pickled eggs within 2 to 3 months for best quality. You can find more pickling tips and recipes on the NCHFP website.

refrigeratorHere is a basic recipe, copied directly from the pages of So Easy to Preserve:

Refrigerated Pickled Eggs

16 fresh eggs

2 TBSP whole allspice

2 TBSP whole peppercorns

2 TBSP ground ginger

4 cups white vinegar (5%)

2 TBSP sugar

Cook eggs in simmering water for 15 minutes. Place eggs in cold water, remove shells, and pack into sterilized jars. In a pot combine vinegar, sugar, and spices. Bring to a boil, reduce heat, and simmer 5 minutes. Pour hot liquid over hard-boiled eggs. Seal. Store in refrigerator. Use these pickled eggs within a month. This recipe is not intended for long term storage at room temperature.

Recipe from: Andress, E.L., Harrison, J.A., eds. (2006). So Easy to Preserve, 5th ed. Athens, GA: University of Georgia Cooperative Extension. ©University of Georgia.

Melt-in-your-Mouth Lemon Curd

lcurdbowl6

Although not meant to be a part of your everyday diet (you’ll see why when you consider the ingredients list), lemon curd sure is a special treat! A traditional English sweet spread, curds work well as a topping on cakes, cookies, and scones or as filling in pies and tarts. You could spoon it onto cream cheese for a unique dip or simply drip it over ice cream or frozen yogurt.

Making lemon curd is somewhat challenging, so if you are a novice then you might want to recruit help from a more experienced cook. And, as usual, if you are new to canning then please read step-by-step instructions on Using Boiling Water Canners and Principles of Home Canning.

frozen l curd

You can prepare this lemon curd to be consumed fresh, frozen, or canned. You could even make Lime Curd instead, substituting the lemon juice and zest for equal parts lime juice and zest. Either way, fresh curd needs to be refrigerated and eaten within 4 weeks, frozen curd will maintain best quality for up to a year, and canned curd for just 3 to 4 months.

The procedure for making lemon curd is an exacting process. Low-acid foods make up a significant portion of the ingredients (butter and eggs), so it is especially important to follow a tested recipe and canning process time for safety’s sake. Instead of detailing each step of the procedure here, please review the ingredient and equipment lists below, and then use these links for complete instructions from the National Center for Home Food Preservation: Canned Lemon Curd and Preparing and Preserving Lemon Curd (frozen).

l curd ingredientsl curd whisking

Lemon Curd, canned or frozen

Ingredients:

2½ cups superfine sugar (or grind granulated sugar in a food processor for one minute)

½ cup lemon zest (optional)

1 cup commercially bottled standard lemon juice (needs to be bottled for consistent pH)

¾ cup unsalted butter, chilled and cut into approximately ¾-inch pieces

7 large egg yolks

4 large whole eggs

Equipment needed:

lemon zester

small mixing bowl

balloon whisk

1½ quart double boiler

mesh strainer

kitchen thermometer measuring at least up to 180°F

silicone spatula or cooking spoon

dish cloth or towel

medium-sized glass or stainless steel mixing bowl

1 quart-sized or 2 pint-sized freezer containers and plastic food wrap (only if freezing)

3 to 4 half-pint canning jars, lids, and ring bands and a boiling water canner (only if canning)

This entry was inspired by the season, the Valentine’s Day holiday (because lemon curd makes an impressive gift whether fresh or preserved) and by the article Preserving and Preparing Lemon Curd by Elaine M. D’Sa.