Category Archives: Seasonal Food Tips

Corn-ucopia

Have you got a cornucopia of corn starting to come in? Or maybe you just really enjoy crunching on fresh kernels from a grocery store? Well, if you want that great flavor to last, then try one (or all!) of these methods of preserving corn…

Instructions for freezing corn-on-the-cob, whole kernel corn, and cream style corn are in a previous post – Corn: On or Off the Cob.

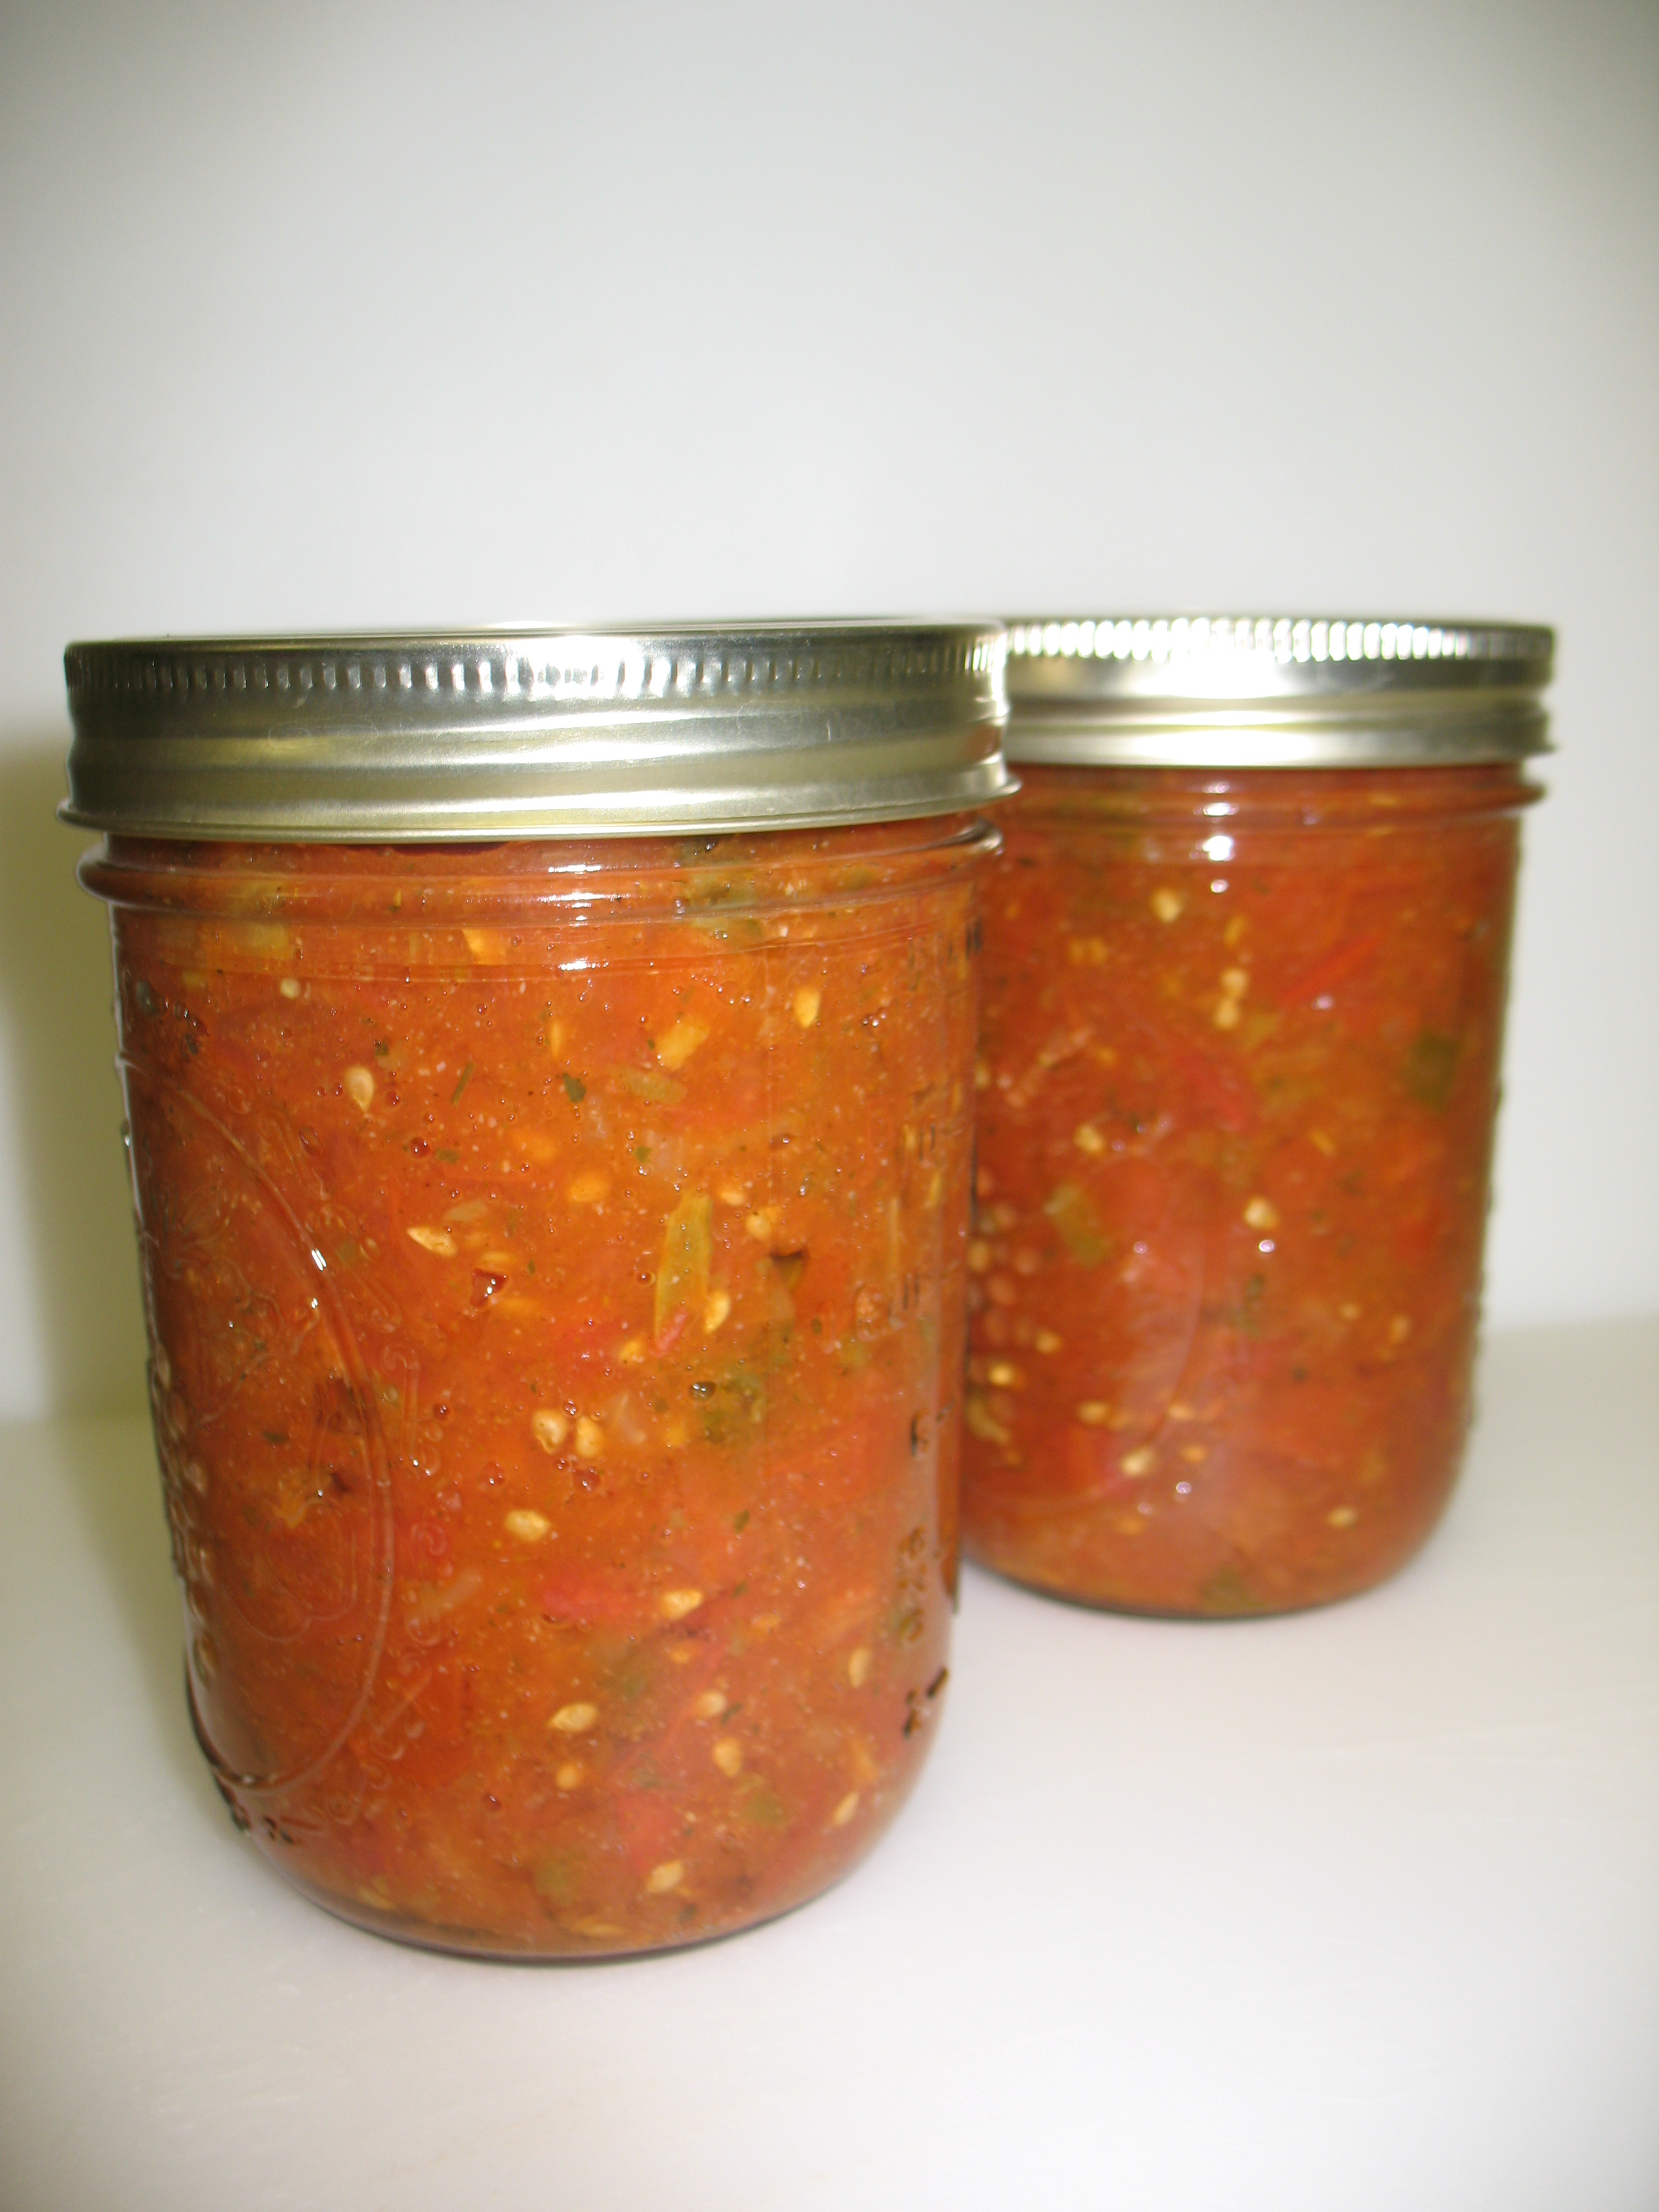
If you’re wondering what to do with all those frozen corn kernels, or if you have 16 to 20 medium-sized ears, and you’re feeling a little zesty, then try making Pickled Corn Relish and processing it in a boiling water canner.

Corn in Husk
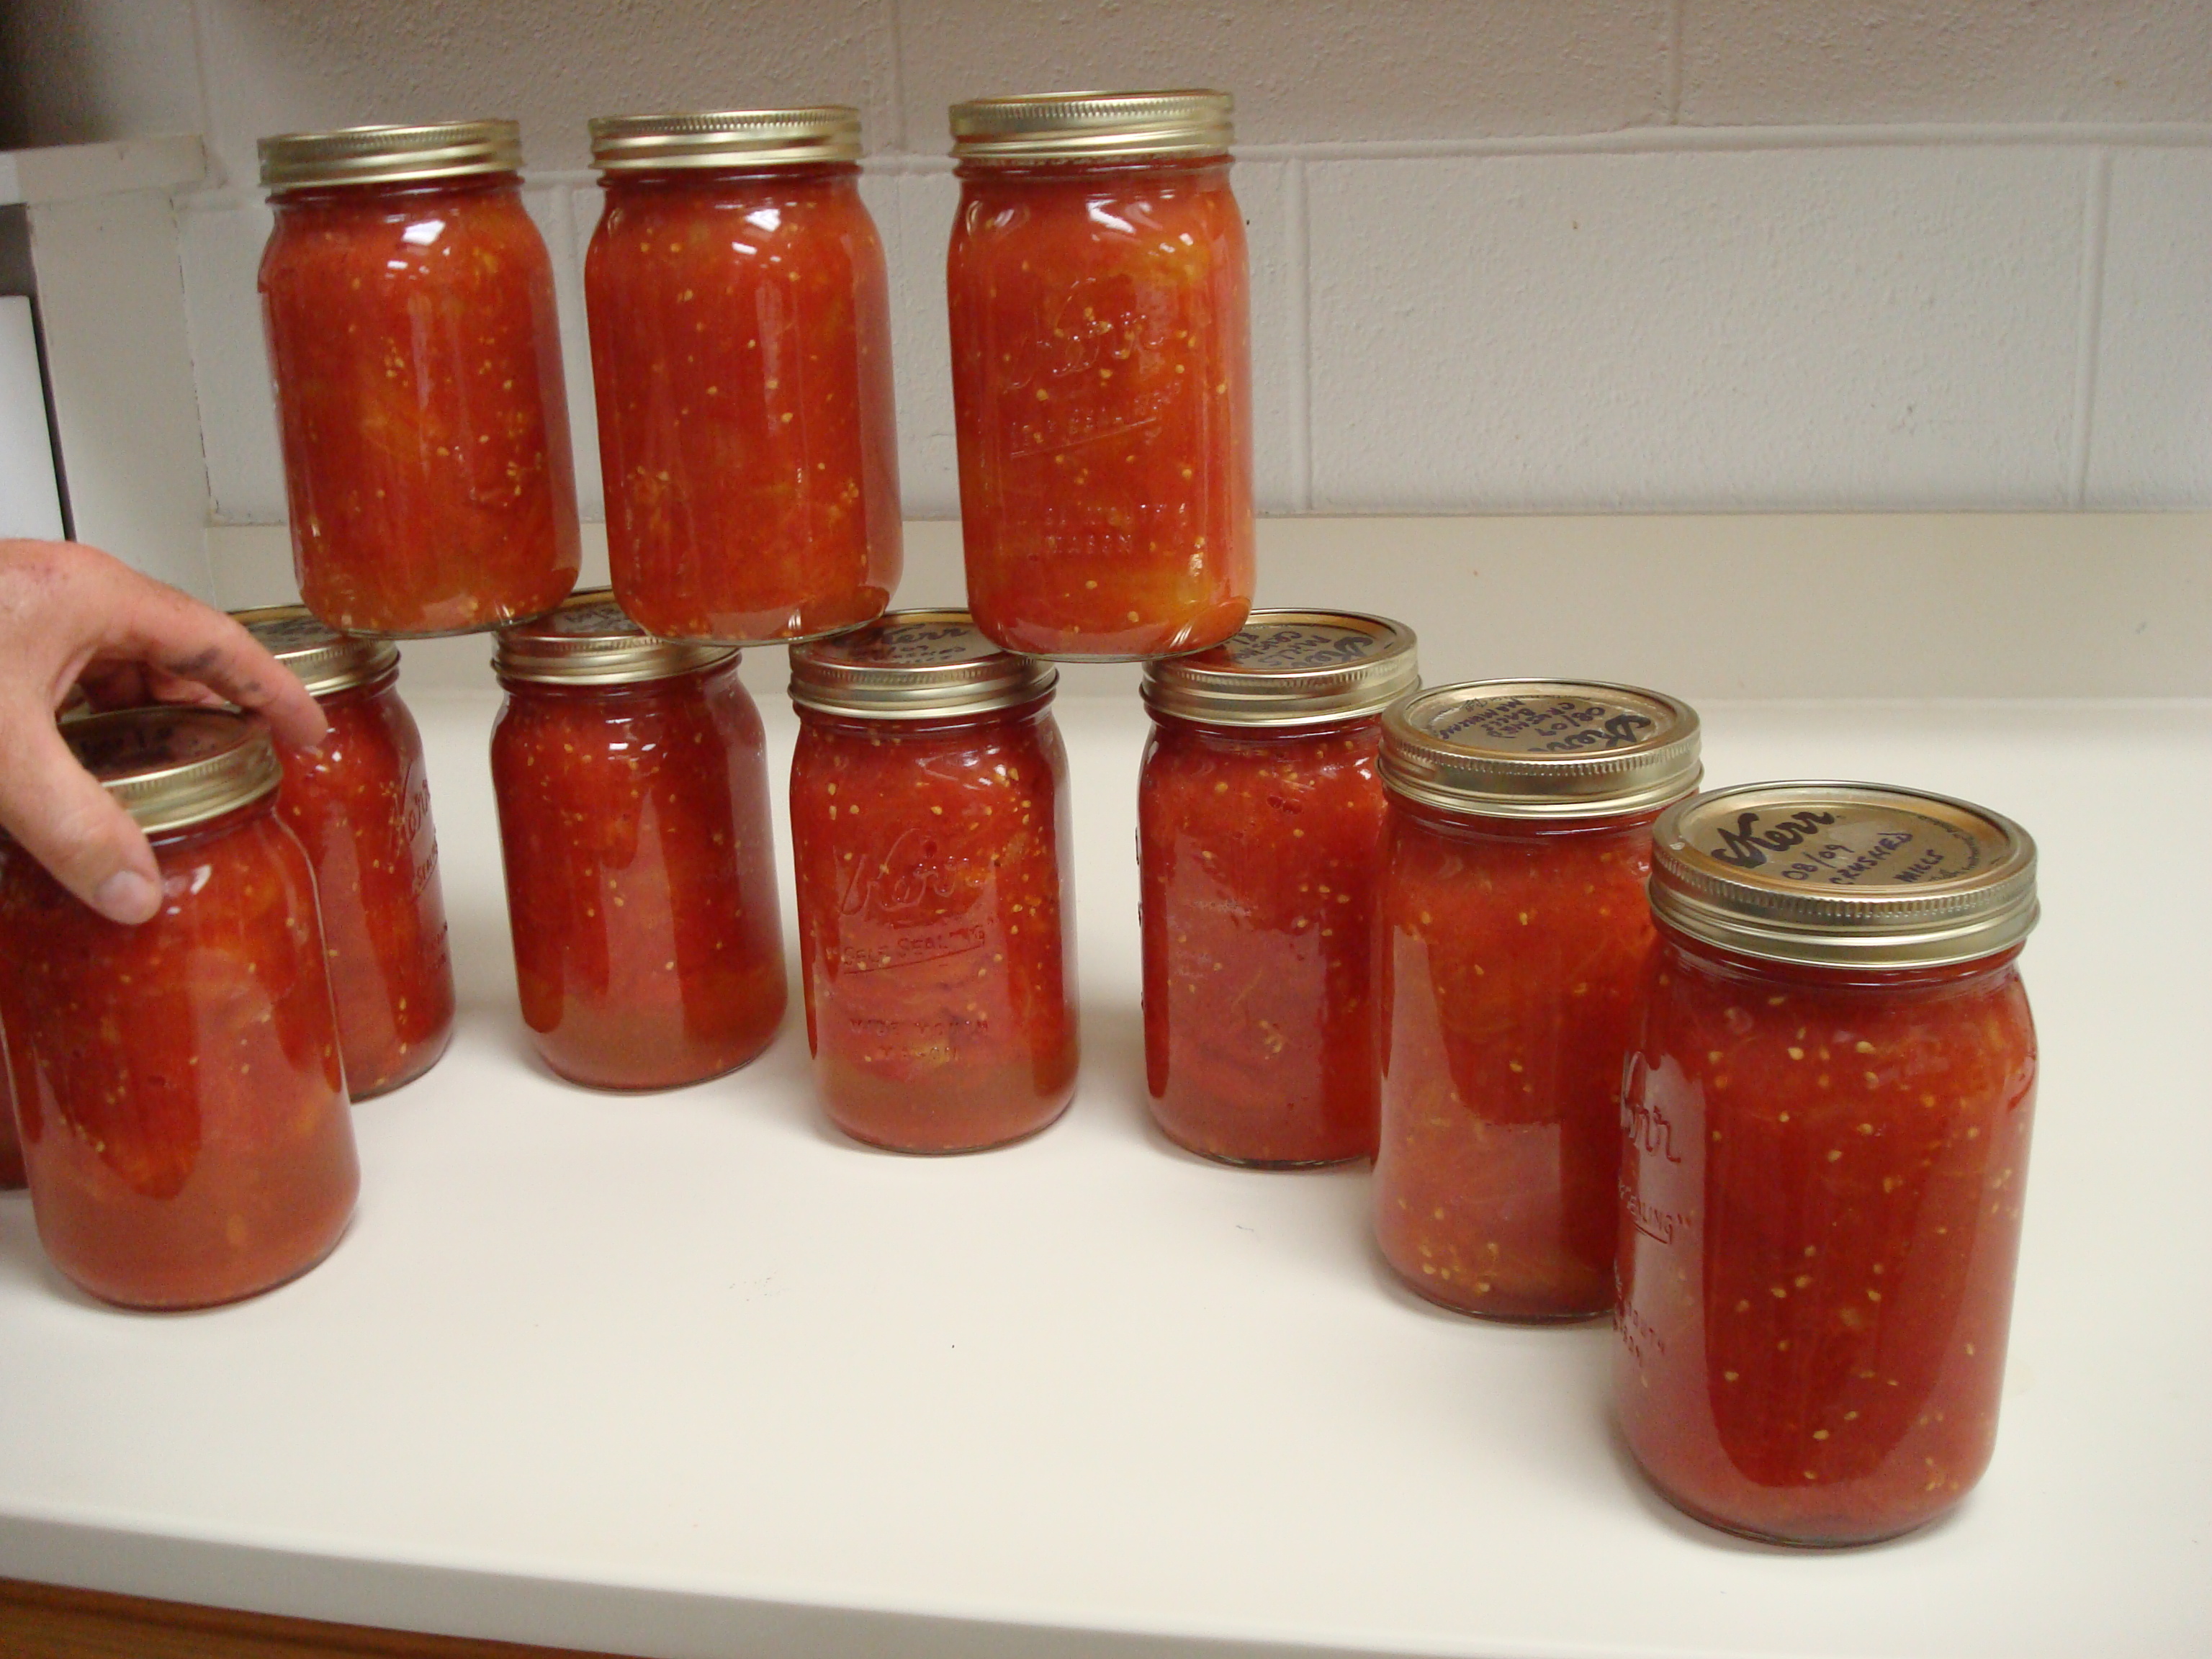
The rest of these canning recommendations are not pickled products, and so a pressure canner is required since corn itself is a low-acid food. Corn can be canned as Whole Kernel Corn or Cream-Style Corn. Sweet corn kernels may also go into a medley of Mixed Vegetables or Soup (note that the pressure canning process time varies – following the recommended process time is important to the safety of the final products…the soup has a lot more water to help distribute heat more quickly, and also less solids to have to penetrate through).

If your corn browns during canning, it usually means that the temperature required for canning is too high for the sugar levels in your corn variety.  This carmelization has become more of a problem as newer varieties of corn get sweeter and sweeter. You cannot safely reduce the heat or processing time needed for canning corn; you can freeze that corn or find a locally grown variety that is recommended for canning. Though not an immediate safety concern, you might want to consider refrigerating these jars and/or consuming them more quickly since they may not maintain the best quality for long.

Corn can also be dried, although consider your use of the kernels to decide if the texture is what you are seeking. Ears of popcorn can simply be left to air-dry on the stalks or at 130°F after harvest. For other varieties of corn, husk, trim, and steam blanch for 2 to 2-1/2 minutes or water blanch for 1-1/2 minutes. A test to check if it’s blanched enough is to cut into a kernel — if milk does not exude when the kernel is cut then it is adequately blanched. After blanching, cut kernels from the cob. Use a dehydrator try liner (or a cookie sheet if drying in the oven) so that the small pieces don’t fall through. Dry in an electric dehydrator at 140°F for 6 to 10 hours, longer in an oven. To rehydrate the kernels, soak each cup of corn in 2-1/4 cups water for 30 minutes.

Lastly, let’s not forget candy corn this time of year…it typically stores well on the counter in an airtight container (perhaps out of sight from children!).


What’s In Your Choice Salsa?

Salsa Easy to make and simple to can in a boiling water canner, salsas are very popular for home canning. One of the most common requests we receive at the National Center is “Can I can my salsa recipe?”

The answer is not what people usually want to hear…but the trouble with canning your own salsa recipes is that most recipes contain low-acid ingredients, and low-acid foods need to either be pressure canned or properly acidified by the addition of a strong acid (like lemon juice or vinegar) for boiling water canning. Either way, a process time needs to be determined for any particular recipe to ensure that spoilage or sickness-causing microorganisms will be destroyed (this time varies based on qualities like pH, solid-to-liquid ratio, size and shape of jar, etc.).

So then, we cannot recommend that just any homemade salsa recipe be canned. That’s why we have a variety of carefully tested salsa recipes for you to choose from. Safety first, but also quality, were given priority in developing these recipes, so we hope you will find at least one that you like. Crushed tomatoes

If the idea of following a recipe exactly is tough for you to swallow, then, well, you might want to consider taking up cooking instead of canning, but for now, you might also enjoy playing with our Choice Salsa recipe. This recipe was developed to allow for a great deal of flexibility – you can use any variety of onions and peppers so long as you use a total of 9 cups diced onions and/or peppers per batch. The only other ingredients you need are 6 cups chopped tomatoes, 1½ cups bottled lemon or lime juice, and 3 teaspoons canning or pickling salt. Remember to enjoy some fresh and refrigerate jars after opening!

Want to Make Sweet Spreads, but Don’t Want to Add Sugar?

Classic jams and jellies are typically sugary sweetened spreads, but we know that fruits have enough natural sugars to make them taste sweet even without adding table sugar. But even with a satisfactorily sweet flavor, how do you get the ideal jellied consistency of traditional jams and jellies without adding sugar? In addition to the many recipes for sugar-added jams and jellies, you have plenty of options for making (and canning) sweet spreads without added sugar.

So do you think it’s as easy as grabbing a box of regular pectin from the store shelf and just leaving out the sugar from one of the recipes that comes with it? Well, if you do that, then you’ll likely end up with a drippy, runny product because regular pectin depends on the addition of sugar to form the gel structure that makes a spreadable jellied texture.

Instead of making a mess, try a tested recipe using one of these four methods for making no-sugar-added jams and jellies. Or, try each of these methods and repeat the one you like best — you may want to experiment a while before finding your favorite final product.

Method One: Use Specially Modified Pectin. These products can be found in the canning section on store shelves, with label description such as “light” or “no sugar needed”. Follow the recipes included in the packaging, which often present options for using less sugar, no sugar, or alternative sweeteners like fruit juice or honey. Recipe directions also include a canning process so that the product can be stored at room temp.

Method Two: Use Regular Pectin With Special Recipes. You might come across a tested recipe that calls for regular pectin with no added sugar, but please note that there is still a small amount of sugar already in the pectin product itself. These recipes typically call for the addition of a sugar substitute, so be aware that flavor changes may occur in the sugar alternatives from the heat of cooking and canning, as well as from storage. For example, aspartame may lose its sweet flavor within 3 to 4 weeks.

Method Three: Long Boil. Simply boil down fruit pulp until it reaches a spreadable consistency. The final product is not technically jellied because it will not have a pectin gel. However, the texture will be thick and spreadable. While boiling the fruit, you may add a small amount of sugar or sugar substitute to taste for extra sweetness if you wish. An example of a long boil method for making a fruit spread is Peach-Pineapple Spread (which also works with nectarines, apricots, and/or plums). Expect this method to require a slightly longer boiling water bath process time than full sugar jams and jellies, as more heat is needed to make up for the lack of the preserving effect of the sugar as well as the pectin gel structure binding up water.

Method Four: Use Gelatin. For refrigerator storage only, gelatin is effective in making spreads which call for fruit juice to flavor and sweeten. Sugar substitutes can also be added, if desired. Try this Refrigerated Apple Spread or Refrigerated Grape Spread. Be sure to use these recipes within 4 weeks.

Green Tomatoes: Not Just for Frying


Though there’s nothing quite like freshly battered and fried green tomatoes, there are plenty of other ways to serve green tomatoes — by preserving them first!

If you are a fan of classic kosher dill cucumber pickles, then you might like Kosher Style Dill Green Tomato Pickles. These pickles call for small green tomatoes, celery, green peppers, garlic, white vinegar, pickling salt, and fresh dill, and water. Once veggies are prepped and packed in to jars, you will pour hot brine over them then process jars in a boiling water bath. See details in the link, above.

Fans of sweeter pickles might prefer this recipe for Pickled Sweet Green Tomatoes. It calls for green tomatoes, onions, pickling salt, brown sugar, vinegar, mustard seed, allspice, celery seed, and whole cloves. The procedure takes more time than the kosher dill recipe; once the tomatoes and onions are washed and sliced, they are sprinkled with salt and left to stand for 4 to 6 hours. Then they are boiled for 30 minutes with all other ingredients (the spices tied in a spice bag) before packing them into jars and covering with the hot pickling solution.

Finally, for a truly sweet and spicy pickled green tomato, try this recipe for Spiced Green Tomatoes. You will need very small green tomatoes (like fig or plum-shaped tomatoes), sugar, cider vinegar, cinnamon sticks, whole cloves, whole allspice, and whole or ground mace. This procedure calls for scalding and peeling the whole tomatoes, dropping them into syrup made of the other ingredients, then boiling until the tomatoes are clear. After straining the syrup in order to remove the whole spices, you will pack tomatoes into jars and then pour the syrup to cover tomatoes.

Green tomatoes are also an important component is several delicious relishes: Fall Garden Relish with cabbage, cauliflower, onions, peppers, salt, sugar, celery seed, mustard, and turmeric; Piccalilli with peppers, onions, cabbage, salt, pickling spice, vinegar, and brown sugar; Pickled Green Tomato Relish with peppers, onions, salt, sugar, vinegar, mustard, and cornstarch; Rummage Relish with red tomatoes, cabbage, onions, celery, peppers, salt, sugar, garlic, celery seed, cinnamon, mustard, ginger, cloves, and vinegar.

And if fried really is your favorite, but you’ve had enough for now, then here’s how to freeze green tomatoes for frying later: wash, core and slice green tomatoes to ¼-inch thick. Pack the slices into containers with freezer wrap between slices. Remember to leave ½-inch headspace between the slices and the lid, then seal container and place it in your freezer.