Category Archives: Recipes

So long Summer Squash…see you this winter!

Squash PicklesSo, if you’ve already grilled squash outside for a cook-out, prepared stir-fry with squash, enjoyed a delicious squash casserole, and even fried squash blossoms, then you might be wondering what else you can do with the summer squash that’s still coming in. Preserve it!

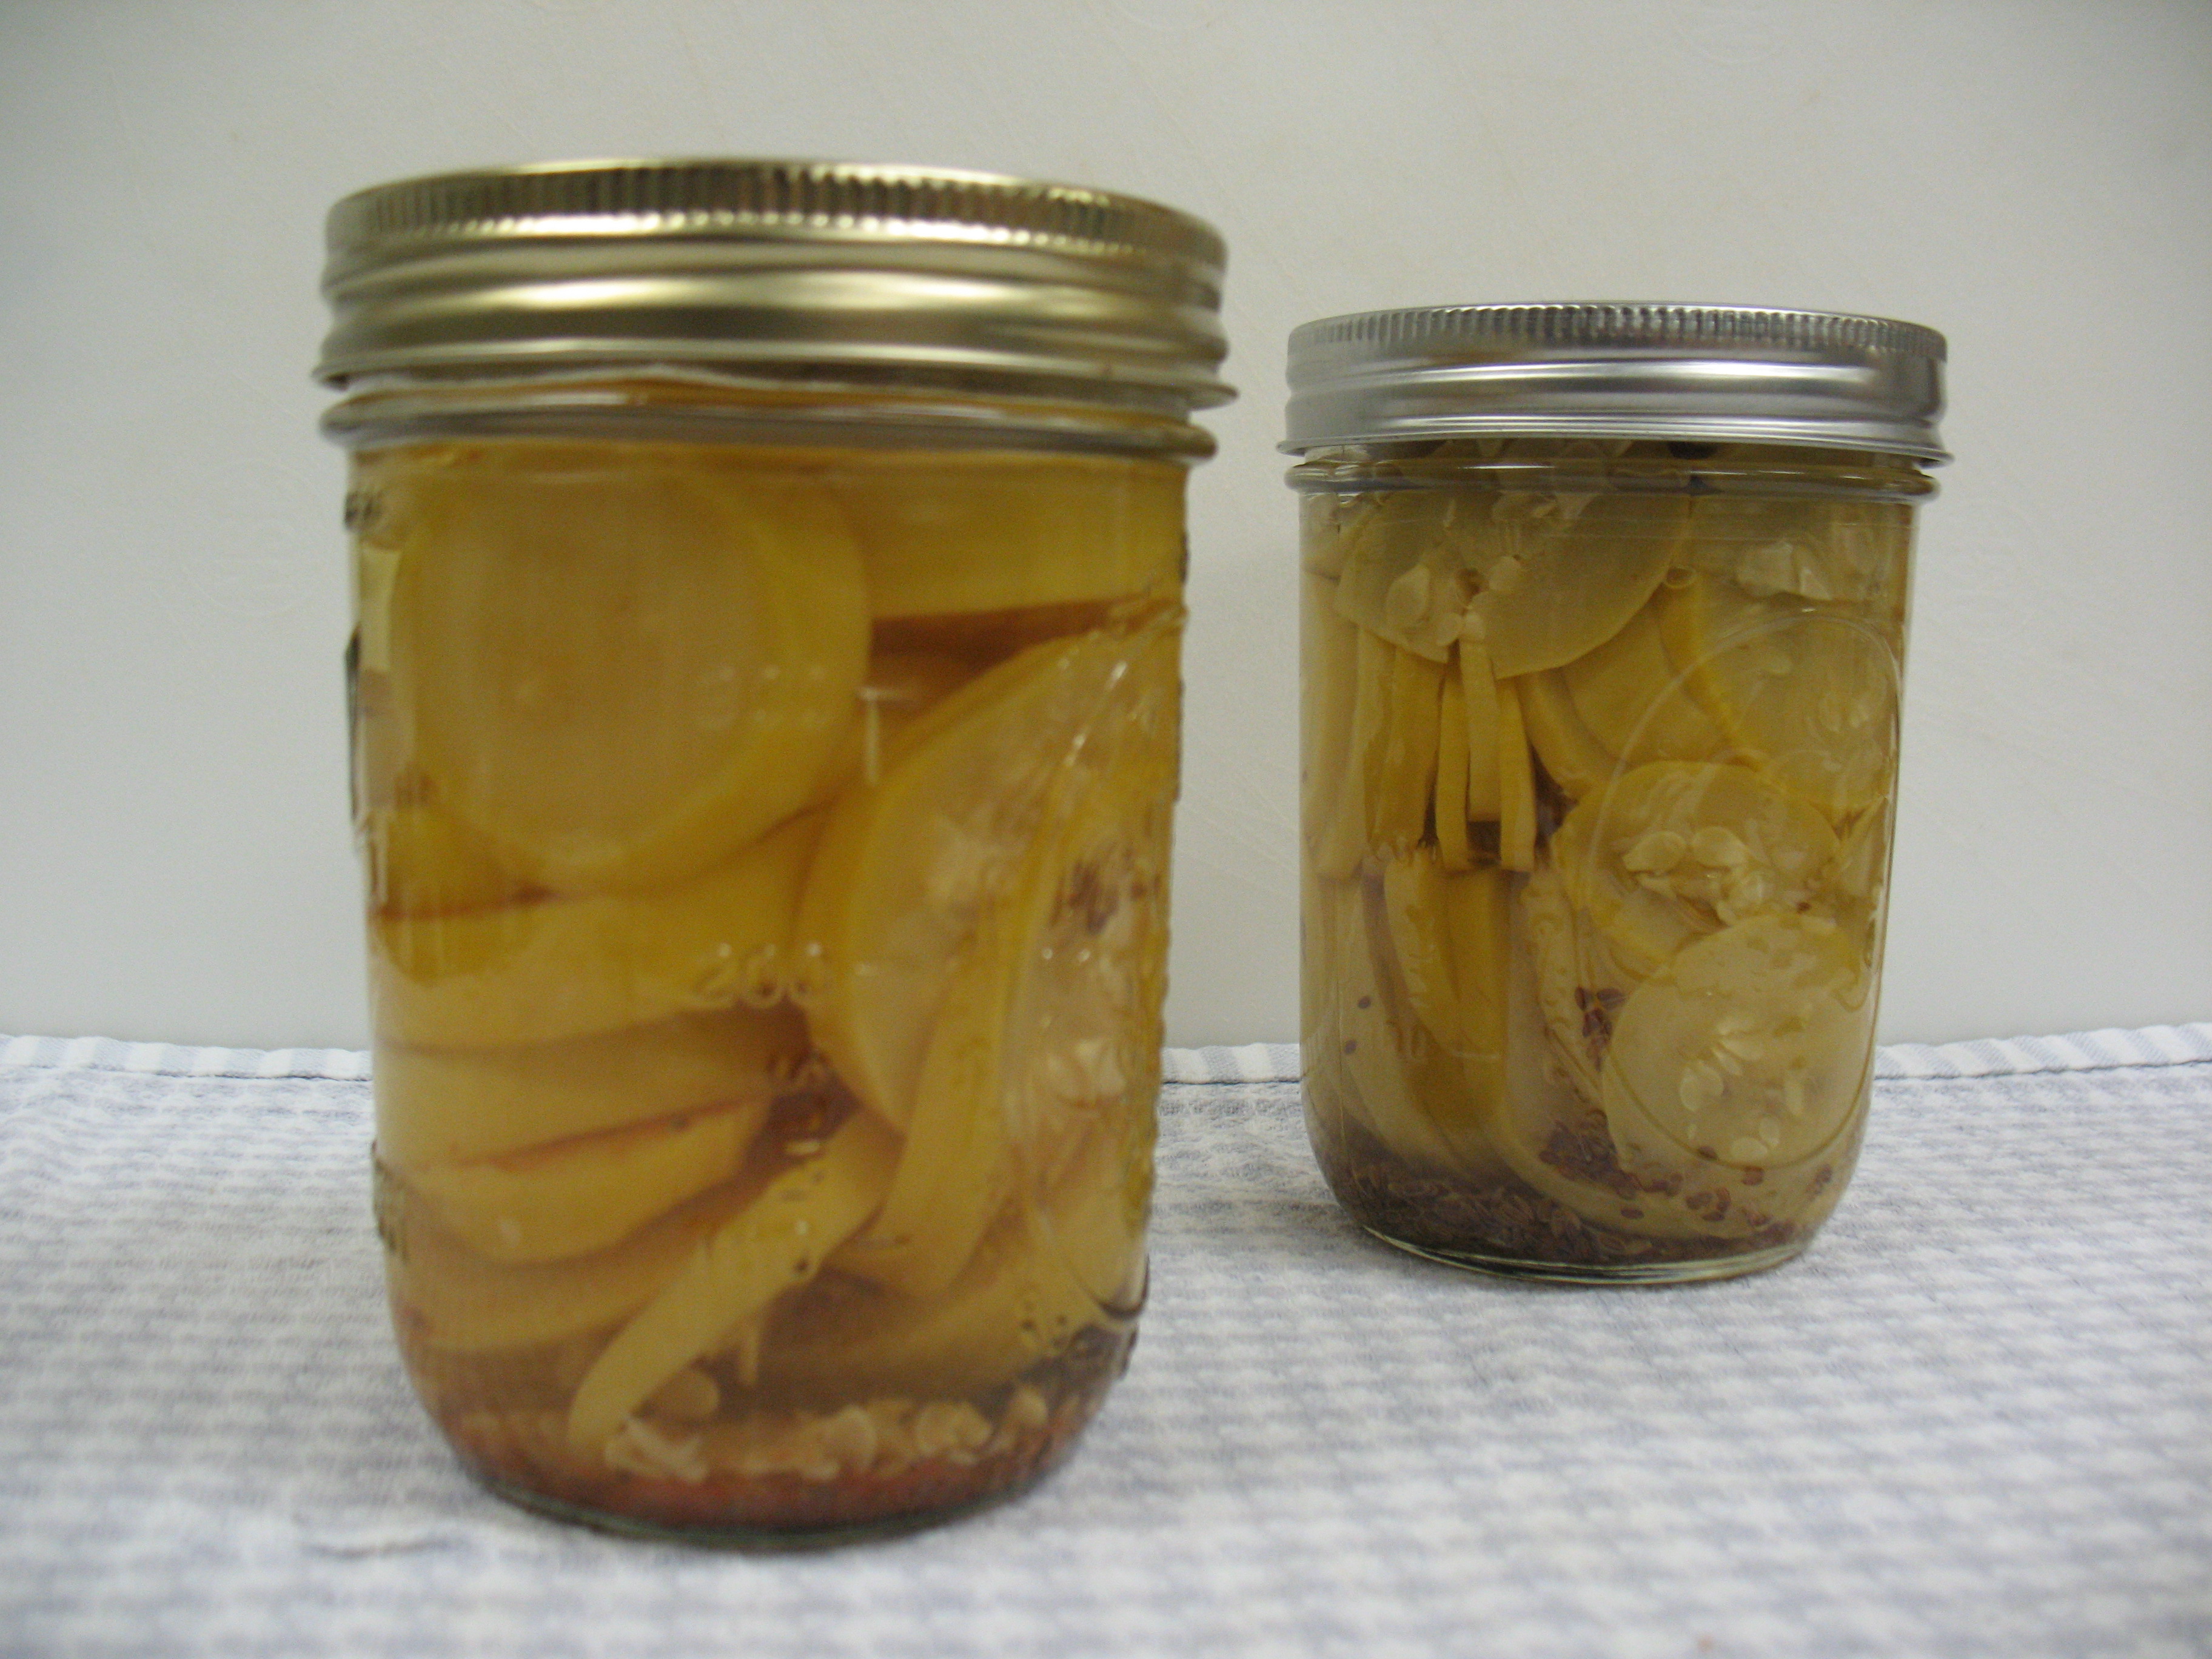
One tasty option is to make Squash Pickles, following these recommendations from USDA/University of Georgia:

Recipe makes about 5 pint jars.

Ingredients:

4 pounds summer squash (or zucchini)

½ cup canning salt

1 quart vinegar (5%)

1 cup water

Dill seed (1 teaspoon per pint)

Garlic (1 clove per pint, if desired)

Procedure:

Wash squash, remove ends and slice into rounds. Pack garlic, dill seed, and squash into jars, leaving ½-inch headspace. Bring vinegar, water, and salt to a boil; simmer for 5 minutes. Fill jars to ½ inch from top of jars with the boiling hot liquid. Remove air bubbles and check that headspace is still ½-inch. Wipe jars rims and apply lids as directed by manufacturer. Process 15 minutes in a boiling water bath (remember to make altitude adjustments as needed). For a crisper product, you may want to add an agent such as crisping products containing calcium chloride.

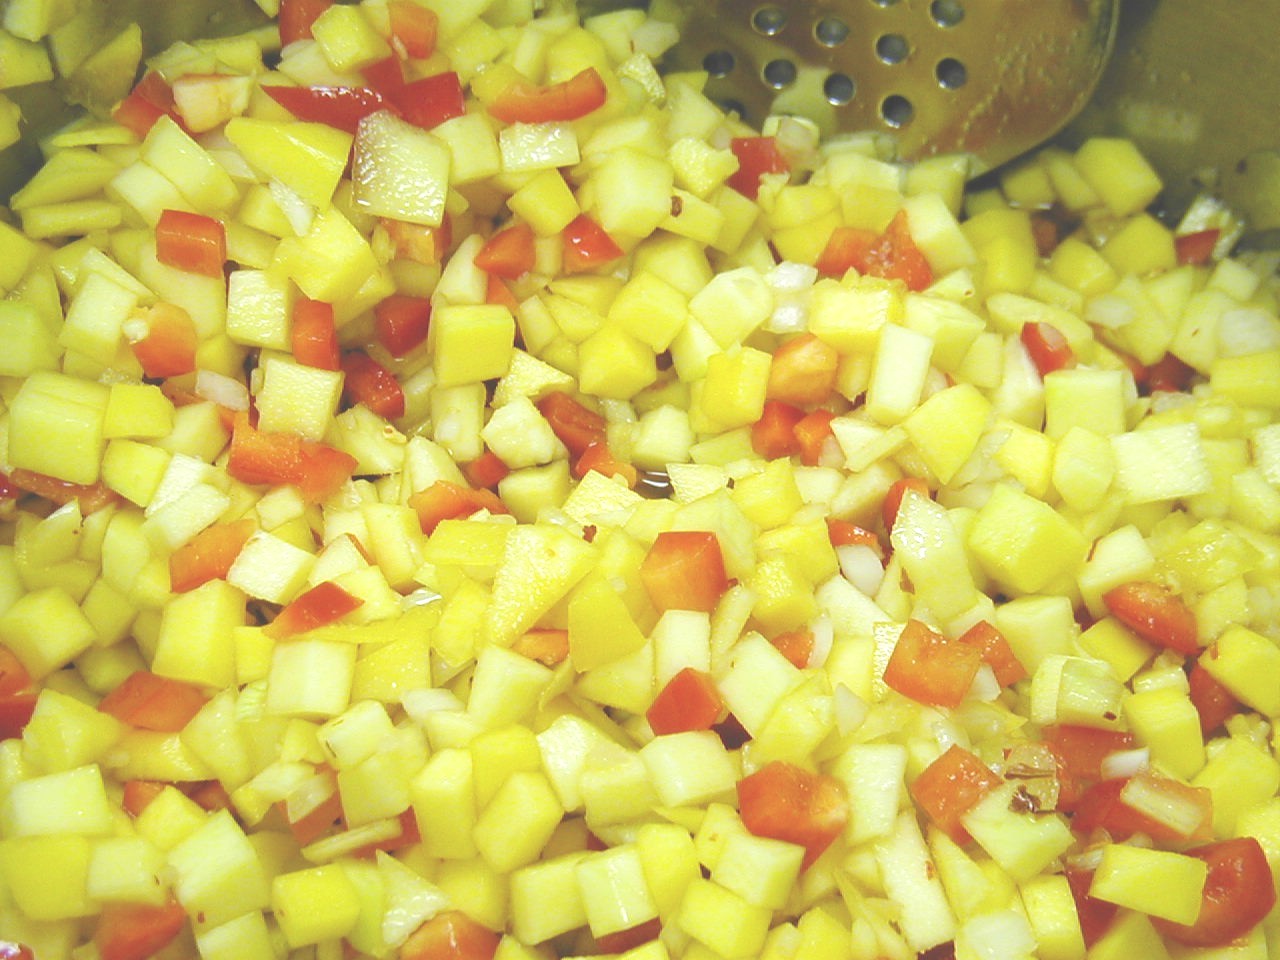
Generally you CANNOT safely make substitutions in tested recipes, but there are a few noted exceptions.  USDA does support the substitution of summer squash for cucumbers in this recipe for Bread-and-Butter Pickles, which you might like if you prefer a sweeter flavored pickle.  If you are not a fan of pickles, then you may prefer to include summer squash as a substitute for zucchini in the recipe for canning Mixed Vegetables .

Zucchini PicklesCanning summer squash (without pickling) is not recommended, so if you prefer the flavor of plain squash, follow these directions for Freezing Summer Squash.

Recipe from So Easy To Preserve, edited by Elizabeth Andress and Judy Harrison, printed 2011.

Hot Pepper Relish

As summer heats up, you might be dreaming up ways to take that warmth with you into the colder seasons ahead. Making and preserving Hot Pepper Relish is certainly one way to achieve this goal. The jalapeño peppers contain enough hotness to make you feel sunny from the inside, while the sugar and vinegar round out the experience with sweetness and tang.

Please take the time to read Using Boiling Water Canners and Principles of Home Canning if you are new to canning or could use a refresher of the basics. Also, please wear plastic or rubber gloves while handling hot peppers, and be careful what else you touch. If you don’t wear gloves, then be sure to wash your hands well with soap and water before touching your face or eyes.

This is a fairly hot pepper relish that would pair nicely with cooked greens, beans, or cream cheese on crackers. If you want less intensity, leave out some or most of the jalapeño pepper seeds, or adjust the proportion of sweet to hot peppers according to your preferred taste. What’s important is that there are only 10 cups total of ground peppers.

Hot Pepper Relish

Makes about 6 pint jars or 12 half-pint jars

  • 5 cups ground green and red bell peppers (about 7 to 8 peppers, or 3 to 4 pounds before grinding)
  • 5 cups ground jalapeño peppers (about 3 to 4 pounds before grinding)
  • 1½ cups ground onion (about 3 medium yellow onions)
  • 2½ cups distilled white or cider vinegar (5%)
  • 2 cups sugar
  • 4 teaspoons pickling salt
  • 4 teaspoons mustard seed

Chopping OnionChop or Grind

  1. Wash and rinse canning jars; keep them hot until ready to fill. Prepare lids according to manufacturer’s directions.
  2. Slice stem end from jalapeño peppers, then grind (including seeds). Wash bell peppers; remove seeds and stems. Peel, core, and wash the onions. Cut peppers and onions into large pieces, then coarsely grind, separately (recipe developers used a stand mixer grinder attachment with course blade).
  3. Measure 5 cups of ground bell peppers, 5 cups of ground jalapeño peppers, and 1½ cups of onions, including their juices. Combine with the remaining ingredients in a large stockpot. Bring the mixture to a boil over high heat then reduce heat to cook at a low boil for 30 minutes, stirring often to prevent scorching.
  4. Fill hot relish into warm jars, leaving ½-inch headspace. If needed, remove air bubbles and re-adjust headspace to ½-inch. Wipe jar rims with a clean, damp paper towel then adjust lids and bands. Refrigerate and/or immediately enjoy any leftover relish freshly made!
  5. Process in boiling water canner according to the recommendations on the table below, then let cool, undisturbed, for 12 to 24 hours. Check for seals and store in a cool, dark, dry place.
Table 1. Recommended process time for Hot Pepper Relish in a boiling-water canner.

Process Time at Altitudes of

Style of Pack

Jar Size

0 – 1,000 ft

1,001 – 6,000 ft

Above 6,000 ft

Hot

Pints or Half-pints

10 min

15

20

This recipe was developed at the University of Georgia, Athens. Released by Elizabeth L. Andress, Ph.D., Department of Foods and Nutrition, College of Family and Consumer Sciences. June 2011. Equipment is pictured for informational purposes only, it does not imply approval of any product to the exclusion of others which may also be suitable.

Your Favorite Salsa Recipe…Is it Safe to Can?

Raw ingredients for salsa

Maybe you inherited a delicious salsa recipe from your father and you’d like to ship it out the entire family, or maybe you got creative in the kitchen with your kids and would love to store jars of their salsa for a surefire snack throughout the school year. But then you wonder: is that unique blend of ingredients safe to can at home? Here are a few reasons why that’s an important question to ask, and a few resources to help answer it.

Cutting tomatoesChopping jalapenos

  • Salsas are a mix of acid and low acid ingredients. Overall pH is what determines if a product is safe to be processed in a boiling water canner. If a salsa is not adequately acidified to a pH of 4.6 or below, then processing in a boiling water canner will not provide enough heat to prevent toxin-production by botulism-causing bacteria. Sufficient, carefully calculated amounts of vinegar or another acid are necessary ingredients for acidification.
  • Without detailed knowledge of the ingredients, proportions, and procedure used for a salsa recipe, there is no way to tell is the product is safe for boiling water canning. Unfortunately, we at the National Center are not able to fund and staff product testing for individual recipes. Here is a link to learn more about the science behind determining the Heat-Processing of Home-Canned Foods.
  • If you are determined to can your own salsa, please call your local Cooperative Extension office and ask if they have contact information for private testing companies. This link will help you Find Your County Office.
  • Fortunately, USDA and Cooperative Extension have a variety of tested recipes and processes for canning salsa at home. Ten different and diverse salsa recipes as well as background information and step-by-step boiling water canning directions can be found in the University of Georgia publication Sensational Salsas. If you want to view the recipes by themselves, follow this link to the NCHFP webpage “How Do I?…Can Salsa”. From there you’ll see that each salsa recipe is also available in Spanish.
  • Some equipment and home preserving ingredient manufacturers also offer more recipes to try, but first do some research to find out if they are indeed reliable companies with tested recipes.

Mango Salsa Raw Mix

Quick, Ketchup with all those Tomatoes!

Do you have more tomatoes than you know what to do with? Try making your own ketchup. A classic condiment that can be found in most American households, you might like your homemade ketchup so much that you never buy another bottle at the grocery store again. The flavorful spices in these recipes might also inspire you to try the tomato-based sauce on more than just burgers and fries.

USDA has tested three slightly different recipes for you to choose from: Tomato Ketchup, Blender Ketchup, and Country Western Ketchup. What’s the difference? The steps of making the products are almost identical, but the ingredients, and therefore flavors, vary. Country Western Ketchup has a spicy kick due to chili peppers, cayenne pepper, and whole peppercorns. Blender Ketchup uses sweet bell peppers, cinnamon sticks, and a lot more sugar than the others. Tomato Ketchup sits in balance between the two, and is the most traditional of the bunch. Like the Country Western it has cayenne pepper, and like the Blender it has cloves, but it also uniquely adds onions to the mix.

In addition to the ingredients, you’ll also need to gather a few pieces of equipment:

  • Four-burner gas or electric stovetop range
  • Boiling water canner with rack
  • 4-gallon stockpot or large kettle for checking tomatoes then heating all ingredients together (“checking” means splitting the skins)
  • Large bowl or sink filled with ice water (to dip checked tomatoes)
  • Chef’s knife
  • Cutting board
  • Spice bag
  • Food sieve or food mill (for Tomato Ketchup and Country Western Ketchup), or a blender (for Blender Ketchup)

Follow these links (same as above) to read the complete directions for making Tomato Ketchup, Blender Ketchup, or Country Western Ketchup.