Category Archives: Canning

Homegrown Tomatoes — Not just a Daydream

This winter was a cold one for most of us, making that next round of fresh homegrown tomatoes seem a distant daydream.  Did your supply of home-canned tomatoes from last year get low or even emptied?  Well, it’s not too early to start thinking of your next harvest.  Tomato plants can go in the garden once any danger of frost has passed, so sooner than later those ripe tomatoes could be a reality.

In southern states, tomato plants are now going into the ground. In more northern climates last frost may still be a few weeks away, but tomato plants Spring calendarcan already be started indoors. If you start them indoors from seed, you’ll wait four to seven weeks before they are ready to be planted outside.

A few tips from University of Georgia Extension will help your chances of success in starting your homegrown ‘maters:

  • Establish an indoor location near a south-facing window that receives a lot of sunlight. If you cannot do this, then you might need to use a supplemental grow light with a spectrum that mimics natural light.
  • Use a light soil mix for planting tomato seeds.
  • Select a seed variety that is adapted to your local area.
  • Remember to harden off the plants before transplanting by gradually exposing them to sunlight a little bit more each day for about a week before carefully tucking them into their garden beds.

Are your tomato plants already ready to go into the garden? Follow the planting, mulching, fertilizing, and watering tips from UGA Extension: Georgia Home Grown Tomatoes.

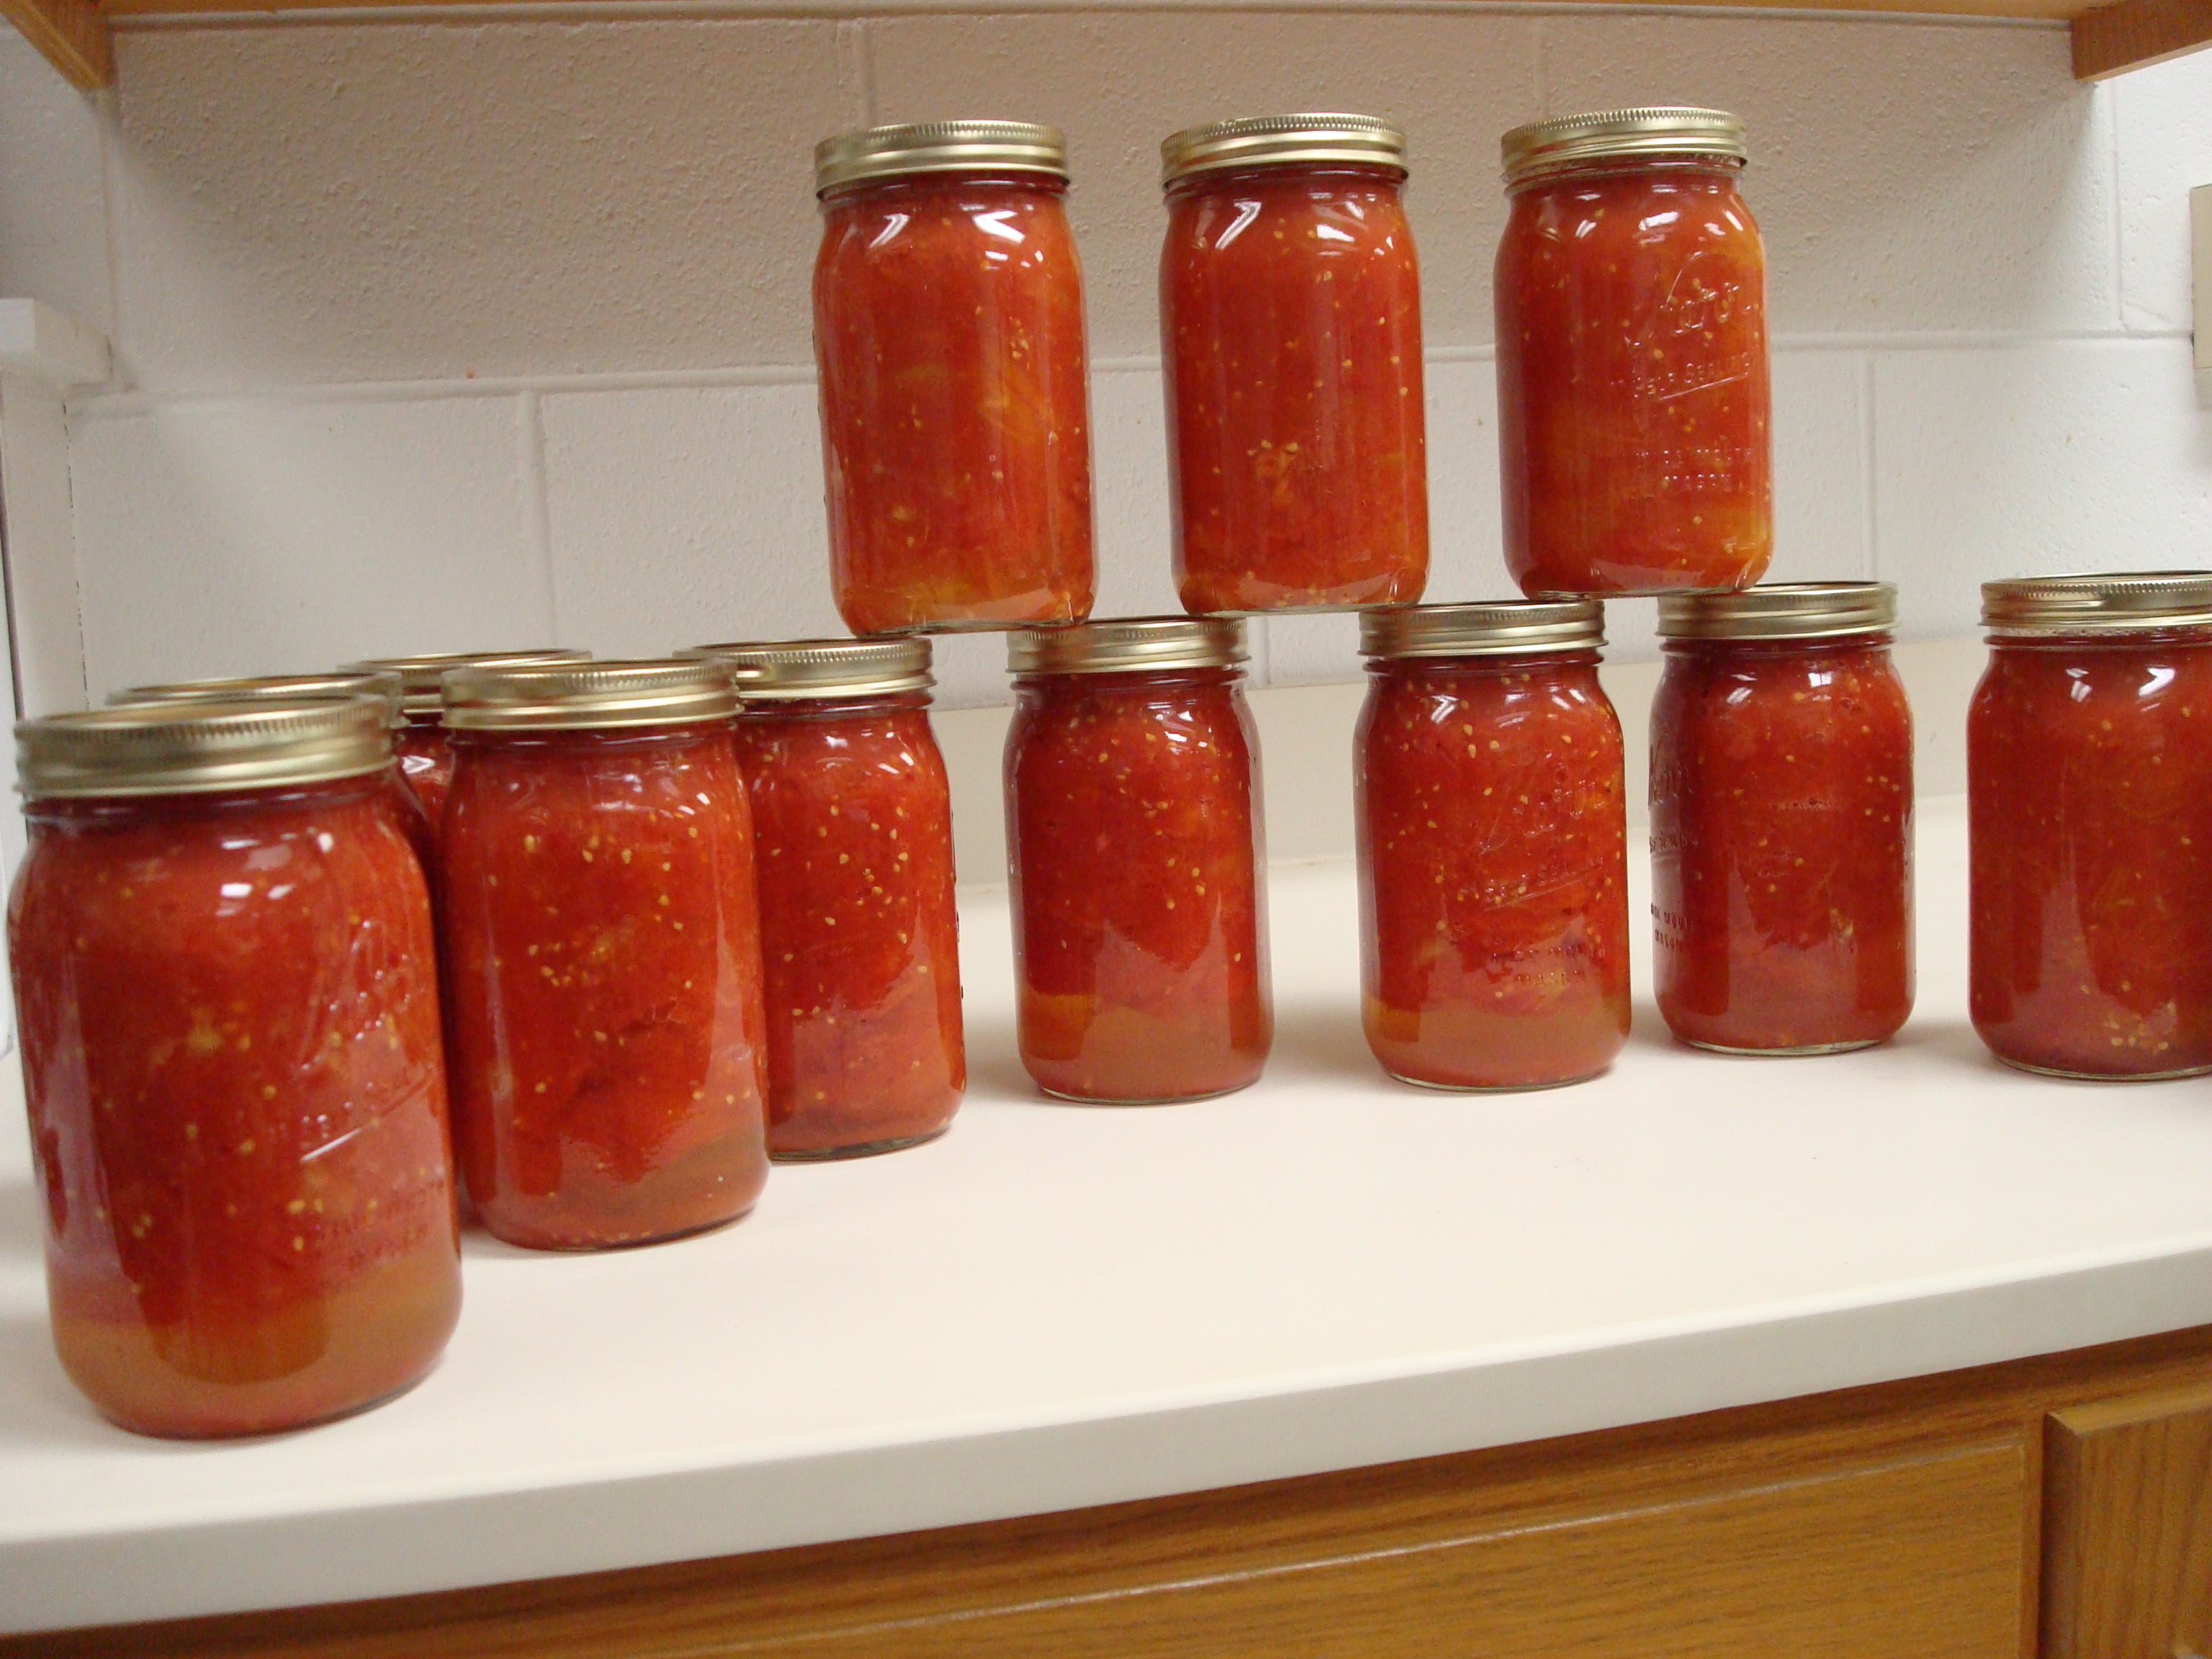
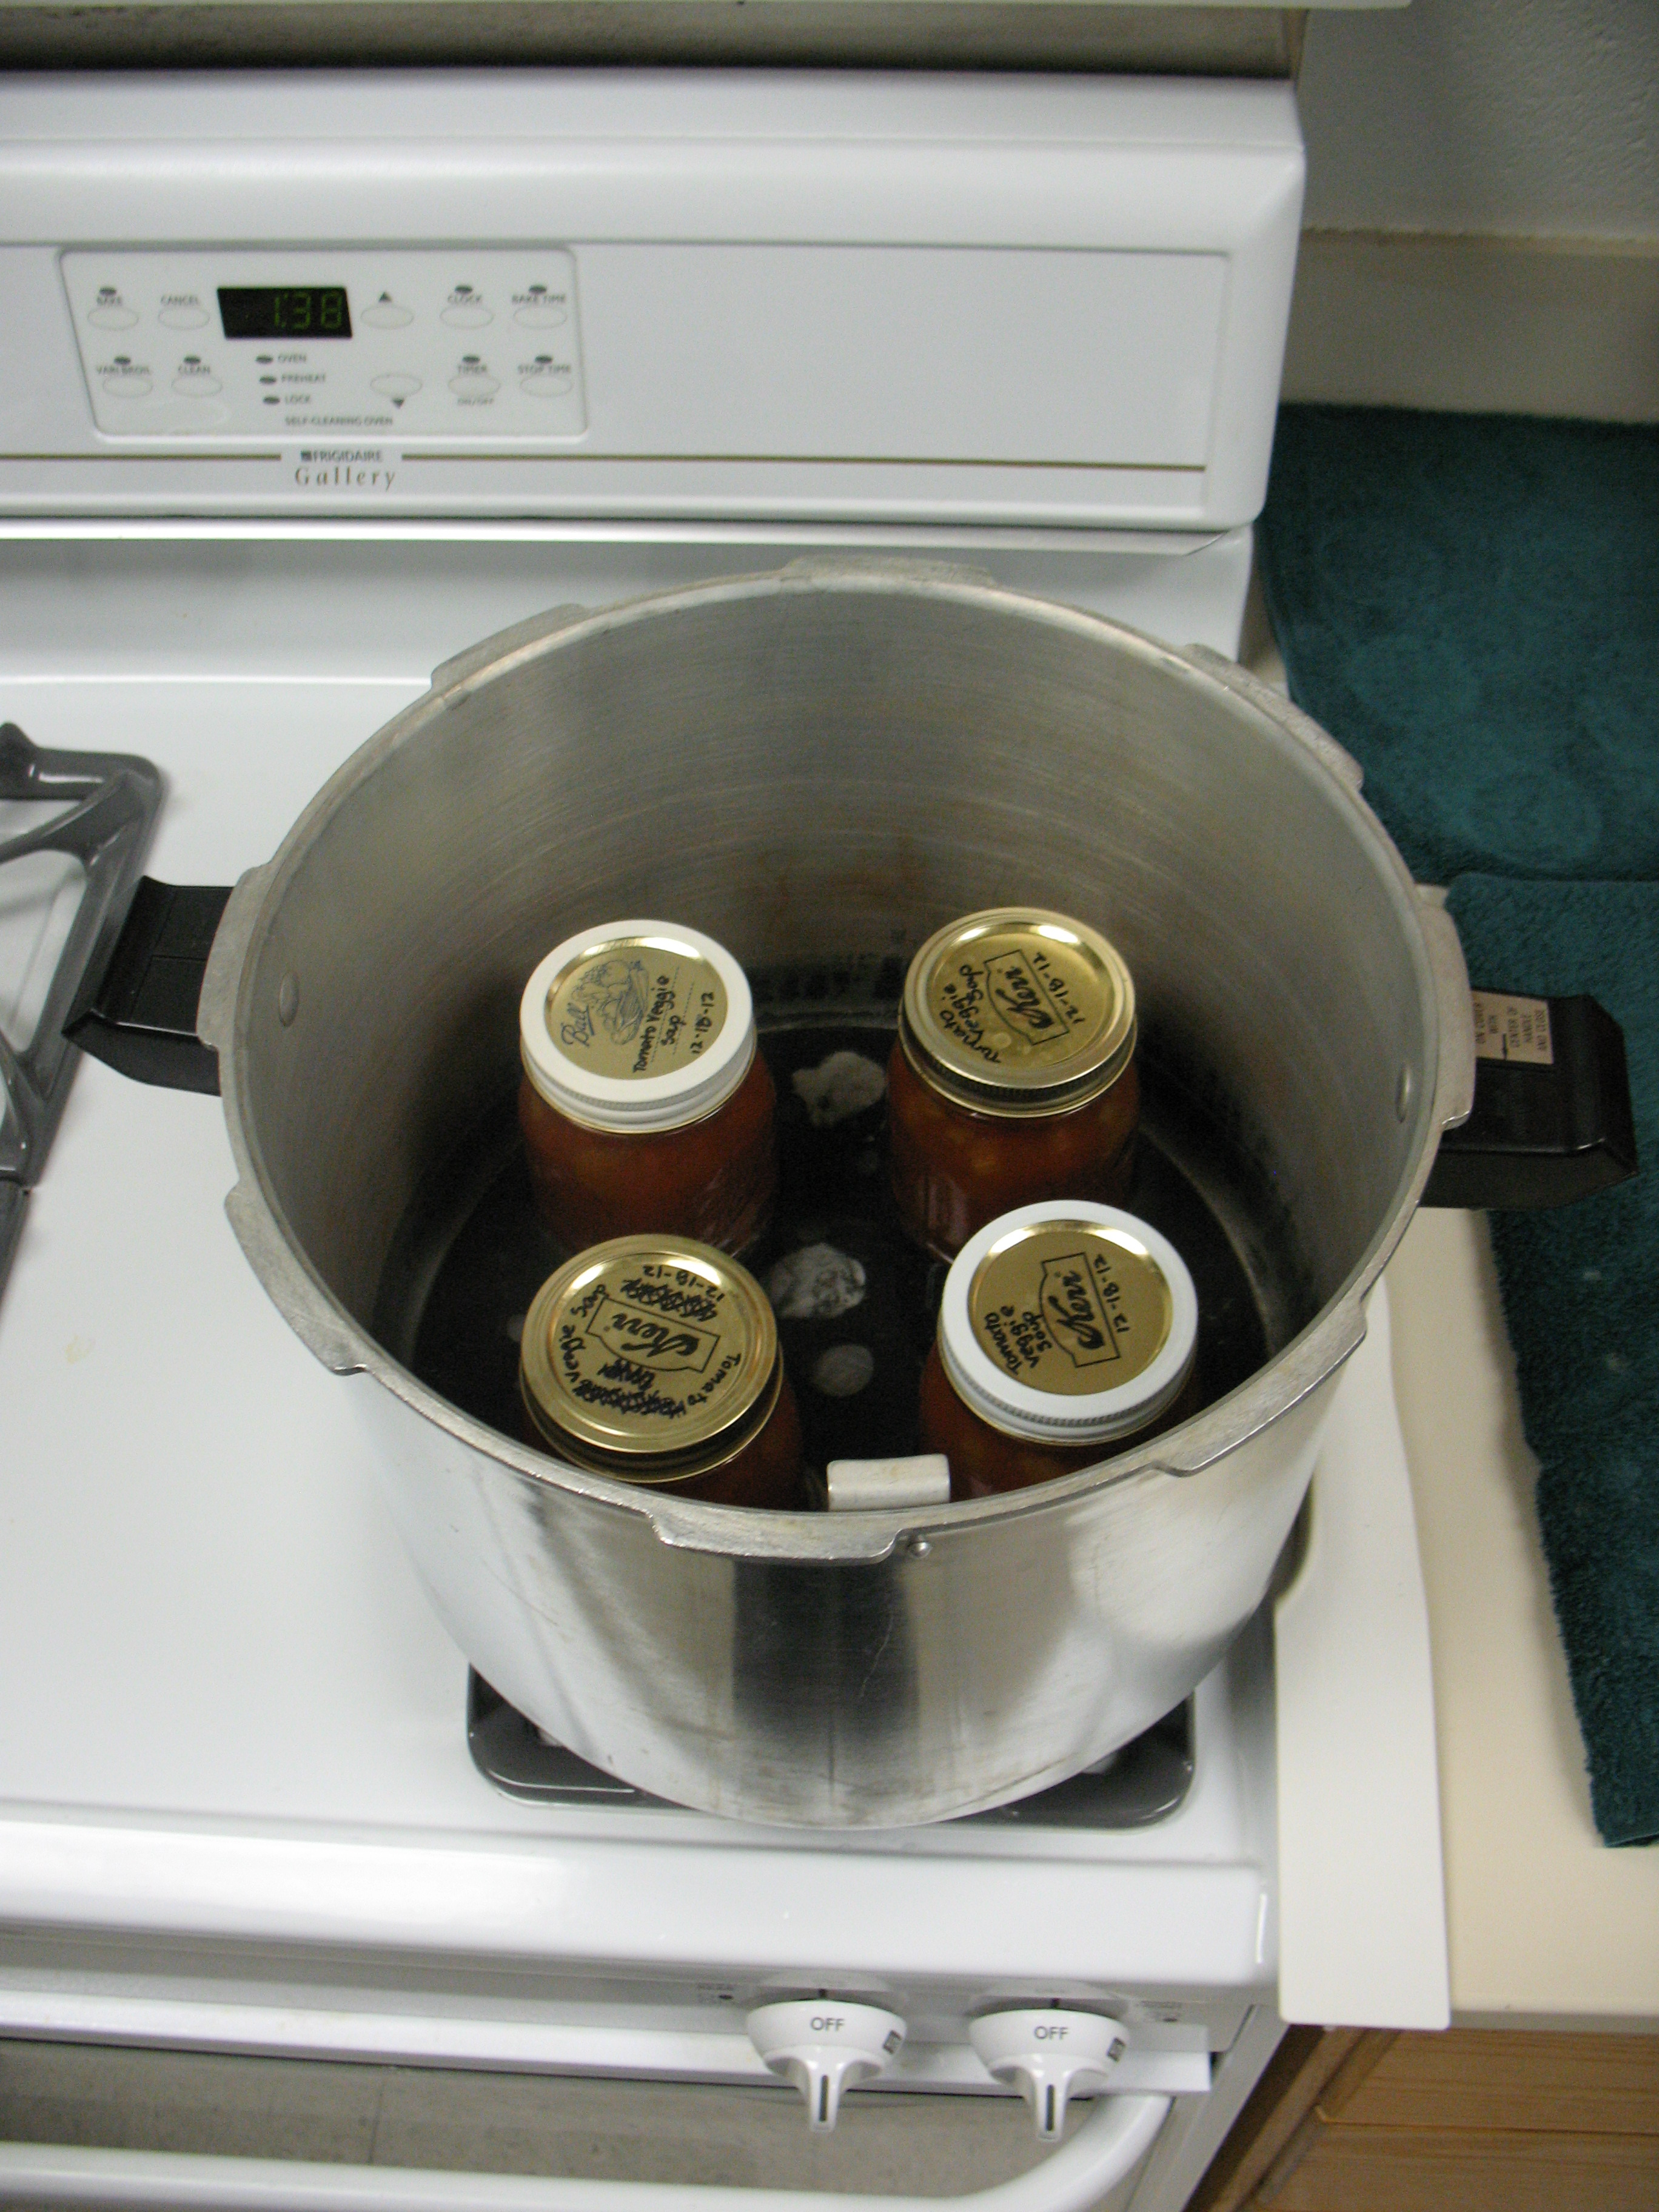
If you plan to preserve your upcoming bounty of homegrown tomatoes, then remember that there are options for both boiling water bath canning and pressure canning tomatoes. Make sure you follow tested recommendations, and have citric acid or a bottle of lemon juice ready! (Directions for canning tomatoes call for adding a small amount of citric acid or commercially bottled lemon juice in order to ensure the acidity and safety of the final product.)

DSC03160

Pop Quiz: What Time Is It?

dial=gauge pressure cannerDial Gauge Testing Time! As the temperatures warm (or not so much) let that be a reminder it’s the time of year again to get your pressure canner dial gauge tested. Dial gauges need to be tested for accuracy before each canning season or after dropping or banging it.

The manufacturer of your pressure canner is best able to provide you with instruction for inspection/gauge testing. Some companies require that you mail it in to them. You may also ask at a local hardware store or contact your local Cooperative Extension office, as some of them will do gauge testing for some brands of dial gauge pressure canners if they have an agent at that location who is trained to do so. Select your state from the drop-down list on this search tool to locate your county office:  Find Your Local Extension Office.

Also as part of an annual “check-up”, make sure all parts of your pressure canner are in good condition.  If your canner has a rubber gasket, make sure it is flexible and soft, not brittle, sticky or cracked. Check the openings on any small pipes or vent ports to be sure they are clean and clear of any debris.

If you don’t have a pressure canner and are thinking about getting one, then make sure you select a pressure canner that is capable of holding at least 4 quart-size jars upright, on the rack, with a lid that secures airtight. If it is smaller than that, we do not recommend it for home canning using USDA canning procedures.

Whether your pressure canner has not yet been used this season or is new out of the box, it is a good idea to make sure it is working properly before preparing a canner load of jars.  Put several inches of water in your pressure canner, and pressurize it as if canning.  Make sure it gets to the pressure needed and can be maintained there without leaking.  This is a good time to practice de-pressurizing the canner as if it had jars in it and then go through the steps for opening your canner as desired.  Read step-by-step procedures for using pressure canners on the NCHFP website.

IMG_1027This blog post contains a revision of Can Your Vegetables Safely by Dr. Elizabeth Andress.

Simply Soup

tomato vegetable soupThis cold, long winter will be a memorable one for many. Hopefully you made use of your reserve of fresh and preserved foods, but you may have made your way through it all! If you are already thinking about preparing for next year, then you may like the idea of canning soup to bring delicious and nutritious warmth during the coldest days.

Different from the vast majority of USDA canning recommendations, our recommendation for IMG_1071Canning Soup allows you to have some choice of vegetables, dried beans or peas, meat, poultry, or seafood. However, that does NOT mean that it is safe to can just any combination and proportions of ingredients, sorry!  For your safety, please regard these key precautions before before getting out your pressure canner (and yes, a pressure canner is required for canning soup):

  • Our recommendation for canning soup does NOT allow you to include noodles or other pasta, rice, flour, cream, milk or other thickening or dairy ingredients.
  • The procedure for canning soup says “Each vegetable should be selected, washed, prepared and cooked as you would for canning a ‘hot pack’ according to USDA directions”, which means that there must be a canning recommendation for each added ingredient. As examples, for this reason we cannot recommend adding cabbage nor cured meats like cured ham to canned soup.
  • It is also very important when canning soup that you “Fill jars halfway with solid mixture.” The reason behind filling the jar 1/2 with solids and 1/2 with liquid is to ensure the safety of the product. Our recommendation for canning soup may have a substantial amount of variability based on which vegetables and/or meats are selected and in what proportions. The 1:1 liquid to solid ratio ensures that a certain rate of heating occurs so Soup filled jars half and halfthat the dangerous bacterial spores of botulinum will be destroyed no matter which ingredients (that are noted in the recommendation as acceptable) you select and prepare as directed. Heat transfers more easily and quickly through liquid than through solids and dense mixtures, so a new canning process time would have to be determined through product testing if you were to increase the solid to liquid ratio.

If you choose to follow canning recommendations from another source, then you are choosing to trust their product testing of their recipe, procedure, and process time — they are responsible for their own product testing and you could certainly contact them if you have questions about their recommendations.

Our canning VegSoup1recommendations are meant to be followed exactly as written, and we unfortunately cannot provide individual testing of homemade recipes. If you are still wondering if you can can your favorite homemade soup recipe at home, please read our Burning Issue: Canning Homemade Soups.  Remember too that once you can soup as recommended, you can add your choice of ingredients AFTER you open the jars and re-heat the soup for serving!

Plain or pickled, they make great treats. What are they? Yes, they’re Beets!

Packed with vitamins, minerals, and fiber, beets are a healthy and delightfully colorful wintertime veggie. (Did you know that Betanin, often used in industrial food production as red food coloring, is from beet root?) Beets are easily roasted, baked, or steamed into a fresh side dish, and there are even more options for preserving them.

Here are a few ways we recommend to preserve those bright and beautiful beets:

If you’re not up for canning, then you can simply freeze beets. Select tender, young beets (ideally 1 to 2 inches diameter) and wash them then sort them according to size. Trim their leafy tops, leaving ½ inch of stems and tap root to prevent the color from bleeding out during cooking. Boil the beets until tender, about 25 to 30 minutes for small beets and 45 to 50 minutes for medium beets. Cool the cooked beets immediately in cold water then peel, remove stem and tap root, and cut into slices or cubes. Leave 1/2-inch headspace in the freezer containers as you pack them, then place in a freezer.cut beets

Beets can also be preserved by pressure canning them in pint or quart size jars. For a full canner load of 9 pints use about 13.5 pounds and for a canner load of 7 quarts use about 21 pounds. Remember, those amounts are averages, obtained by weighing the beets without tops, and there will be natural variance in actual quantities. You will remove skins before canning the beets; to do so, trim off beet tops, leaving an inch of stem and roots (you’ll cut these off later), scrub the beets, boil them for 15 to 25 minutes depending on size, and then cool them just enough to handle without burning yourself, and remove their skins, tops and roots. The beets should remain warm or hot going into the jars.  Baby beets can be left whole, but medium or large beets need to be cut into 1/2-inch cubes or slices. Add one teaspoon salt per quart jar if you like, then fill the jars with the hot beets. Add fresh hot water that has been brought to a boil first (not the water you used to boil the beets with), leaving 1-inch headspace. Process pints for 30 minutes and quarts for 35 minutes in a pressure canner, making altitude adjustments as required in the tables here.

If you prefer boiling water canning and want to try something with more flavor, then try one of our pickled beet recipes. Pickled Beets are highlighted with the flavors of sugar, cinnamon, cloves, and onions (optional) and No Sugar Added Pickled Beets are almost the same, except that the sugar is replaced with a sucralose sweetener.